
Last updated November 17, 2026
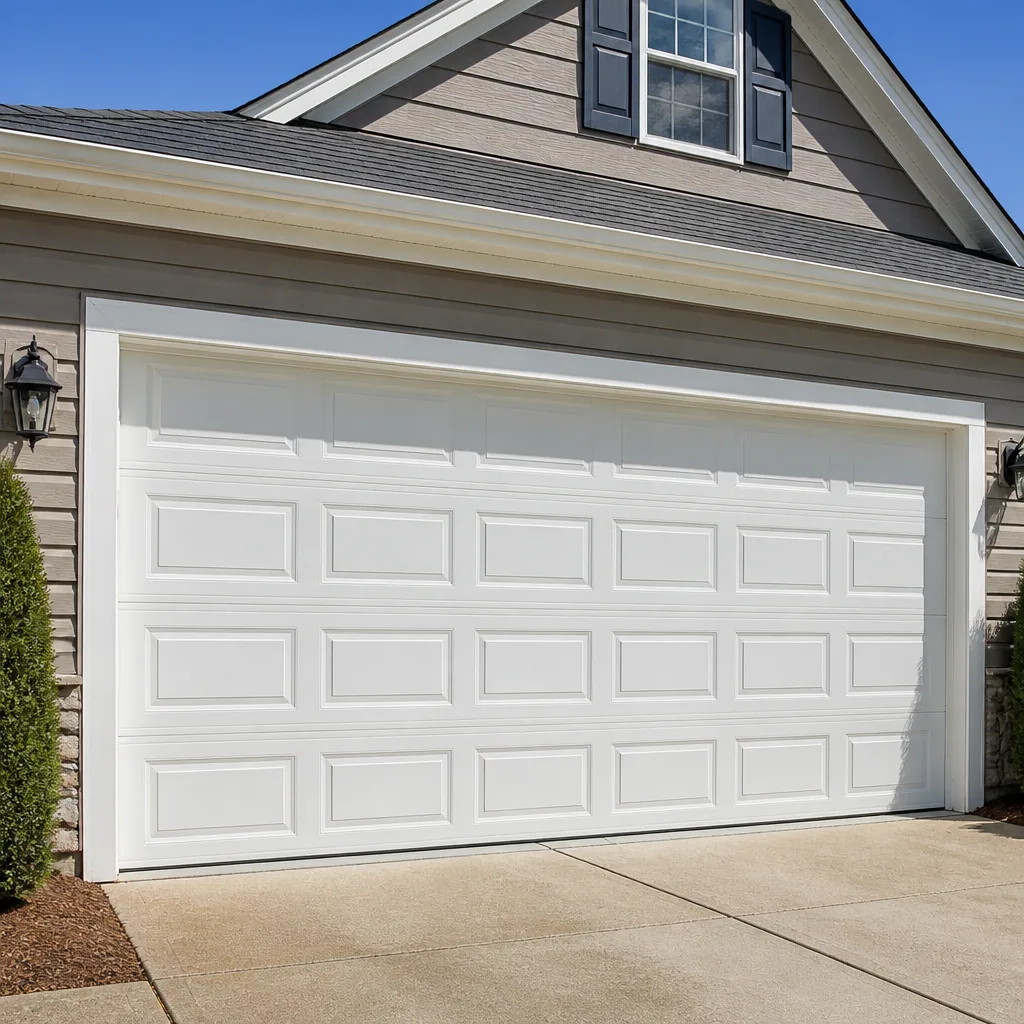 Raised-panel steel
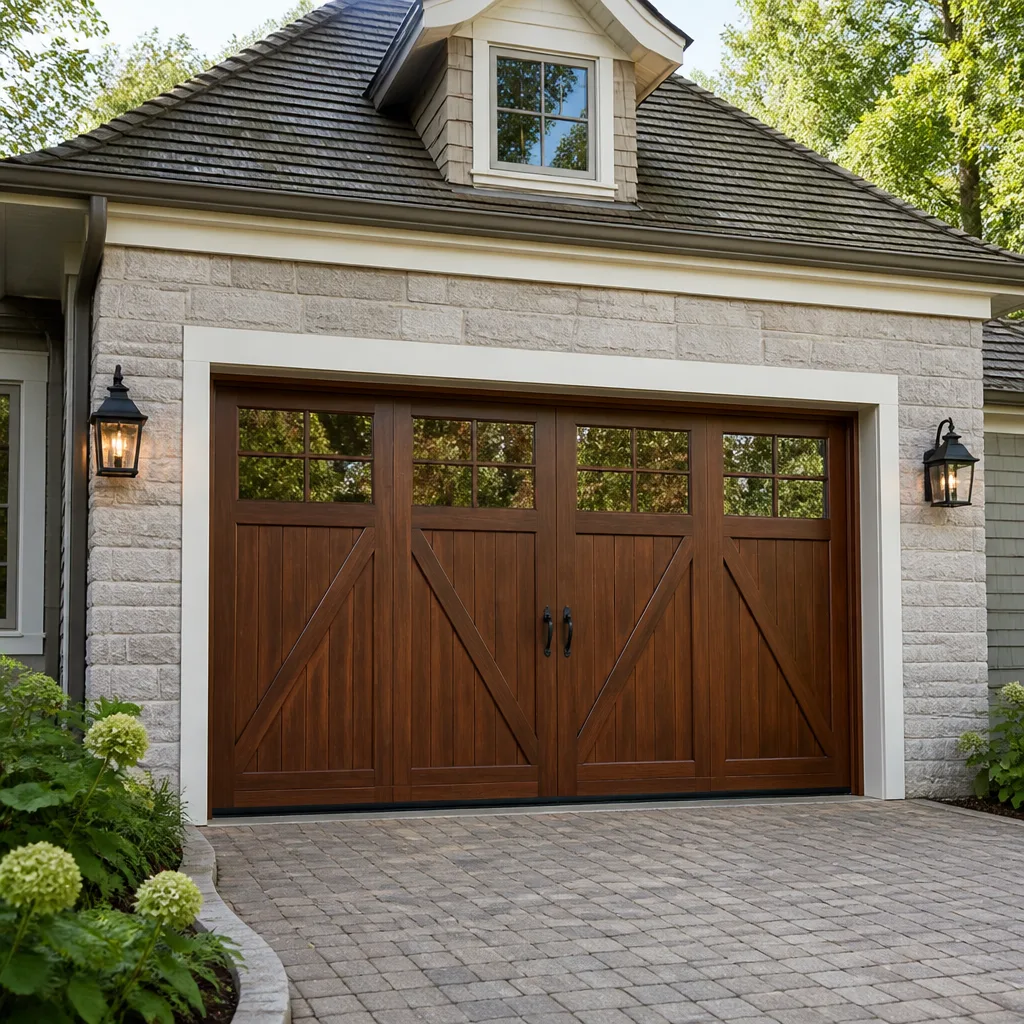 Carriage house
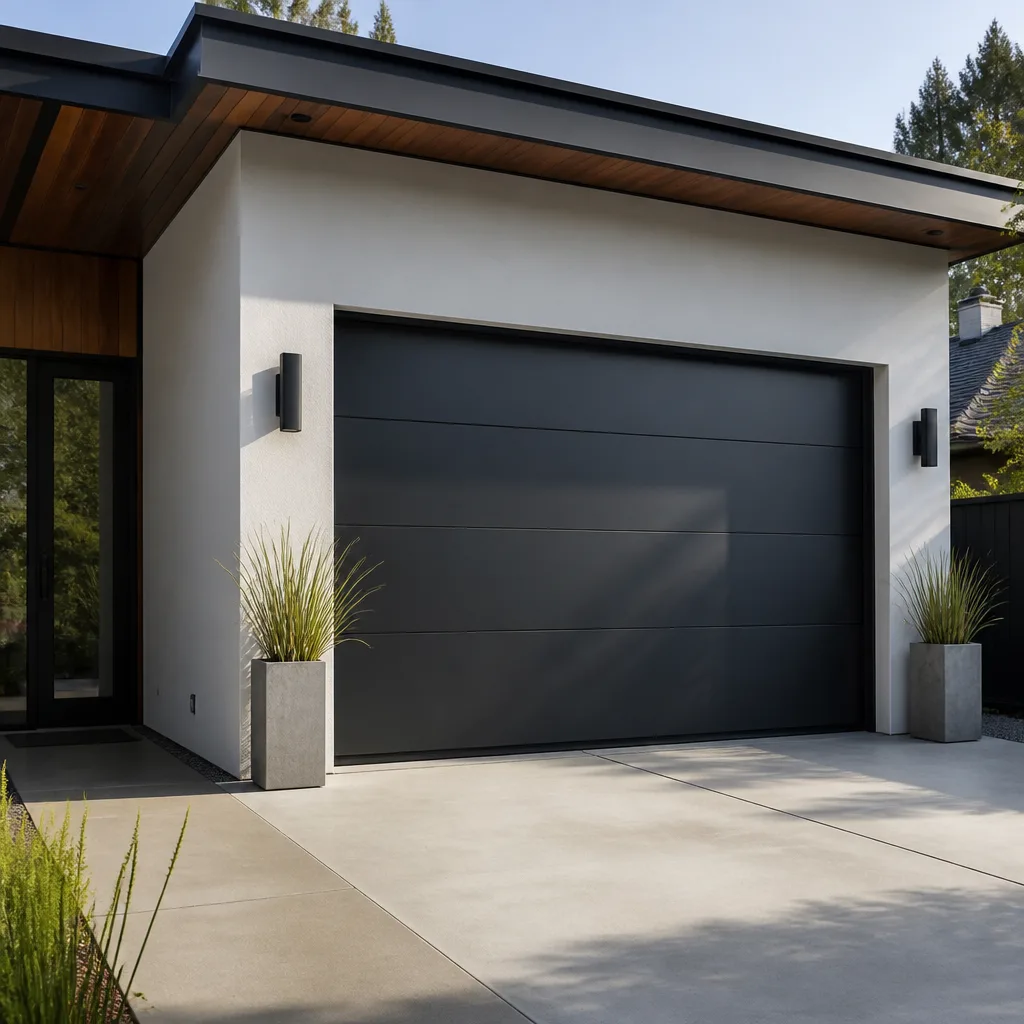 Modern flush
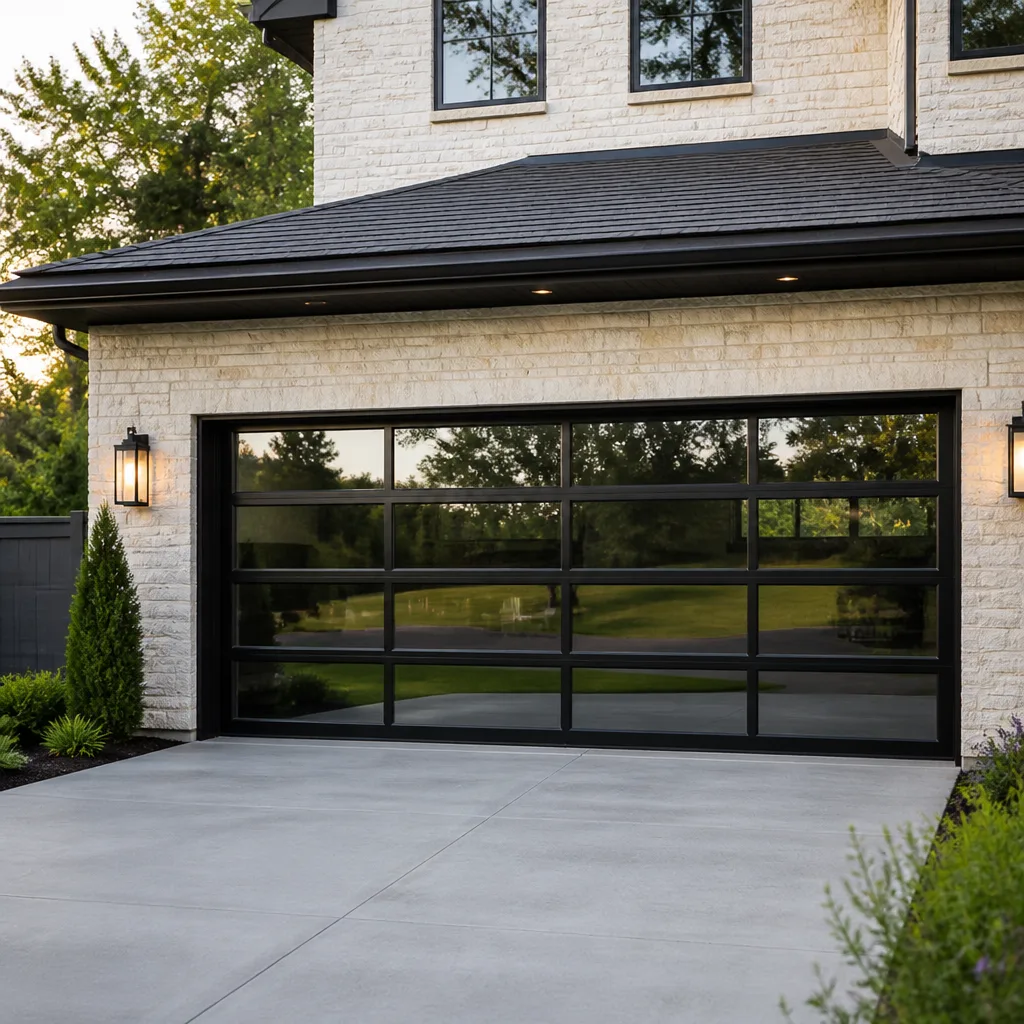 Full-view glass
 LiftMaster openers
 Chamberlain openers
Full 25-point door and opener safety check with every visit - springs, cables, rollers, tracks, and your LiftMaster or Chamberlain opener included
You get a price before we start. It does not change when the pro arrives.
Get your free estimateHow Long Does Garage Door Opener Repair & Installation Take? Timelines and What to Expect
Here’s the counterintuitive part: the fix is rarely what takes the time. A technician who arrives already knowing which component failed can swap a logic board in under twenty minutes. The real clock runs during the diagnostic conversation that correctly identifies that component instead of a more expensive one, and during the site conditions that decide whether an opener install goes smoothly or stretches past its quoted window. Repair and installation are two different time problems, and treating them as the same question is why homeowners in Summerlin get scheduling surprises. This guide breaks both timelines into their actual phases, with realistic durations for each, so you know what the day should look like before anyone knocks.
Quick Answer
Garage door opener repair usually takes 45 to 90 minutes on site, but most of that is diagnosis rather than the repair itself. Opener installation typically runs 2 to 3 hours, and the mounting is the fast part – site prep, header bracket adjustment, programming, and test cycles eat the rest. A smart opener adds another 15 to 20 minutes for WiFi setup. Summerlin homes with a header bracket that won’t mount at the planned location can add 30 to 45 minutes.
Styles & brands we work with
- Raised-panel steel
- Carriage house
- Modern flush
- Full-view glass
- LiftMaster openers
- Chamberlain openers
Table of Contents
- The Repair Timeline: Diagnosis vs. the Fix
- The Installation Timeline: Site Prep vs. Mounting
- Why a “One-Hour Installation” Often Becomes Two
- Programming and Test Cycles: The 20-30 Minutes Nobody Quotes
- Smart Opener Setup: The Extra 15-20 Minutes
- Job-Site Readiness Checklist for Homeowners
- Cost Expectations and What Changes Them
- Common Mistakes to Avoid
 Before
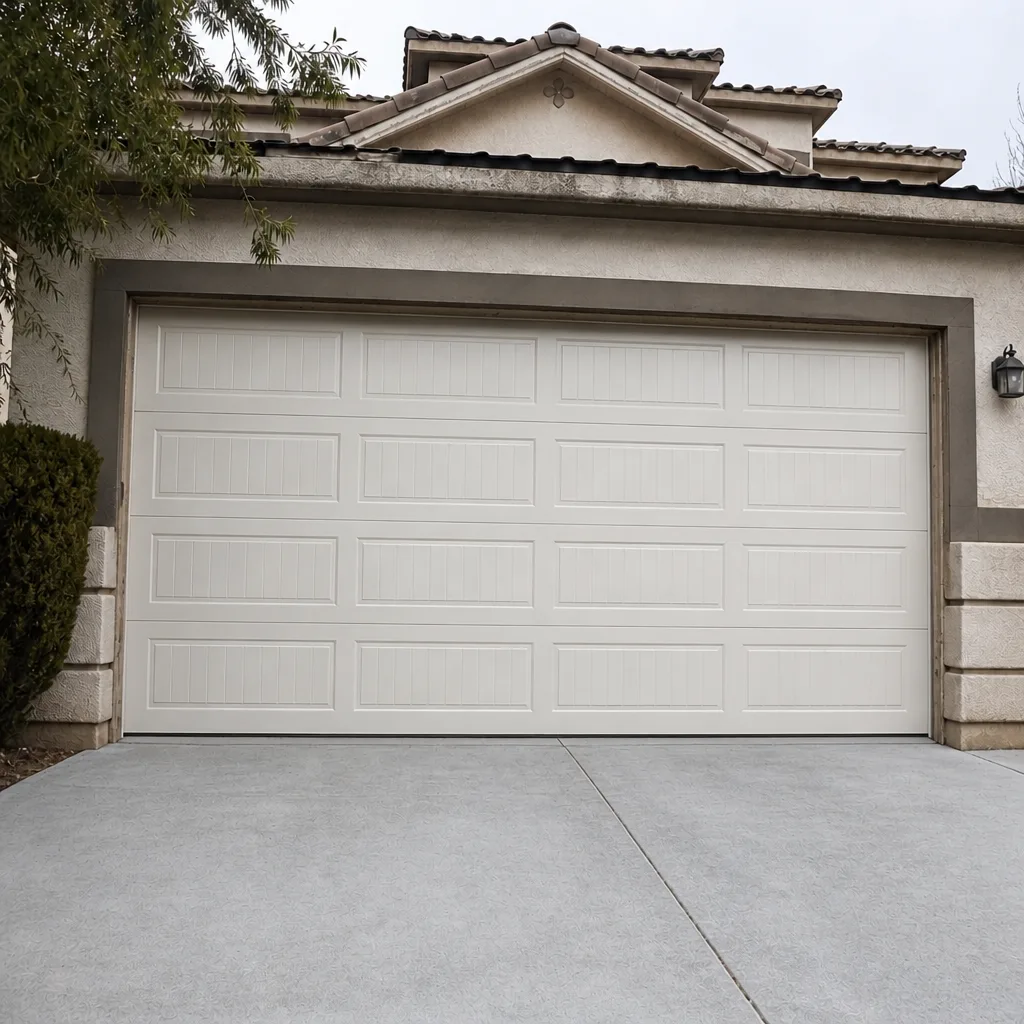 After
The Repair Timeline: Diagnosis vs. the Fix
When we roll up on an opener that won’t respond, the clock starts with questions and observation, not tools. That phase takes 15 to 30 minutes, and it’s where experienced technicians earn their keep. A dead opener can mean a failed logic board, a burned-out capacitor, a stripped gear, a misaligned safety sensor, or a remote that simply lost its pairing. Each of those has a different dollar figure attached. Guessing wrong means either an unnecessary replacement or a callback.
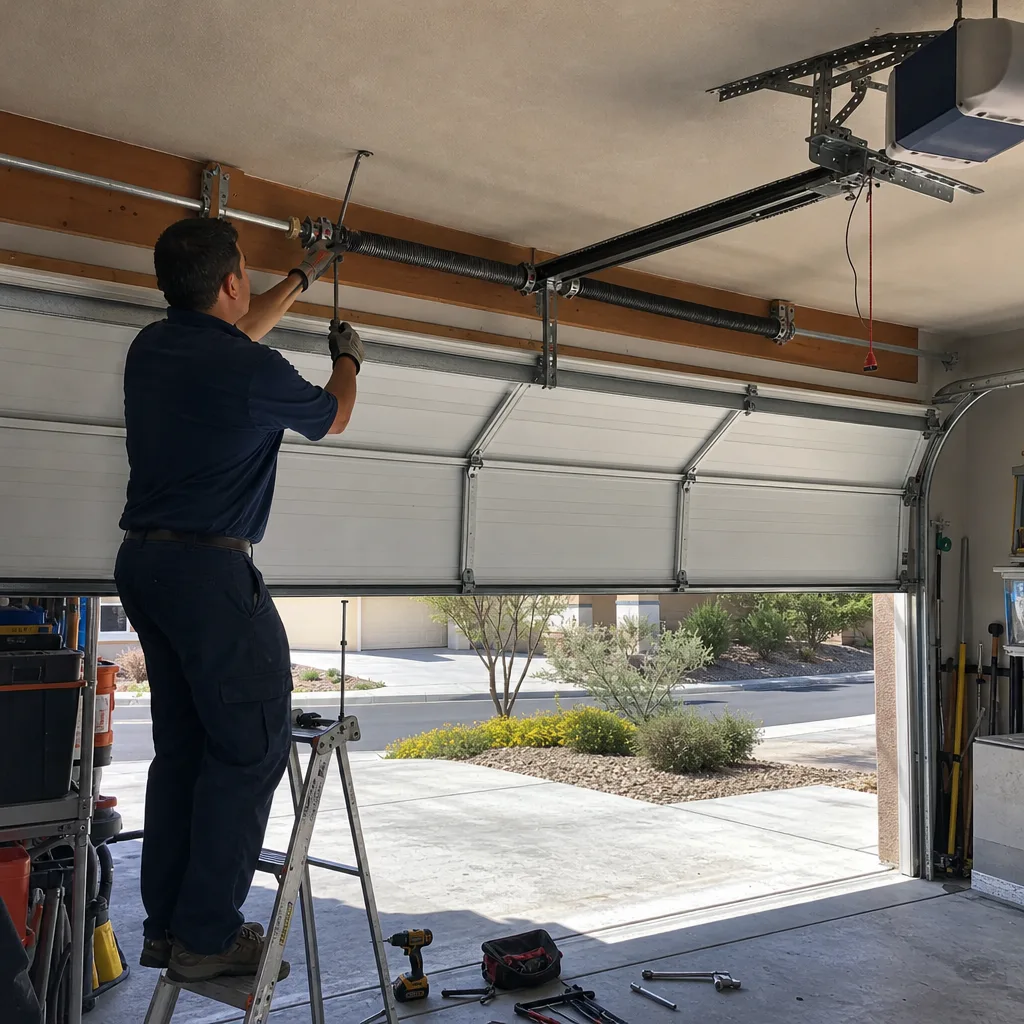
The repair phase itself is usually 20 to 40 minutes once the failed component is confirmed:
- Logic board replacement: 20 to 30 minutes. Unplug, disconnect the wiring harness, swap the board, reconnect, and test every control input.
- Gear and sprocket kit: 30 to 45 minutes. The opener housing comes apart, the worn drive gear gets replaced, and the unit reassembles.
- Safety sensor realignment: 10 to 15 minutes. Often the fastest fix on the list, and the most misdiagnosed as “dead opener.”
- Remote or keypad reprogramming: 10 minutes. Pairing is quick; confirming every remote works from the driveway is what takes the time.
- Capacitor or motor replacement: 30 to 60 minutes, depending on how accessible the unit is mounted.
In Summerlin, where a lot of homes were built with the opener motor mounted to a ceiling joist above a finished garage, ceiling clearance affects how fast a technician can work. A clean, unobstructed ceiling makes repair faster. A garage ceiling buried under storage shelves and holiday bins turns a 20-minute board swap into a 40-minute one. That’s why we ask what’s overhead when scheduling your Garage Door Opener Repair & Installation in Summerlin call.
The Installation Timeline: Site Prep vs. Mounting
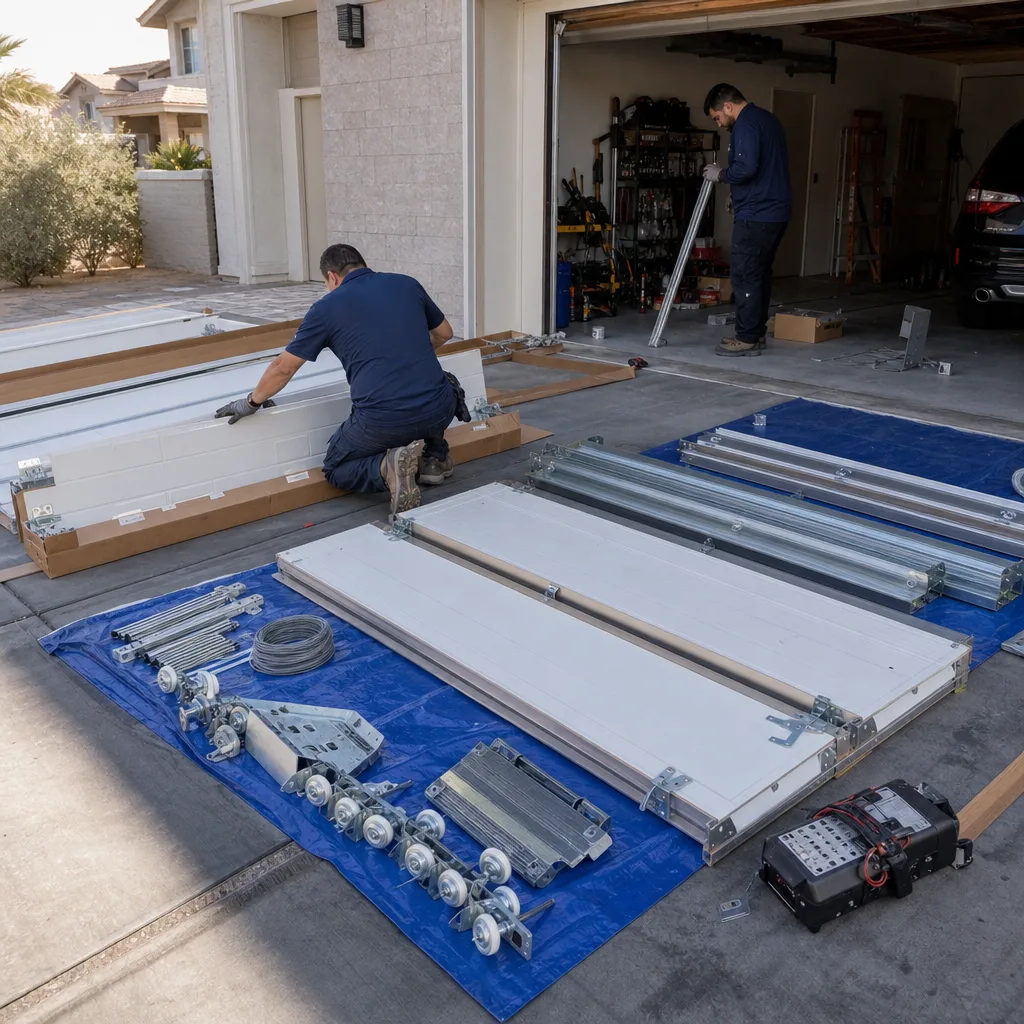
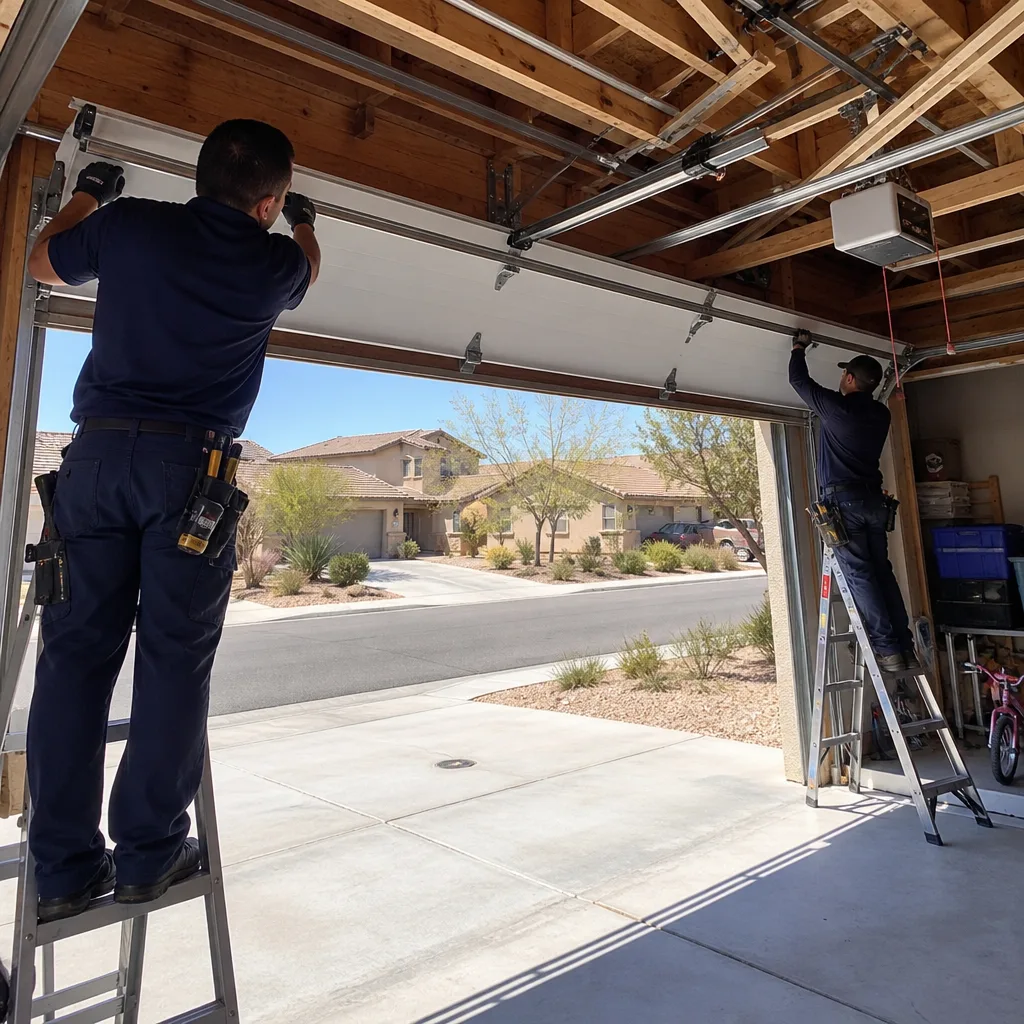
Installation is dominated by site assessment and post-mount work, not by lifting the unit onto the rails. A realistic breakdown of a standard opener installation looks like this:
- Site assessment (15 to 25 minutes): Check the door’s balance and travel, confirm ceiling height and joist location, inspect the header above the door, verify outlet placement, and measure the distance from door to ceiling for drawbar and rail clearance.
- Removal of old unit (10 to 20 minutes): Disconnect, unbolt the old opener, and remove the rail. More if the old unit was installed with hardware that’s seized.
- Rough-in and assembly (20 to 30 minutes): Assemble the rail, set the trolley carriage, and stage the mounting hardware at the ceiling.
- Header bracket and motor mounting (30 to 45 minutes): Attach the header bracket above the door, hang the motor, and align the rail. This is where surprises live – see the next section.
- Programming and test cycles (20 to 30 minutes): Pair remotes, set up travel limits, calibrate force, and run test cycles.
- Smart setup if applicable (15 to 20 minutes): WiFi configuration and connectivity testing.
Add those up and a straightforward install lands at 2 to 3 hours. For reference builds – a Clopay or Amarr door with a standard 7-foot ceiling and a pre-existing outlet – we’ve watched the job slide in toward the fast end. Homes with a Wayne Dalton opener in a low-clearance garage tend to run longer. And if you’re replacing the door alongside the opener, plan for the Garage Door Installation in Summerlin to be scheduled as a separate, longer appointment; the two jobs don’t share a window just because they’re on the same wall.
Why a “One-Hour Installation” Often Becomes Two
The most common delay on any install is a header bracket that can’t mount where the manual says it should. The bracket is what takes the pulling force from the opener and sends it into the structure above the door. If the structural member – the joist or header – doesn’t sit where the plans assume, the technician has to find a sound mounting point and reposition the bracket. That alone adds 30 to 45 minutes.
Summerlin garages run into this for a few predictable reasons:
- Finished ceilings with no visible framing. The technician has to locate the joist through drywall with a stud finder and confirm it with a tap test. Ten extra minutes of prep before the first bolt goes in.
- Older Summerlin homes with modified header framing. A past remodel or a door replacement can shift where the structure actually sits relative to the opening.
- Low ceiling clearance. A garage with an 84-inch ceiling needs a low-profile rail and different mounting angles than a standard 7-foot install.
- Insulated doors. A heavier door pulls harder and may need a different spring or opener model – the door’s weight has to be measured, not assumed.
That last point is why quotes for “an opener” with no door measurement attached are a red flag. If your door is a heavier insulated model and the installer only sized the opener by brand and horsepower, expect either a force calibration that falls short or a mid-install conversation about swapping to a stronger unit. That conversation is a lot cheaper before the tech arrives. It’s why we recommend booking the Garage Door Repair in Summerlin or install call as a measurement first and a sale second.
Programming and Test Cycles: The 20-30 Minutes Nobody Quotes
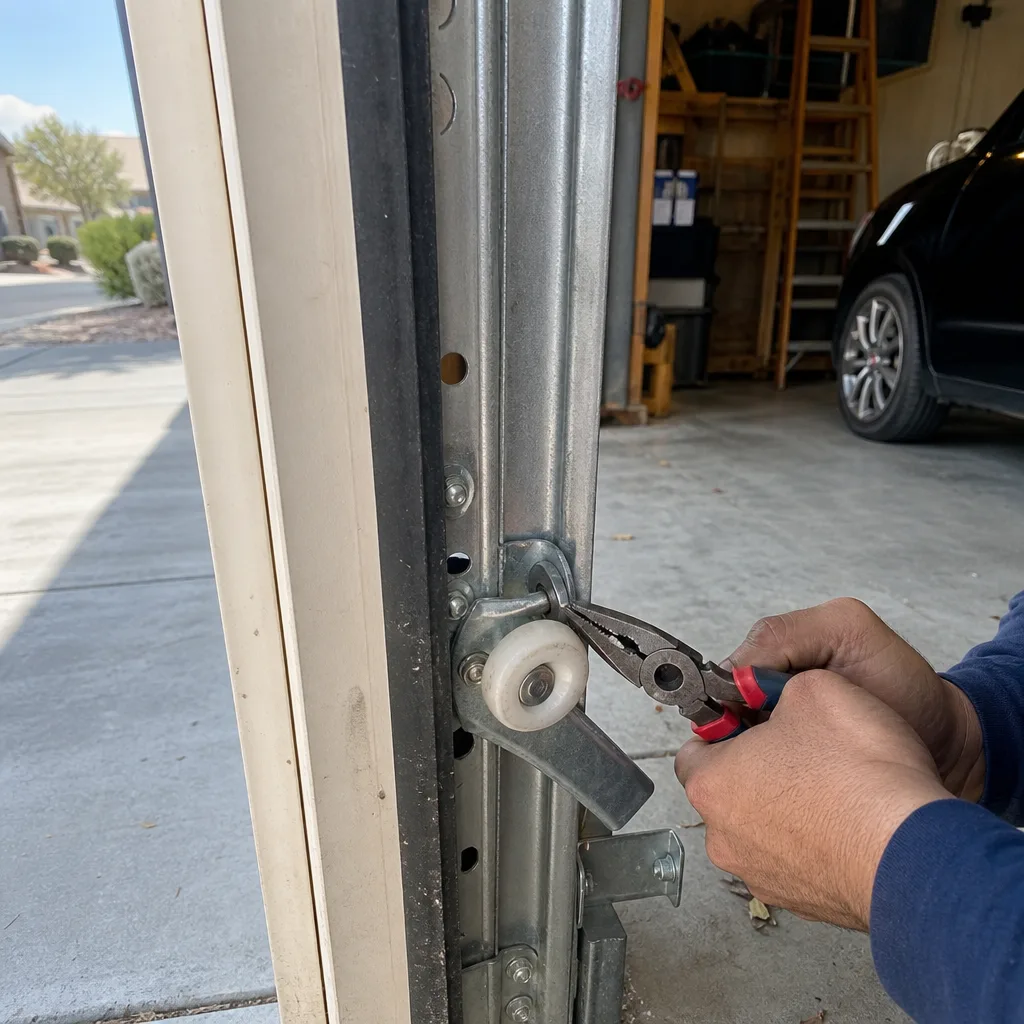
This is the phase homeowners most often skim past, and it’s the one that separates a finished install from a functional one. Programming isn’t a five-minute step. Here’s what happens:
- Pair every remote and keypad: 5 to 10 minutes. Each remote is paired individually, then tested from inside the garage and from the driveway.
- Set the up and down travel limits: 5 to 10 minutes. The opener’s built-in controller needs to learn exactly where “fully open” and “fully closed” are. Too far up and the door slams into the rail stop. Too far down and it reverses.
- Calibrate the force setting: 5 minutes. The opener measures how hard it’s pulling and sets a cutoff. Too light, and the door stops on a cold morning. Too heavy, and the safety reverse won’t trigger on contact.
- Run ten test cycles: 5 to 10 minutes. The technician runs the door up and down repeatedly, then verifies the auto-reverse on a piece of wood or a test block. This is the step that catches a binding rail or a door out of balance before you find it at 7 a.m.
Fifteen to thirty minutes sounds like a lot for setup. It isn’t, once you see a door that passes the test cycles and a door that doesn’t. The force setting in particular is the part that keeps the safety reverse working, and it’s the part that quietly degrades if it’s set from the manual rather than from your specific door. When we finish a visit, the customer gets the photo record of the install and the test results in writing – Clause 4 in The Haven Standard is why the failed or replaced part is photographed before anything gets quoted, and the same documentation discipline applies to the install. If you want to compare what a properly tested install should look like, see our Servo Garage Doors Summerlin home page for how the process runs.
Smart Opener Setup: The Extra 15-20 Minutes
Smart openers from LiftMaster, Chamberlain, or Genie add a step the standard one-hour install quote doesn’t include. WiFi configuration isn’t a plug-and-play button. The technician connects the opener to your home network, installs or verifies the app on your phone, sets up the door-alert or camera features, and then runs a connectivity test – because a WiFi opener that connects in the garage but drops out in the driveway is a broken feature, not a working one.
Here’s what affects the time:
- Signal strength. A garage at the end of a long driveway in The Ridges or over in Red Rock Country Club may sit at the edge of your home network’s range. The technician may need to test the connection from the driveway rather than the garage floor.
- App installation and account setup. Pairing one phone is quick. Pairing the family’s phones and confirming each has access is another 5 to 10 minutes.
- Firmware updates. A new opener often ships with outdated firmware that installs itself during setup, adding a few minutes.
Factor 15 to 20 minutes on top of any smart-opener install. If your opener arrives without a smart feature and you’re relying on an add-on module, factor a similar 10 to 15 minutes. Either way, this step gets squeezed on the schedule only if the installer skips it – and a skipped connectivity test is how you discover the app problem three weeks later.
Job-Site Readiness Checklist for Homeowners
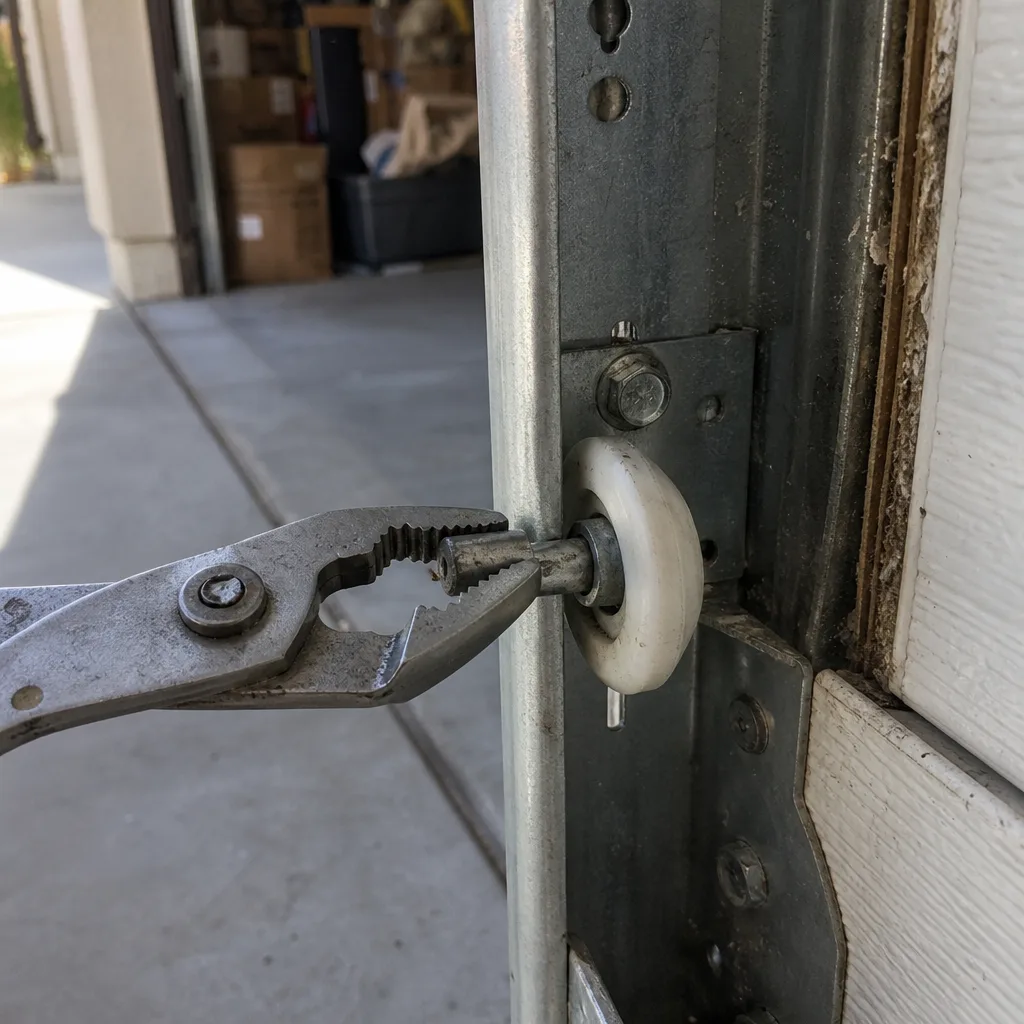
Every minute you save before the technician arrives is a minute back on the clock. This checklist is the one we hand out before appointment day, with the time savings we’ve seen in practice:
- Clear the garage floor and the path to the opener. Move boxes, bikes, and shelving out of the way. Ten to fifteen minutes saved, and it lets the technician test the door without tripping hazards.
- Confirm the outlet location. The opener needs a live outlet within about 6 feet of the motor, usually at the ceiling. If the outlet is on the side wall and there’s no ceiling outlet, tell us ahead of time – the tech may need an extension cord rated for the load or a wiring conversation. Five minutes saved and a scheduling adjustment on the front end.
- Have the old opener’s make and model ready. Grab the sticker on the back of the unit and snap a photo before the visit. LiftMaster, Chamberlain, Genie, and Craftsman all use different programming sequences for remotes, and knowing the model means the tech arrives with the right remotes and the right wiring harness in hand. Ten minutes saved during diagnosis.
- Know the door’s age or brand. If your door is a Clopay or Amarr, note the model if you can find it. If it’s a Wayne Dalton, note that too. Brand tells us the expected weight range and spring type, which affects whether the opener you chose is adequate. Five to ten minutes saved.
- Take a photo of the ceiling above the door. Text it over with the appointment confirmation. If the joist pattern on your ceiling is unusual, we can flag it before the truck rolls.
- Note whether the door is insulated. Insulated doors are heavier. The tech may need a higher-horsepower unit or a new spring if the old opener was undersized. This saves a mid-install surprise.
Together, that checklist routinely saves 25 to 40 minutes on a typical install. It’s the difference between a 2-hour appointment and a 2-hour-45 appointment that catches you on the way to a Saturday soccer game.
Cost Expectations and What Changes Them
Here’s the part where most companies say “call for a quote.” That’s not how we operate. Clause 1 of The Haven Standard is a flat, written price and a written scope delivered before any work starts. The ranges below reflect what we typically book in Summerlin:
| Job | Typical Range | Time on Site |
|---|---|---|
| Opener repair (board, gear, capacitor, sensor) | $180 to $420 | 45 to 90 min |
| Opener installation, standard (chain or belt) | $550 to $1,100 including unit | 2 to 3 hours |
| Opener installation, smart opener | $650 to $1,300 including unit | 2.5 to 3.5 hours |
| Header bracket repositioning (install add-on) | $75 to $150 labor | 30 to 45 min |
| Safety sensor realignment | $95 to $175 | 10 to 15 min |
| Wall-mount or jackshaft conversion | $950 to $1,600 | 2.5 to 4 hours |
| Second opinion on a written estimate from another company | No charge | 15 to 30 min |
Prices vary by unit, door weight, ceiling height, and whether wiring is already in place. What doesn’t vary is the written quote and the scope before anyone starts unscrewing a bracket. If the header bracket can’t mount where planned and the job runs long, that’s our problem to quote correctly, not your surprise to absorb. We’ve done this since 2015 across 18,000+ garage doors, and every one of those jobs closed with a written price before work and a documented record after – and a 365-Day Done Right Promise that covers the work if it isn’t right.
Two costs to flag as you budget: an opener replacement on a door that also needs new springs will run higher, and the springs are a separate safety issue. Torsion springs are under real tension – a snapped spring is a serious injury waiting to happen, and we don’t recommend anyone handling them. Expect to see a spring quote paired with any larger opener job, and treat that as a safety conversation, not an upsell. If you’re weighing whether the opener or the door is the bigger issue, our Garage Door Repair in Summerlin team can run the diagnostic and write both up in one visit.
Common Mistakes to Avoid
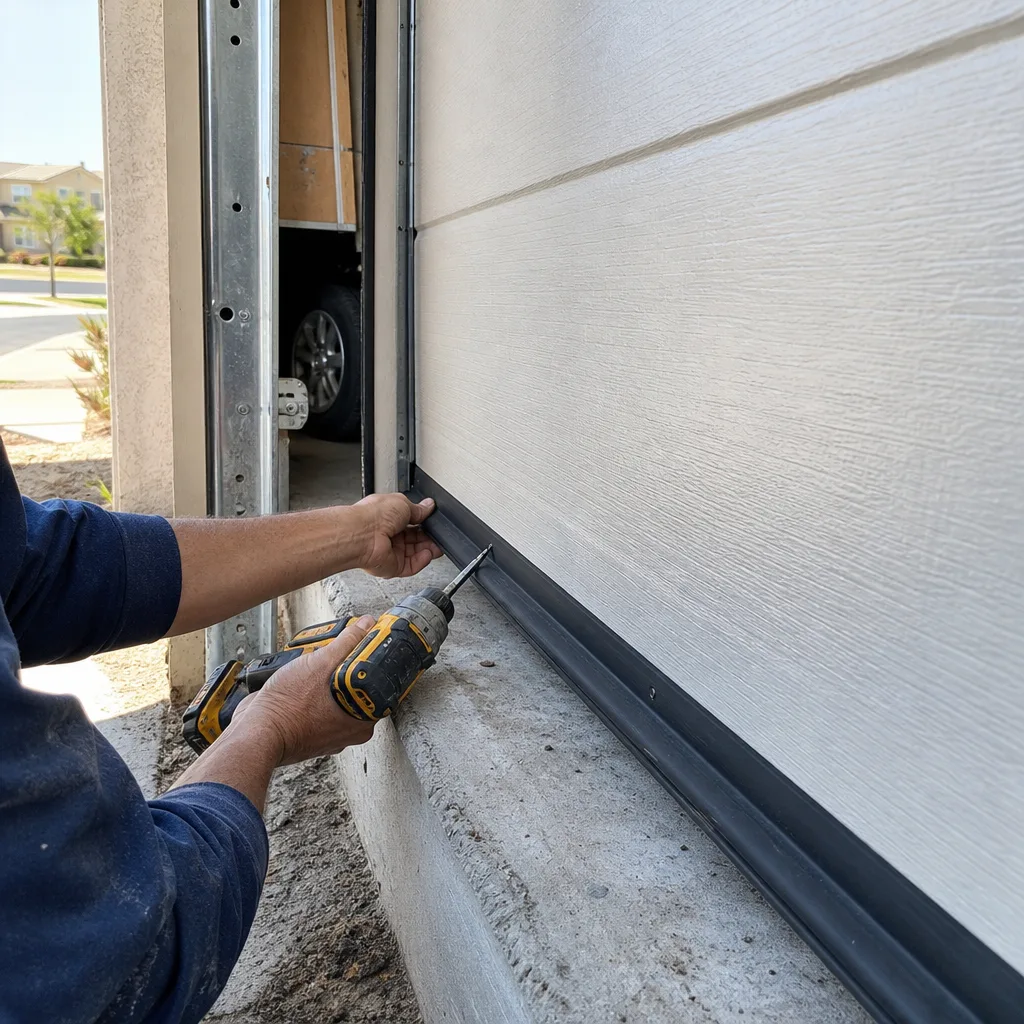
- Booking a same-day install. Opener repair can often be scheduled quickly; a new opener installation can’t, because the unit has to be measured and ordered. Expect a scheduling window, not a same-day arrival, and be suspicious of anyone who promises otherwise.
- Not measuring the door before choosing an opener. Summerlin’s insulated garage doors are heavier than standard doors. An undersized opener on a heavy door wears out fast. Get the door’s weight measured first.
- Skipping the test cycles. A working door isn’t the same as a safe one. If the auto-reverse wasn’t tested on a block of wood, the safety feature may not work.
- Accepting a phone quote. A phone quote without measuring the door, confirming ceiling height, or inspecting the header bracket is an estimate at best and a surprise at worst.
- Dismissing a smart opener’s connectivity test. Pairing the app in the garage and never testing from the driveway is how you end up with a “smart” opener that only works when you’re standing next to it.
- Clearing nothing from the garage floor. The overhead storage and holiday bins slow every step on site. Clear the work area the night before.
- Ignoring the warranty terms. Ask what’s covered and for how long before the work starts. The 365-Day Done Right Promise is written down and tied to a terms page, not a handshake – make sure whatever you’re quoted is equally specific.
See the difference
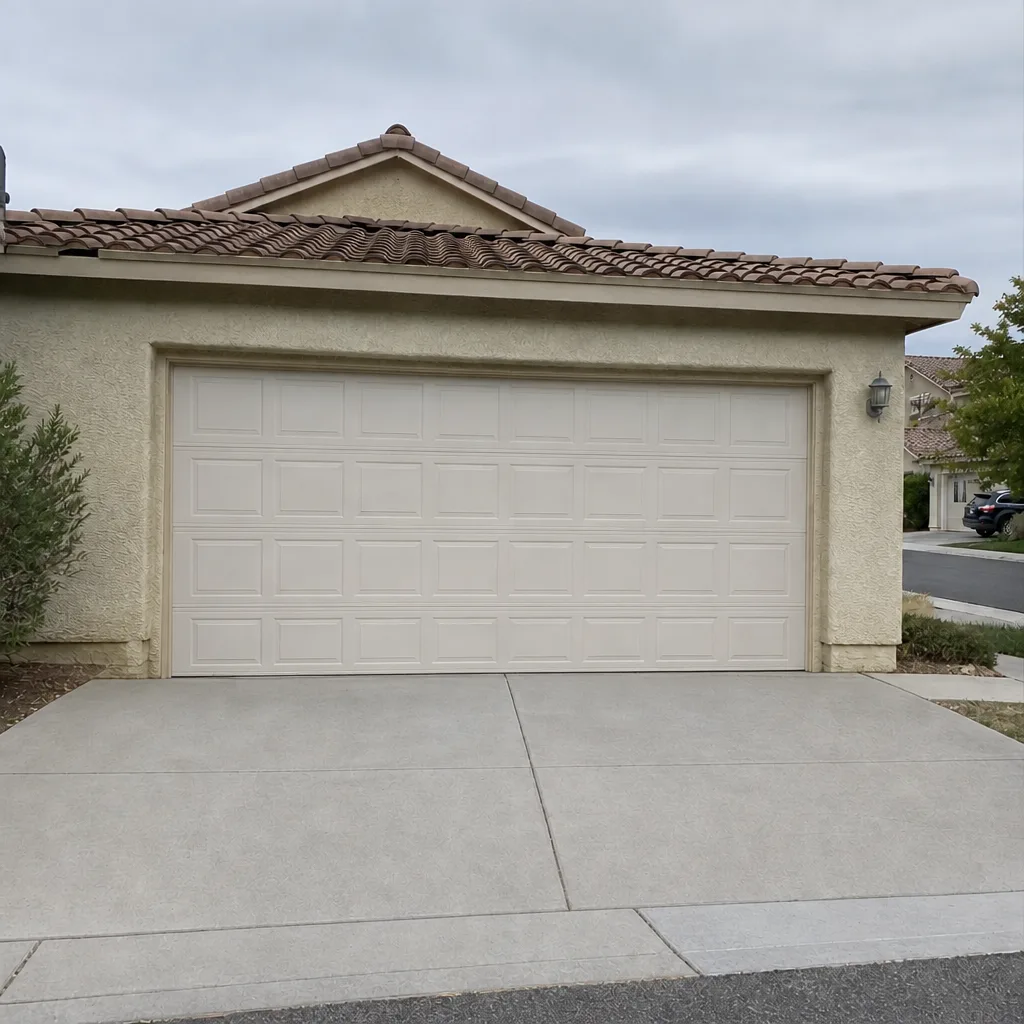
BeforeAfter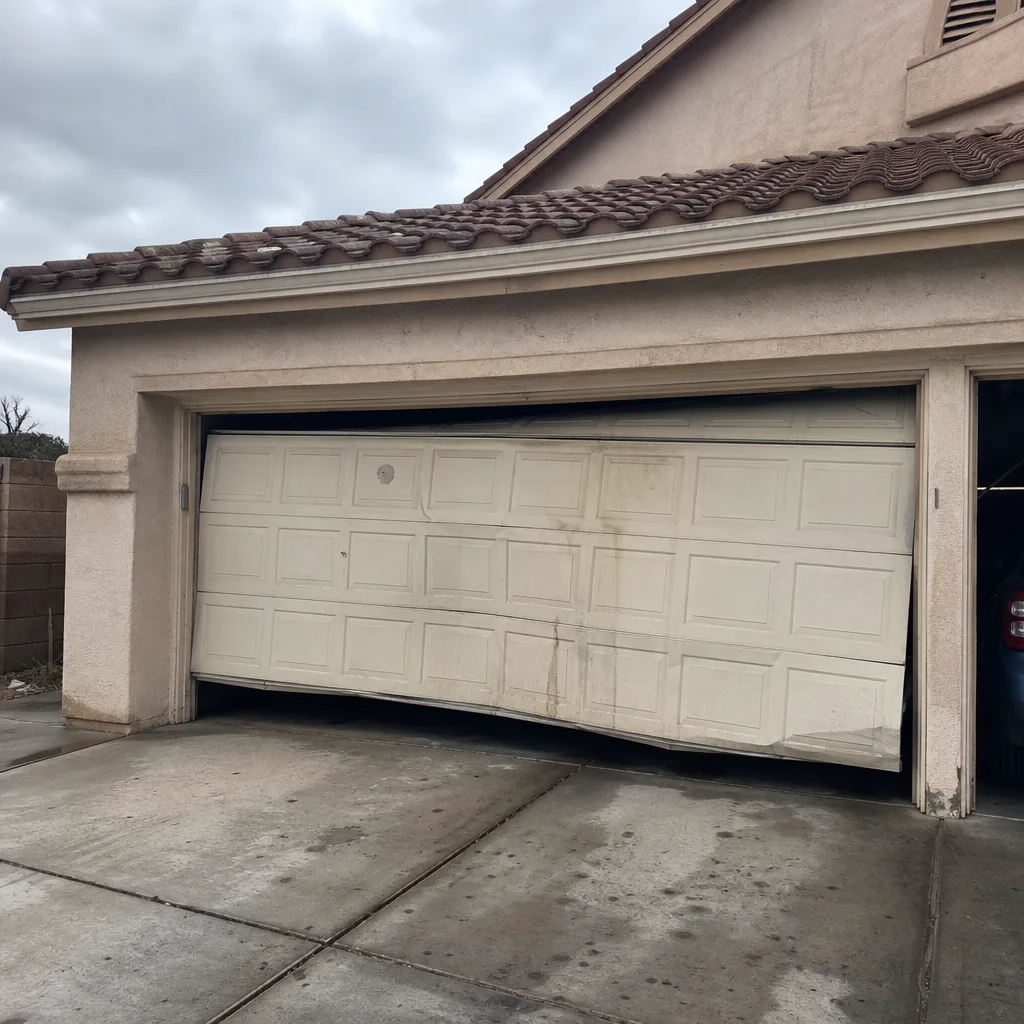 Before
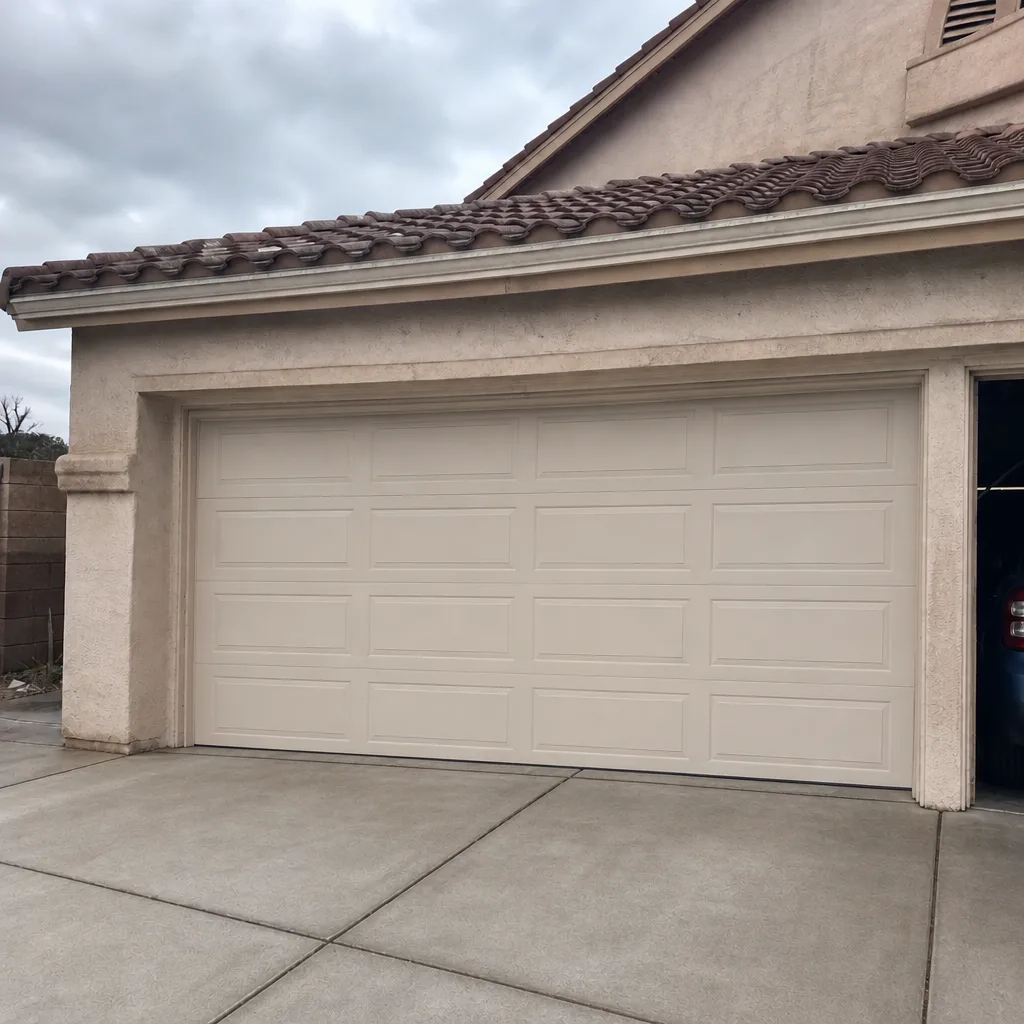 After
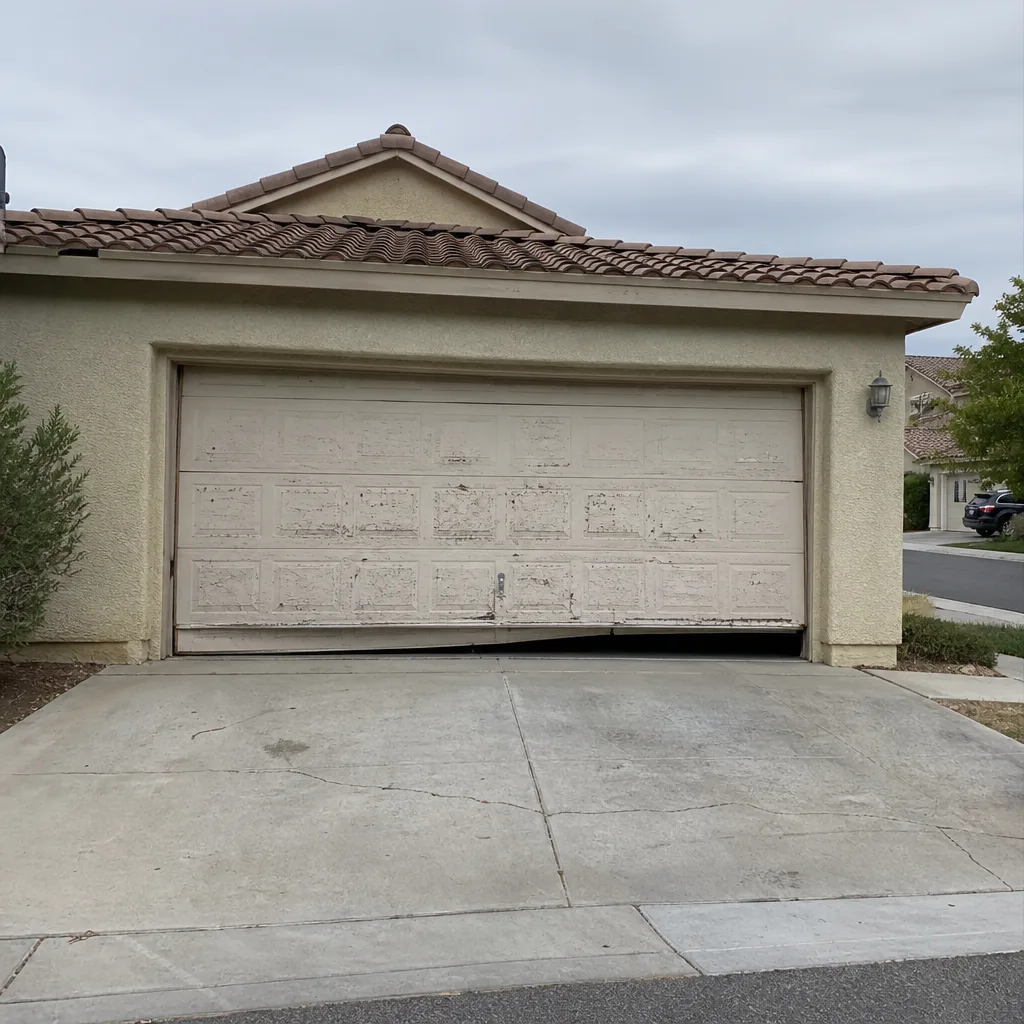 Before
 After
When to Call a Professional
Call us any time the door reverses unexpectedly, won’t fully close, stops halfway up, or the opener hums without moving. Those are the symptoms of a failed capacitor, a stripped gear, or a sensor issue – none of which get better with a YouTube tutorial and a screwdriver. Also call if the opener is older than about 15 years and fails repeatedly, or if a door is out of balance and lifts unevenly; that’s often a spring problem, and torsion springs are not a DIY item. A snapped spring under tension can cause serious injury. If your opener won’t respond at all and you’re locked out or can’t secure the garage, that’s an emergency call.
Servo Garage Doors Summerlin offers free estimates in Summerlin. We answer the phone live, 24/7, and when you call you get a named technician and an on-the-way text rather than a callback window. Call (844) 797-3654 – written price before any work starts, photo record when the technician leaves.
Frequently Asked Questions
Plan for 2 to 3 hours for a standard opener and 2.5 to 3.5 hours for a smart opener. Most of that is site assessment, header bracket mounting, and the 20 to 30 minutes of programming and test cycles after the mount. The physical mounting of the unit itself is often under an hour. Call (844) 797-3654 for a written quote on your install – estimates are free.
Typically 45 to 90 minutes total, with 15 to 30 minutes spent on diagnosis and 20 to 40 minutes on the actual repair. The diagnosis is what keeps the repair correctly scoped. In Summerlin, finished garages with the opener mounted high above storage clearouts run toward the longer end. Call (844) 797-3654 for a same-day repair window where available.
Often, yes. Repair calls are dispatched the same day when capacity allows, and emergency calls are answered live 24/7. We can’t promise a same-day dispatch on every call, but we can tell you a real window when you call. Call (844) 797-3654 and we’ll confirm availability.
No. The price is quoted and agreed in writing before any work starts, per Clause 1 of The Haven Standard. If diagnosis turns up something beyond the original scope, the technician shows you the finding, explains the new written price, and waits for approval before continuing. Call (844) 797-3654 for a written estimate.
Yes. We service all eight major brands, including LiftMaster, Chamberlain, Genie, Clopay, Amarr, Wayne Dalton, Craftsman, and Raynor. Smart setup adds 15 to 20 minutes for WiFi configuration and connectivity testing. Call (844) 797-3654 with your preferred model or ask for a recommendation based on your door.
The Haven Standard is the written system every Servo job runs on: a flat, written price and written scope before work begins, and a documented photo record of the findings and completed work after. It replaces “trust us” with paperwork you keep. Call (844) 797-3654 and ask for the written quote – it’s free.
The Bottom Line
Repair time is mostly diagnosis; installation time is mostly site prep and testing. A logic board swap takes twenty minutes once the failed part is confirmed; an opener install takes two to three hours once the header bracket is mounted and the test cycles are run. The two numbers get quoted the same way on a lot of pages, and that’s why scheduling surprises happen. If you’re planning the work in Summerlin, clear the garage floor, snap a photo of the old opener’s sticker, and know that your quote should be written, itemized, and in your hand before anyone touches a tool. Call (844) 797-3654 for a free written estimate and a realistic window on your job.
Written by the team at Servo Garage Doors Summerlin.