
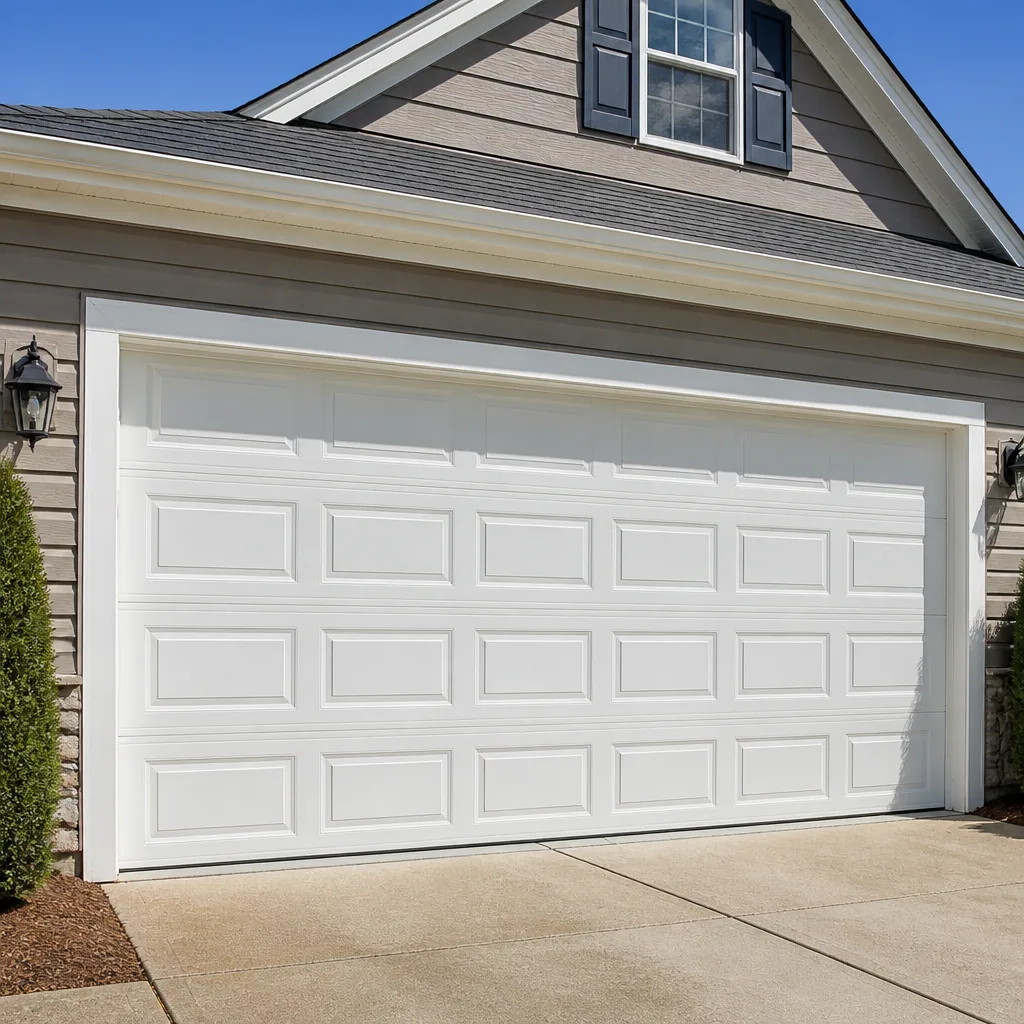
 Raised-panel steel
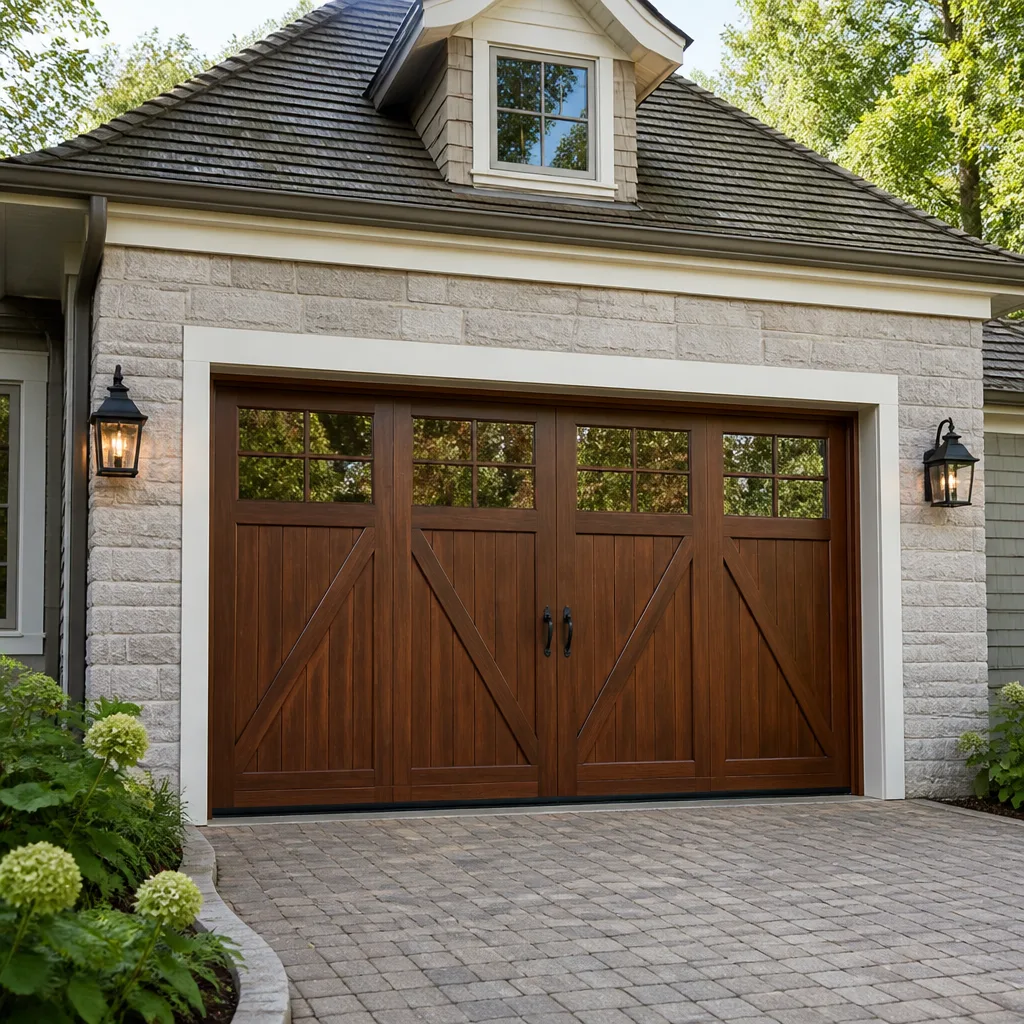 Carriage house
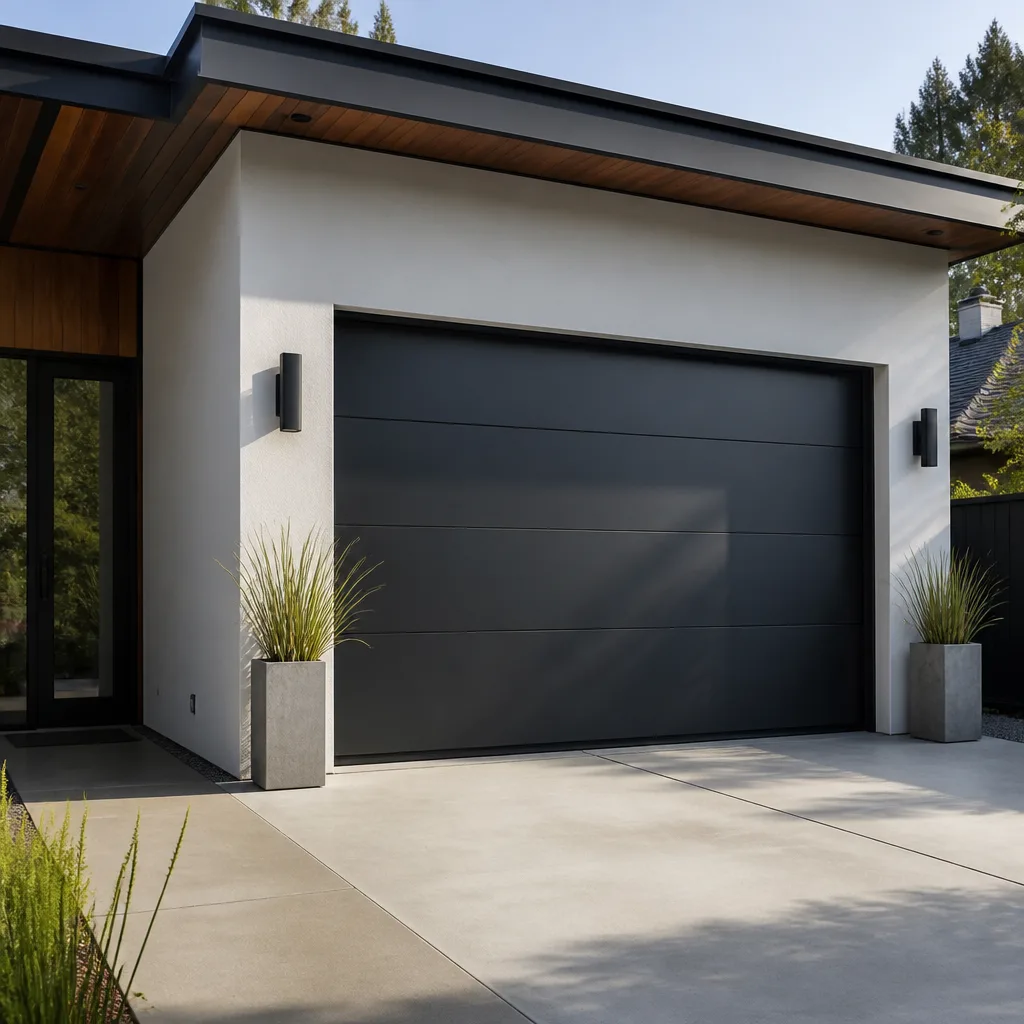 Modern flush
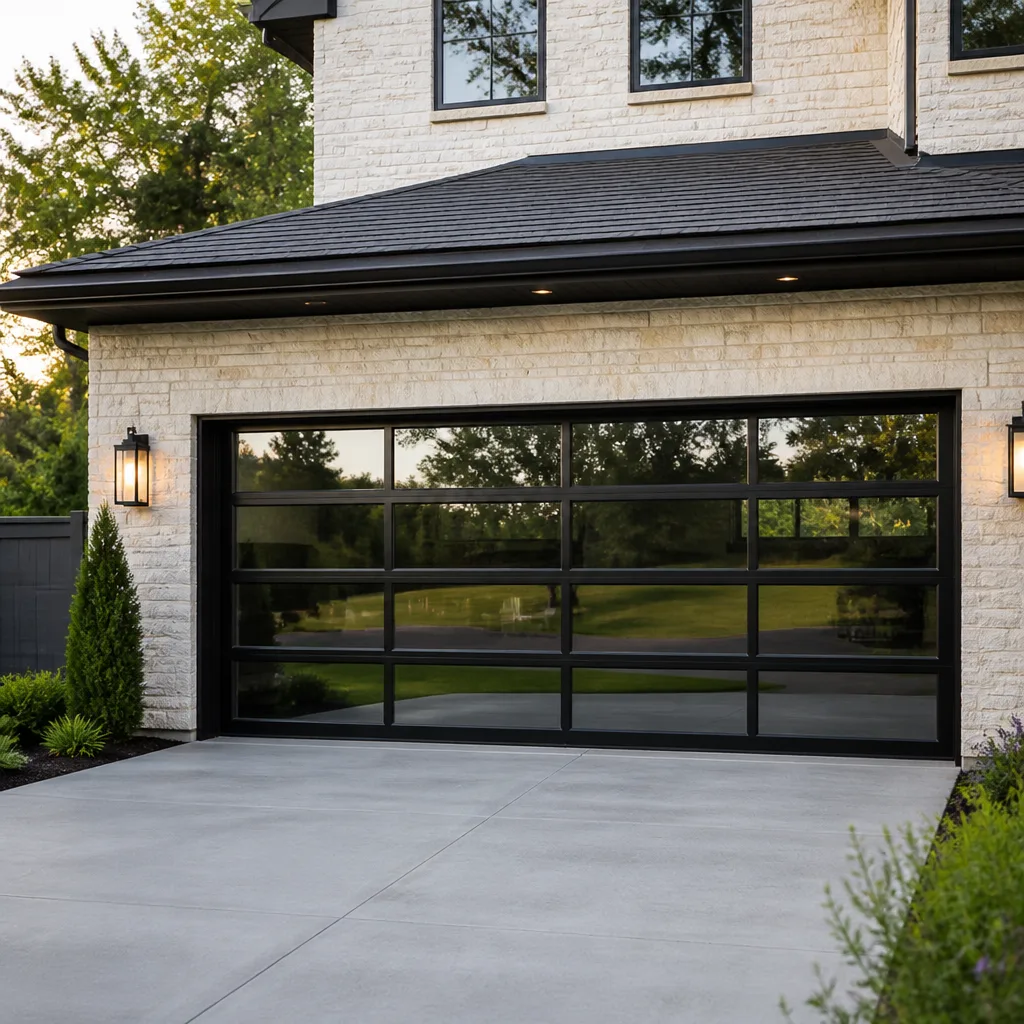 Full-view glass
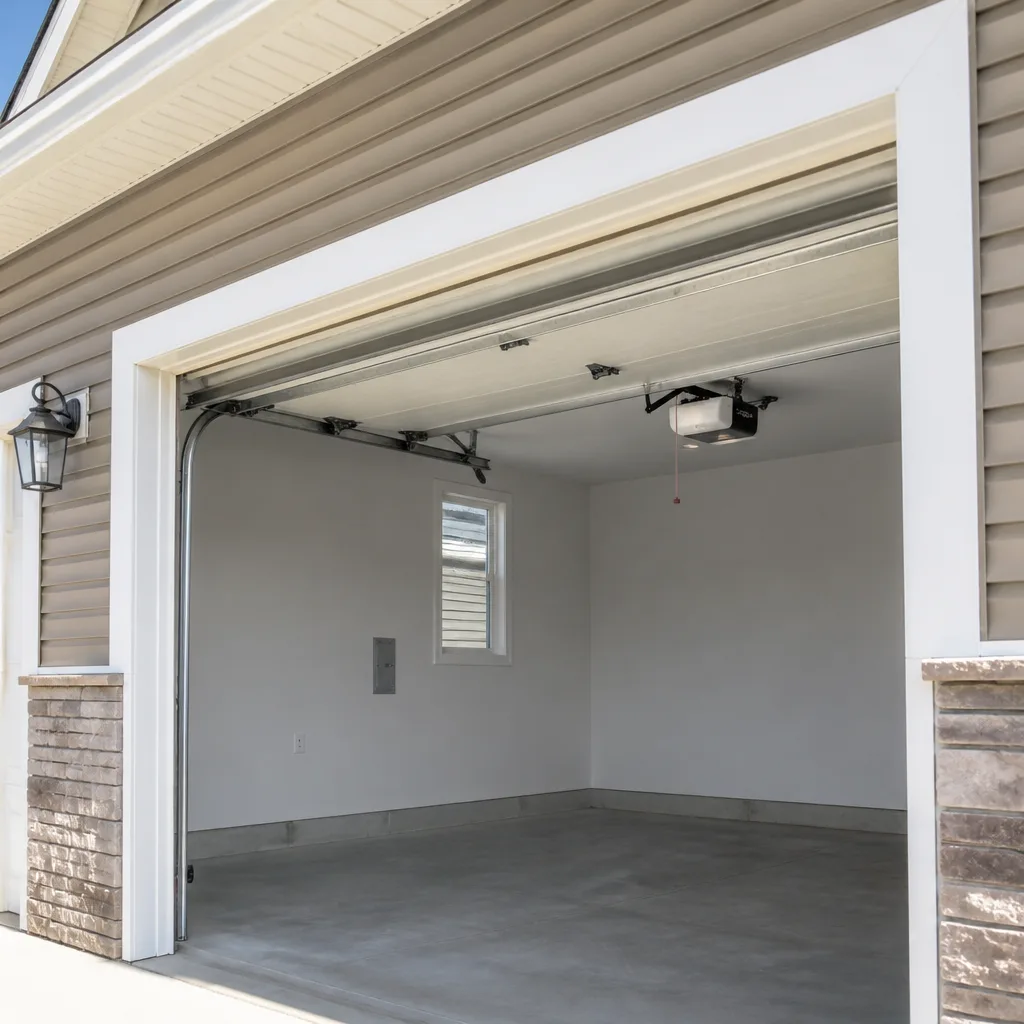 LiftMaster openers
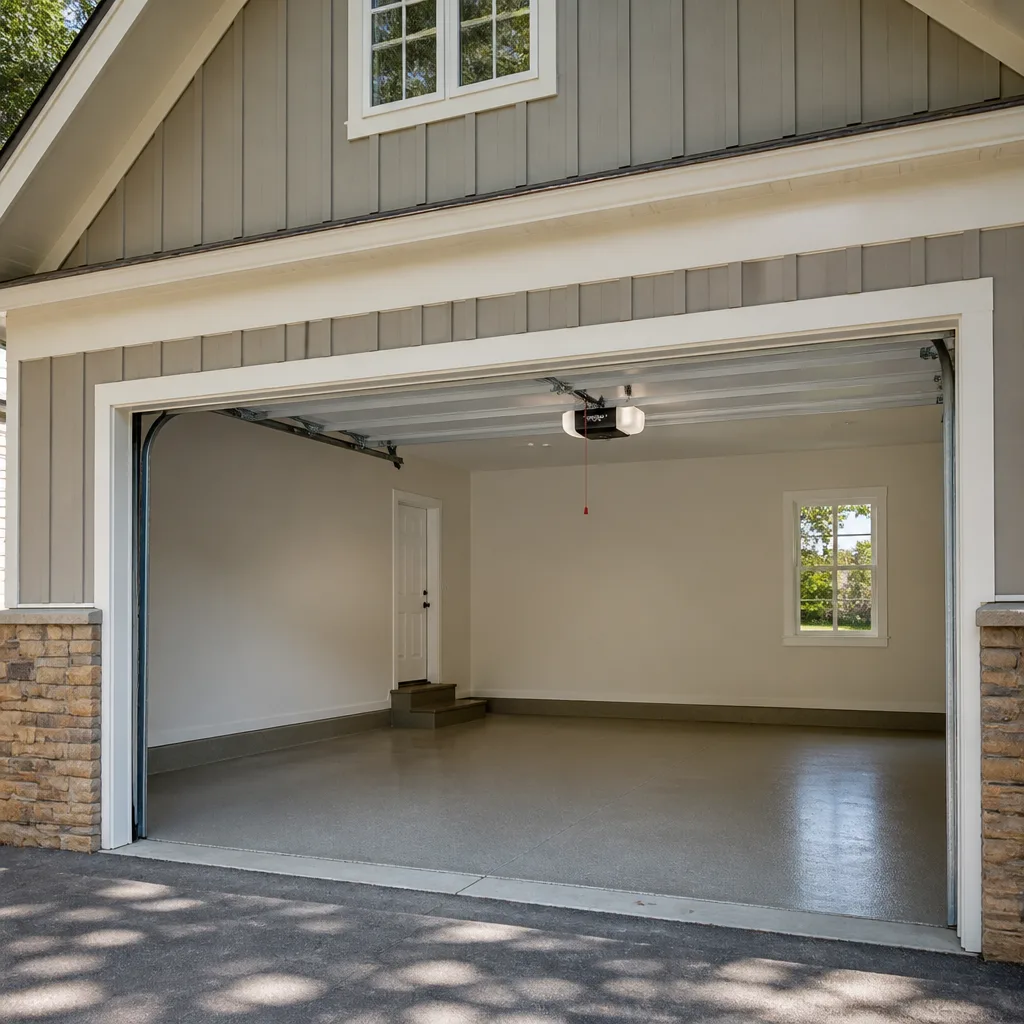 Chamberlain openers
Full 25-point door and opener safety check with every visit - springs, cables, rollers, tracks, and your LiftMaster or Chamberlain opener included
You get a price before we start. It does not change when the pro arrives.
Get your free estimateStyles & brands we work with
- Raised-panel steel
- Carriage house
- Modern flush
- Full-view glass
- LiftMaster openers
- Chamberlain openers
See the difference
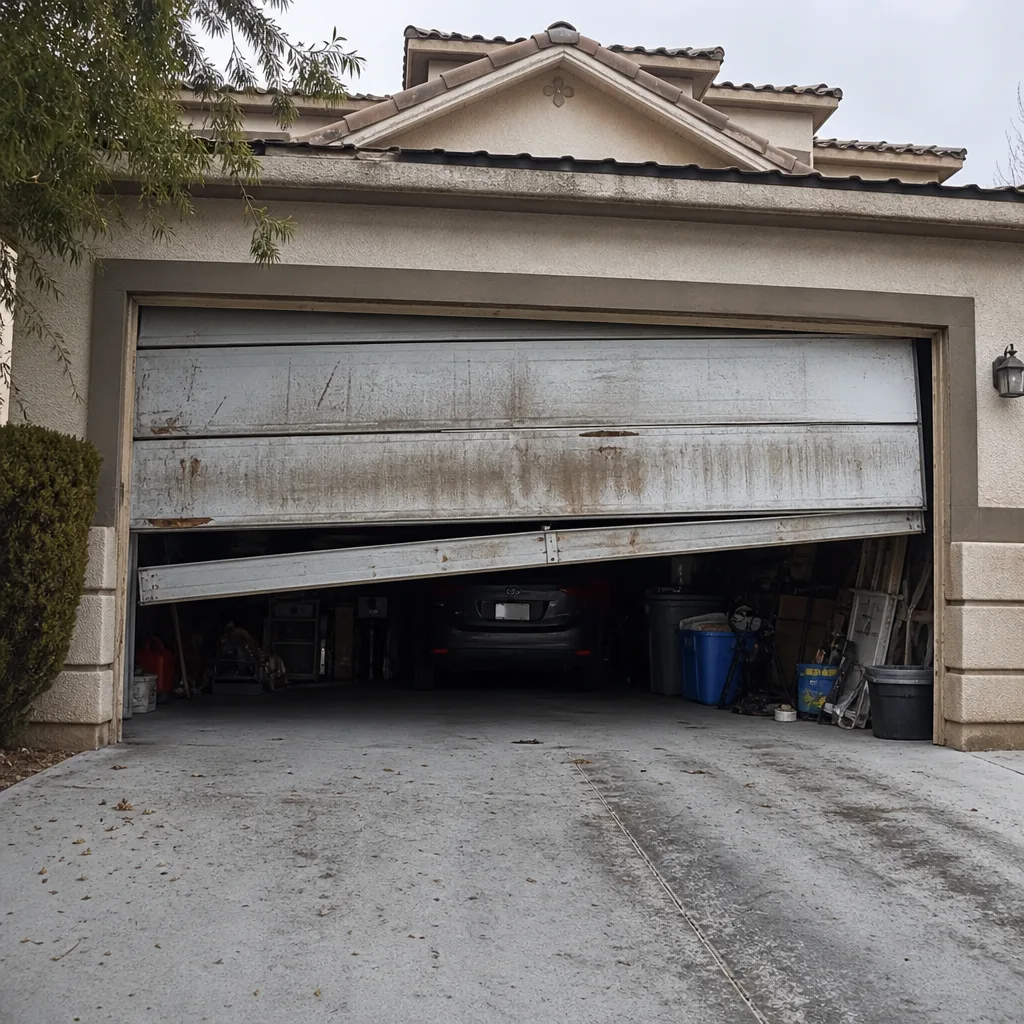 Before
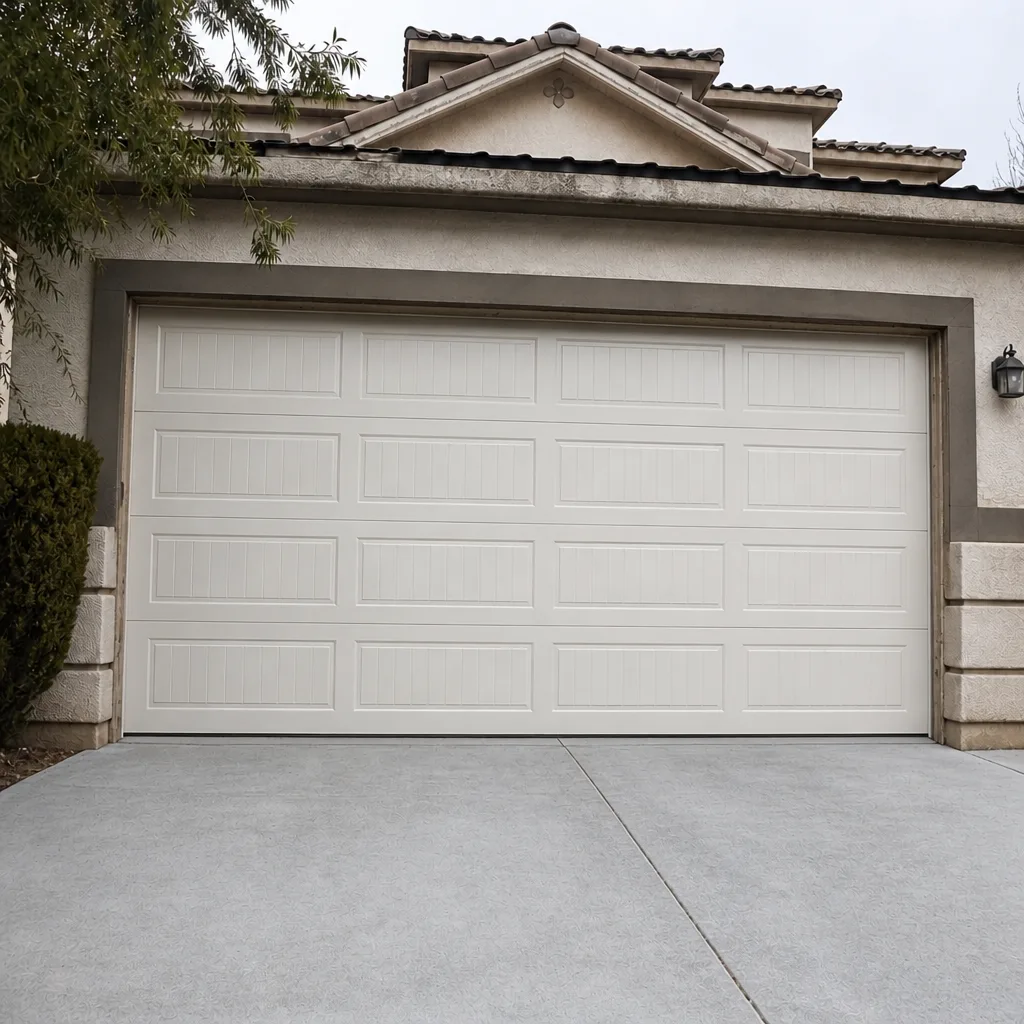 After
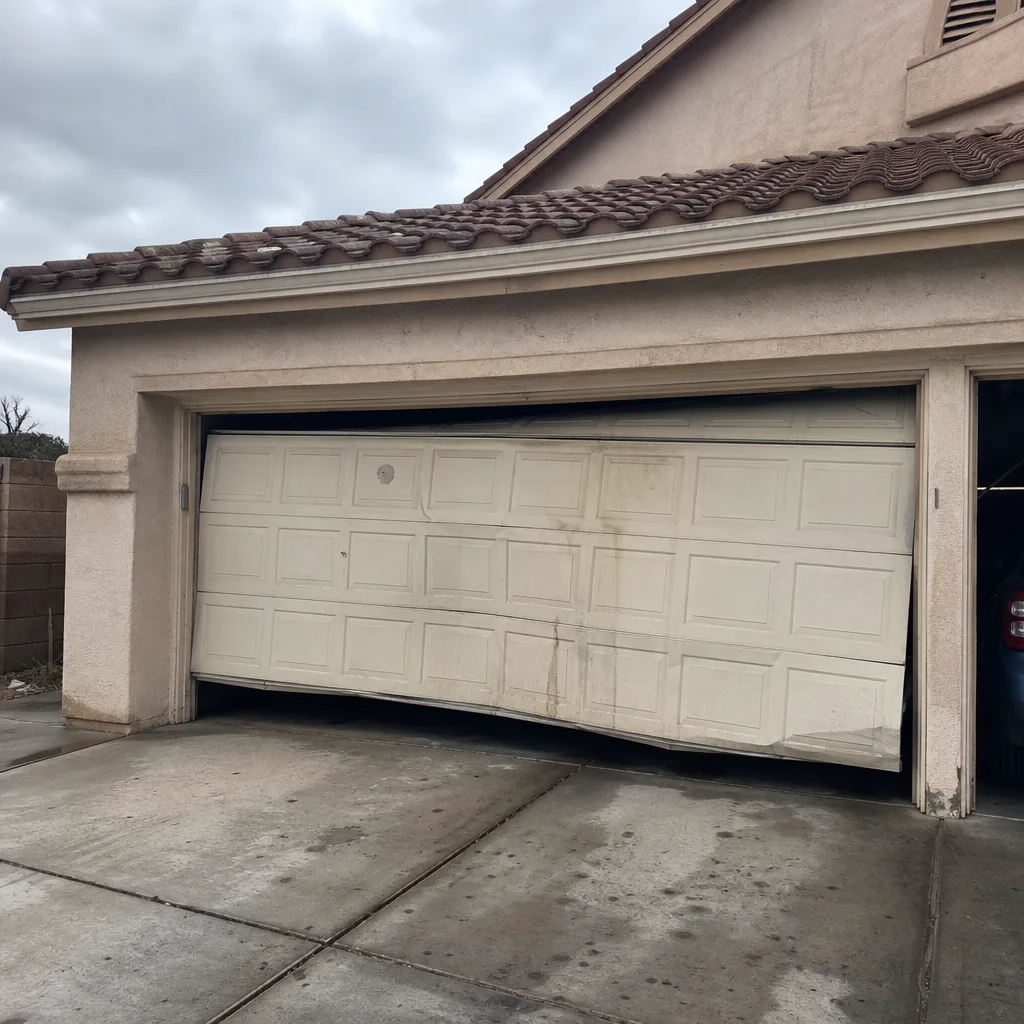 Before
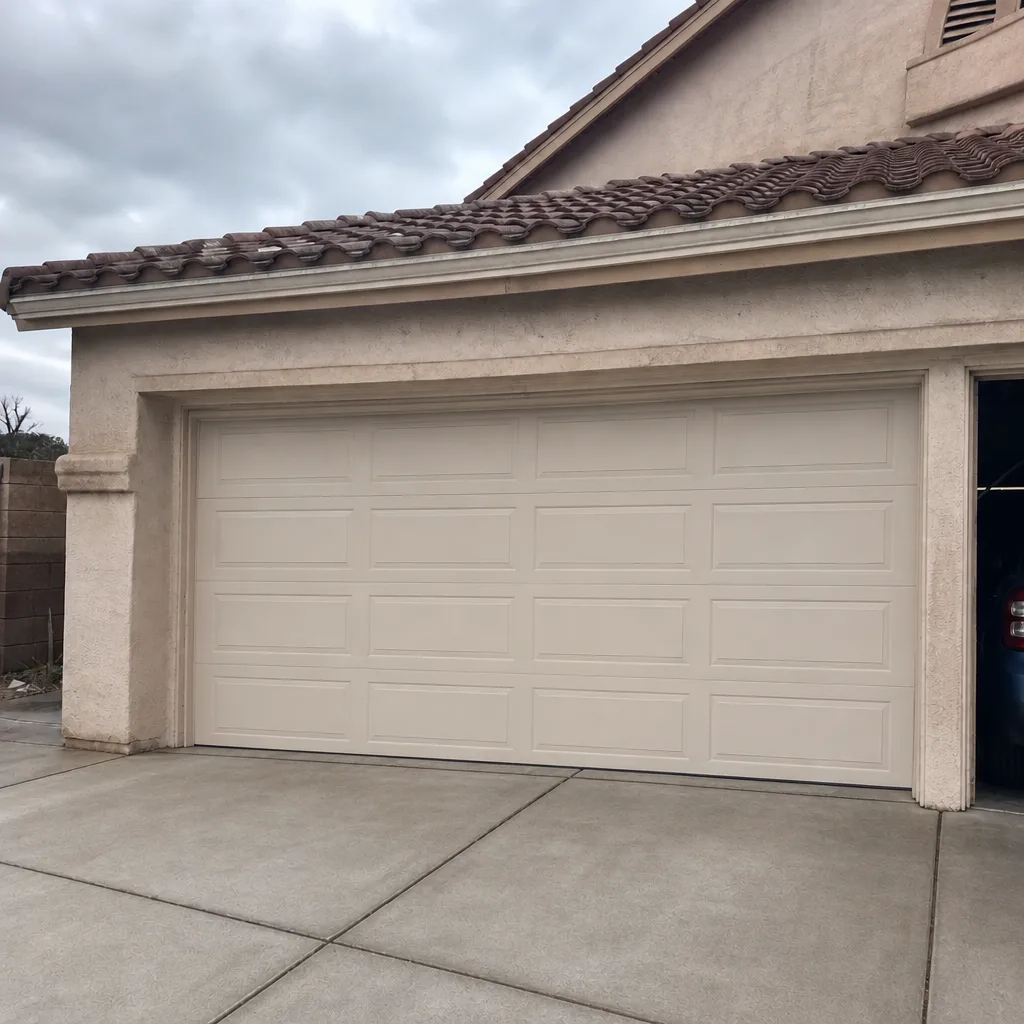 After
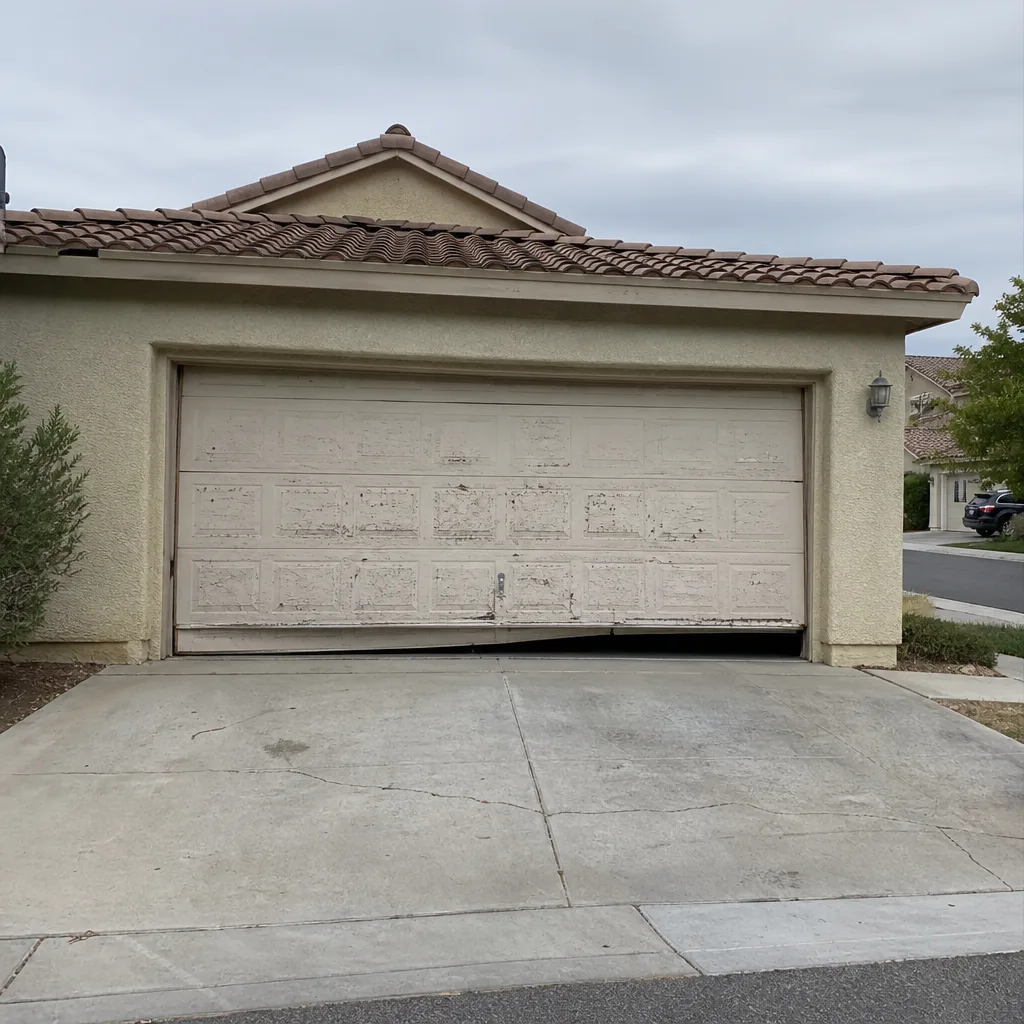 Before
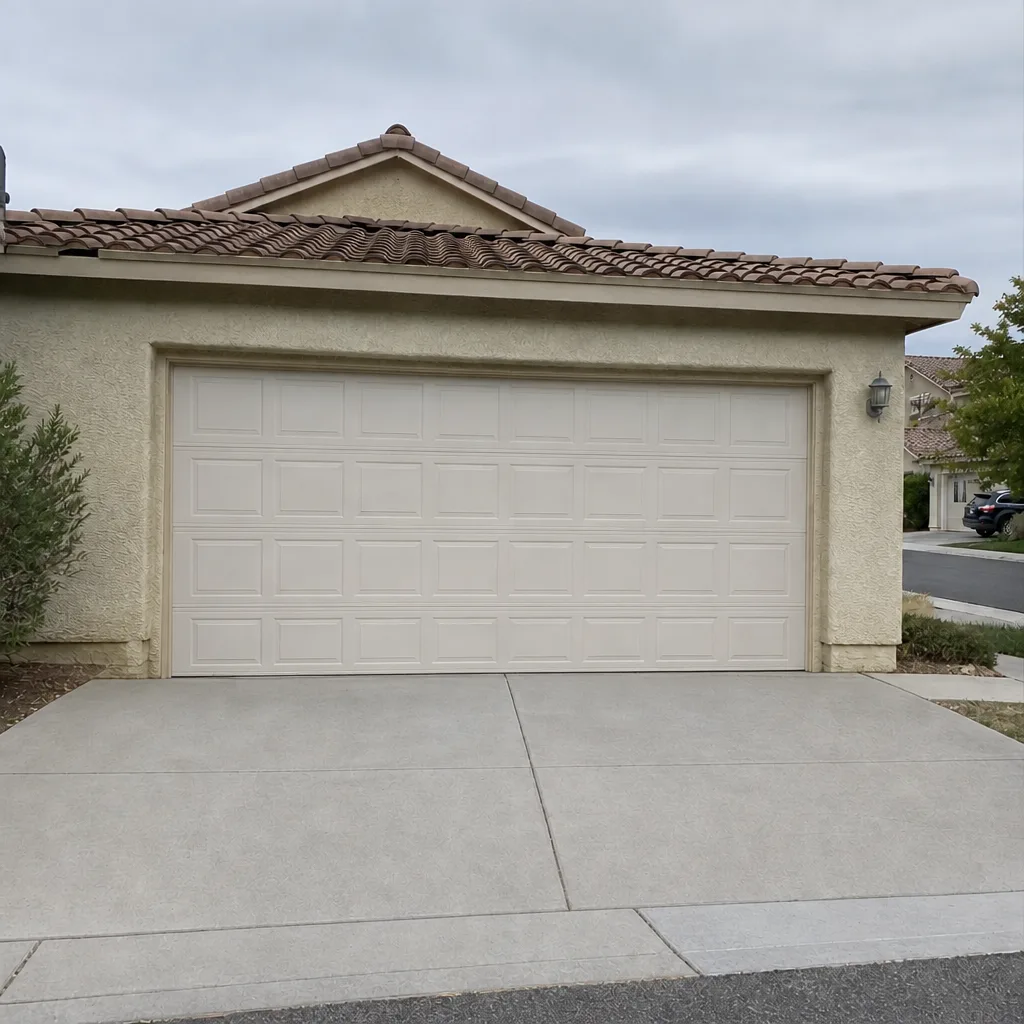 After
How to Program a Garage Door Opener in Summerlin, NV (And Why the Instructions on the Package Sometimes Don’t Apply)
In most Summerlin homes, you program a garage door opener by pressing the learn button on the opener head, then pressing your new remote or keypad within about 30 seconds while the LED is still lit. That’s the rolling-code procedure, and it works for openers built after 1996. But if your Summerlin home was built before 1997 and the original opener is still up there, the standard “hold the learn button” routine on every new remote package will not work, and here is why. Servo Garage Doors Summerlin handles opener programming and diagnostics across the valley every week, and the calls we get most often come from homeowners stuck on exactly this mismatch. If you’d rather skip straight to a diagnosis, call (844) 797-3654 for a free estimate.
Fixed-code vs. rolling-code: why the instructions don’t always match your opener
Two different technologies are in play, and they require two completely different programming routines. A fixed-code opener sends the same radio signal every time you press the button. You program it by matching physical DIP switch positions, not by pressing a learn button. A rolling-code (also called Intellicode or Security+) opener generates a new code with every press, and a receiver chip syncs to your remote through the learn button. The rolling-code standard became universal around 1996. Openers made before that are fixed-code.
In Summerlin, that distinction matters because of the housing stock. Sun City Summerlin and The Trails are the earliest villages here, and plenty of those homes still carry original builder-installed openers from the early 1990s. Walk into one of those garages and you’ll often find a DIP switch bank on the opener head and a matching bank inside the remote. Program that system with a learn-button routine and nothing happens. The remote you bought at a big-box store may not even include the DIP code table, because the manufacturer assumes you have a rolling-code unit.
Programming a fixed-code opener (pre-1996, common in Sun City Summerlin and The Trails)
The process is physical, not electronic. You slide tiny switches up and down on both the opener head and the remote until they match. Look at the opener head first. You’ll see a row of 8 to 12 switches, each labeled ON or OFF, or numbered 1 through 12. Write down the position of each one. Then open the battery compartment on the remote or keypad and set its switches to the same positions. If the remote has a small set of pins rather than switches, set those pins to match the opener’s switch bank.
A few things trip people up here. Some older Craftsman and Genie openers use a nine-position bank while the remote uses a twelve-position bank, and only the first nine positions matter. Others label the switches with plus and minus signs instead of ON and OFF. When the positions match and the battery is fresh, the remote works immediately. No learn button, no LED flash, no timing window.
How to program a rolling-code opener: LiftMaster, Chamberlain, and Genie timing
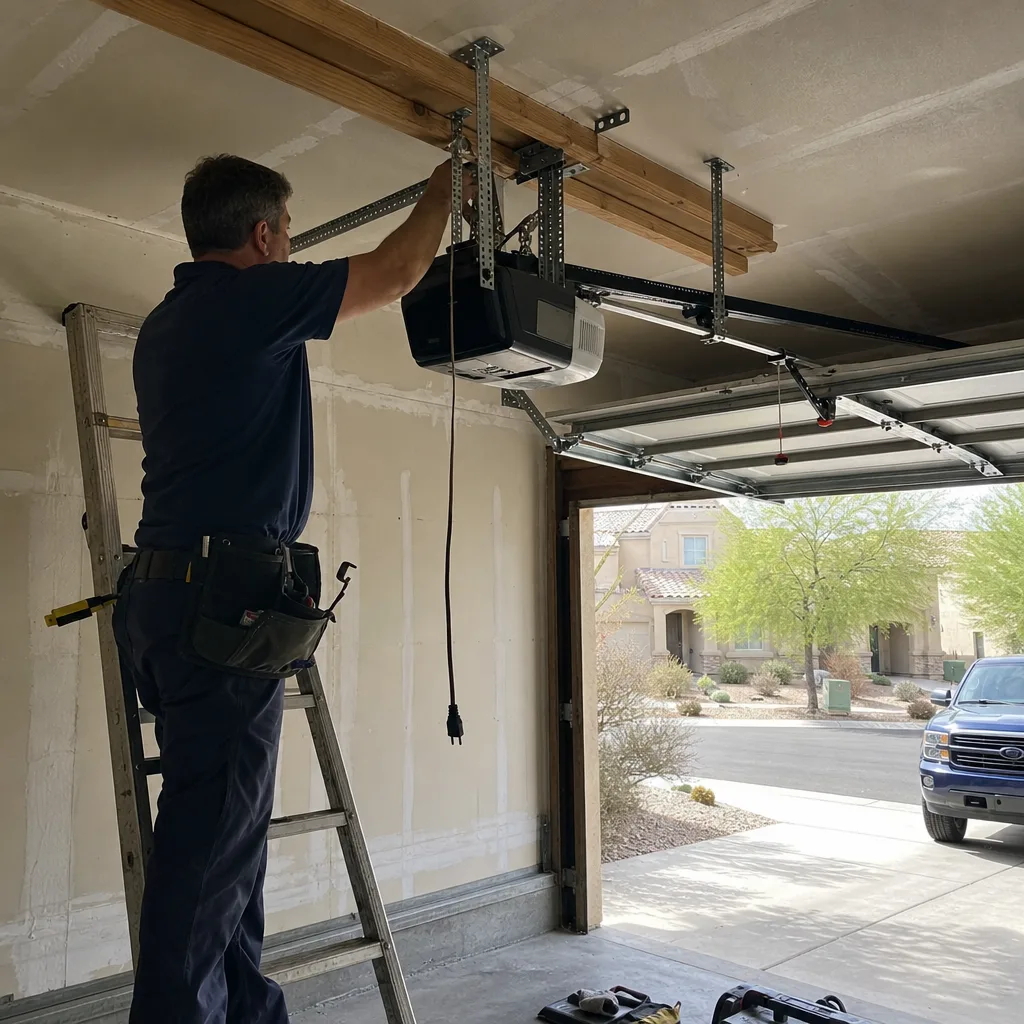
For post-1996 openers, the sequence is roughly the same across brands, but the button-hold timing and the LED behavior differ enough that generic instructions fail. Here’s the version that actually works, in order.
- Locate the learn button on the opener head. It’s usually a small colored button near the antenna wire, and its color varies: purple, yellow, red, orange, or green depending on the model. On LiftMaster and Chamberlain units the button sits near the terminals; on Genie openers the equivalent is often marked “LEARN” or “PROG.”
- Press and release the learn button once. The LED beside it should light and stay lit for a set window. On LiftMaster and Chamberlain units that window is about 30 seconds. Genie openers commonly give you a shorter window, closer to 20 seconds, and the LED may blink rather than hold steady.
- Press the remote button within that window. Hold it for a second or two. The opener will click or the LED will flash to confirm the sync. If the LED never lights when you press the learn button, stop here and read the section below on logic boards.
- For a keypad, enter your existing PIN if the keypad is already paired, or press the learn button again and then enter a new 4-digit PIN followed by Enter. Keypads often need the opener’s LED to be lit for the entire entry sequence, so have the PIN ready before you start.
If you’re replacing an opener entirely rather than programming one, our guide on garage door opener repair and installation in Summerlin covers what the job involves and what to expect. For a full scope of what our team handles, the home page lays it out. Our technicians have up to 11 years of experience with these systems, and background-checked, uniformed technicians handle every call. Written flat pricing arrives before any work starts. That’s the bedrock rule we work under.
BeforeAfterProgramming your car’s built-in button (HomeLink) instead of a remote
Many homeowners in newer Summerlin villages like The Ridges and Summerlin Centre don’t want another remote clipped to the visor. They want the garage door button programmed into the car. That’s a different routine entirely and it’s the actual question behind a lot of these searches. The car-to-opener sequence is not the same as the remote-to-opener sequence.
Here’s the order that works for most HomeLink and similar car systems:
- Clear the car’s existing programming first. Hold the two outer buttons on the car’s overhead panel for about 20 seconds until the indicator light starts blinking slowly. This wipes any old code, which matters if you bought the car used.
- Pair the car to your existing remote. Hold your working garage remote 1 to 3 inches from the car’s button and press both simultaneously until the car’s light changes from slow blink to rapid blink or solid. This teaches the car your remote’s signal.
- Sync the car to the opener head. Press the learn button on the opener, then return to the car and press and hold the programmed button for 2 seconds. Repeat if the opener has a second press required (some LiftMaster models do).
- Test from inside the garage with the door closed and you inside, so you can watch the opener’s LED react.
Car systems often need two people or a rolling ladder, and the timing is tighter than a handheld remote. This is where most Summerlin homeowners give up and call. It’s also where a same-day diagnostic visit saves hours of trial and error.
What to do when programming fails even after the correct procedure
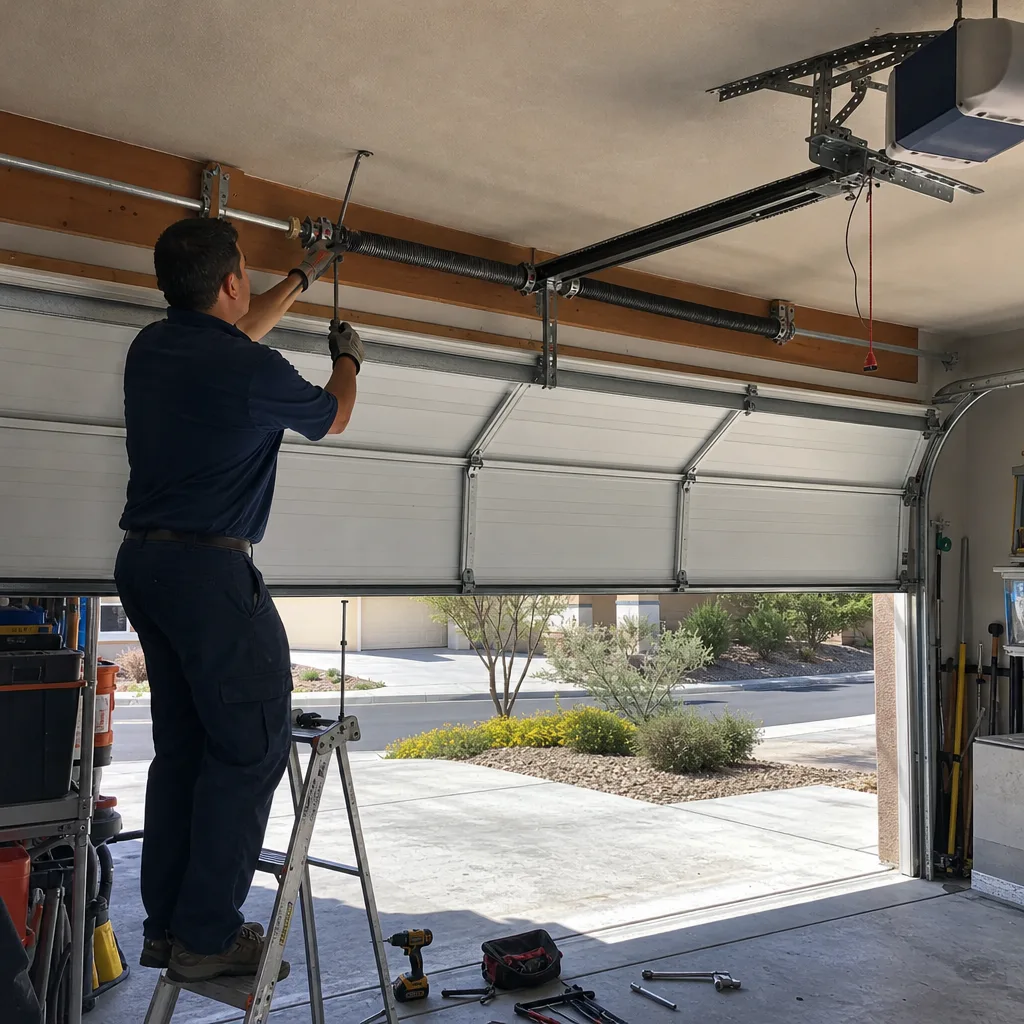
Sometimes you follow the steps exactly and nothing takes. The most common cause in Summerlin is a logic board that has lost its learn memory. The board is the circuit that stores paired remotes and runs the opener’s logic. When it loses that memory, no new remote will program, no matter how many times you press the learn button. The trigger is usually a power surge.
The Las Vegas Valley gets summer monsoon storms with lightning, and a nearby strike can fry the board’s memory chip without killing the opener entirely. The door still opens and closes from the wall button, but the learn function stops working. If that’s what you’re seeing, the board is the issue, not your procedure. You may also run into this if the opener head sits near a three-phase panel or has been running hot through a West-facing summer.
What we typically see on a Summerlin service call:
| Problem | What it usually means | Typical Summerlin price |
|---|---|---|
| Learn LED won’t light when powered | Failed logic board or disconnected learn circuit | $120-$320 (opener repair) |
| Learn LED lights but remote won’t pair | Wrong frequency remote or dead remote battery | Contact us for a quote on the part |
| DIP switches won’t sync on an old opener | Mismatched switch bank or corroded head contacts | $120-$320 (opener repair) |
| Keypad won’t accept a new PIN | Keypad not paired or opener memory full | $120-$320 (opener repair) |
| Opener requires full replacement | Board failure on an opener past service life | $250-$550 (opener installation) |
These ranges reflect what Summerlin homeowners actually pay for the corresponding work. If a technician from another company has already given you a written estimate, we’ll give you a free second opinion on it. Bring the paperwork.
Where DIY programming ends and a technician is warranted
If the learn LED doesn’t illuminate at all when the opener is powered, that’s a board problem, not a remote problem, and it warrants a technician. A live logic board is carrying line voltage, and opening the housing to test it is not something to try at home. A same-day call from Servo Garage Doors Summerlin gets the board diagnosed, and if a replacement is needed, you’ll get a flat written quote before anything is ordered. Every visit includes a documented photo record of what was found and what was done, and the failed part gets photographed before any replacement is quoted.
Summerlin sits inside a 22,500-acre master-planned community built out since 1990, and nearly every garage here is a post-1990 stucco-and-tile builder install. That means the doors and openers are mostly original builder-grade equipment now hitting the 25-to-35-year mark. When it’s time to replace rather than repair, the community design-review covenants mean you’ll need to match the approved color and window pattern. A homeowner in The Ridges and one in Sun City Summerlin can face different approval paths for the same 16×7 door. We know those paths.
FAQs
Your opener is almost certainly a fixed-code model made before 1996, which uses DIP switches rather than a learn button. That’s common in Sun City Summerlin and The Trails, where original builder-grade openers are still mounted. Open the remote’s battery compartment and check for a switch bank instead of a circuit board. If the switches are there, match their positions to the switches on the opener head. If neither the remote nor the opener has a learn button or DIP switches, call (844) 797-3654 and we’ll tell you what you’re looking at.
Yes, and it’s a routine call for us in newer Summerlin villages like The Ridges and Summerlin Centre. The car-to-opener sequence is different from the remote-to-opener sequence, and getting the timing right on the learn button plus the car’s sync button is where most people get stuck. Call (844) 797-3654 for a same-day visit; there’s no charge to get it looked at if you need an estimate.
Opener repair in Summerlin typically runs $120-$320, and that covers board diagnostics and most learn-memory issues. If the board is beyond repair and the opener needs replacing, opener installation ranges from $250-$550. Every job has a flat, written price and written scope before work starts, so you know the number going in. Call (844) 797-3654 for an exact quote; estimates are free.
Repair is usually cheaper when the opener is under 15 years old and the rest of the unit is solid. Once the board fails on an opener past 20 years, replacement often makes more sense, especially with the newer quieter belt-drive units. We’ll photograph the failed part and show you both numbers before you decide. Call (844) 797-3654 and we’ll walk you through it on a same-day call.
If you’d rather have it looked at, Servo Garage Doors Summerlin offers a no-pressure assessment in Summerlin. A background-checked, uniformed technician will diagnose the opener, photograph what’s failed, and hand you a flat written price before any work starts. Call (844) 797-3654 for a free estimate.
Written by the team at Servo Garage Doors Summerlin, serving Summerlin, NV.