
Last updated November 17, 2026
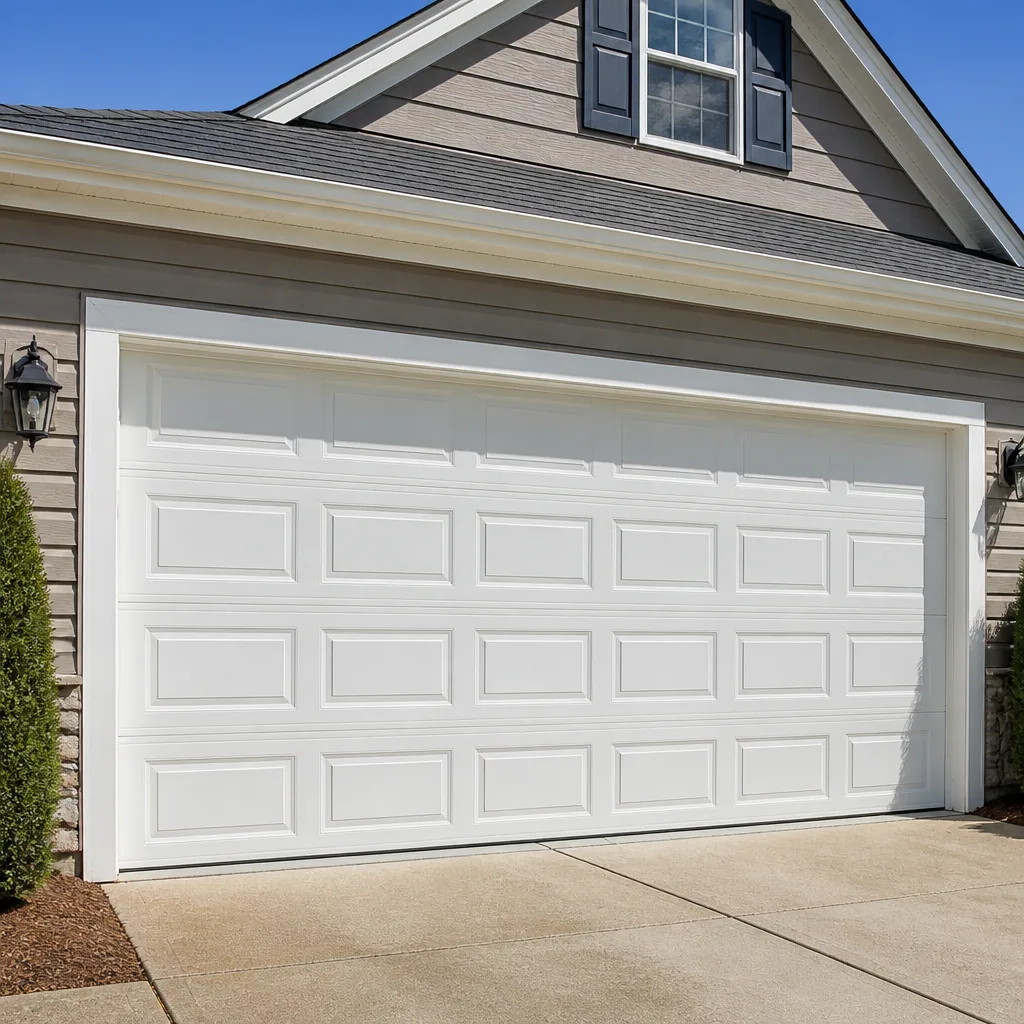 Raised-panel steel
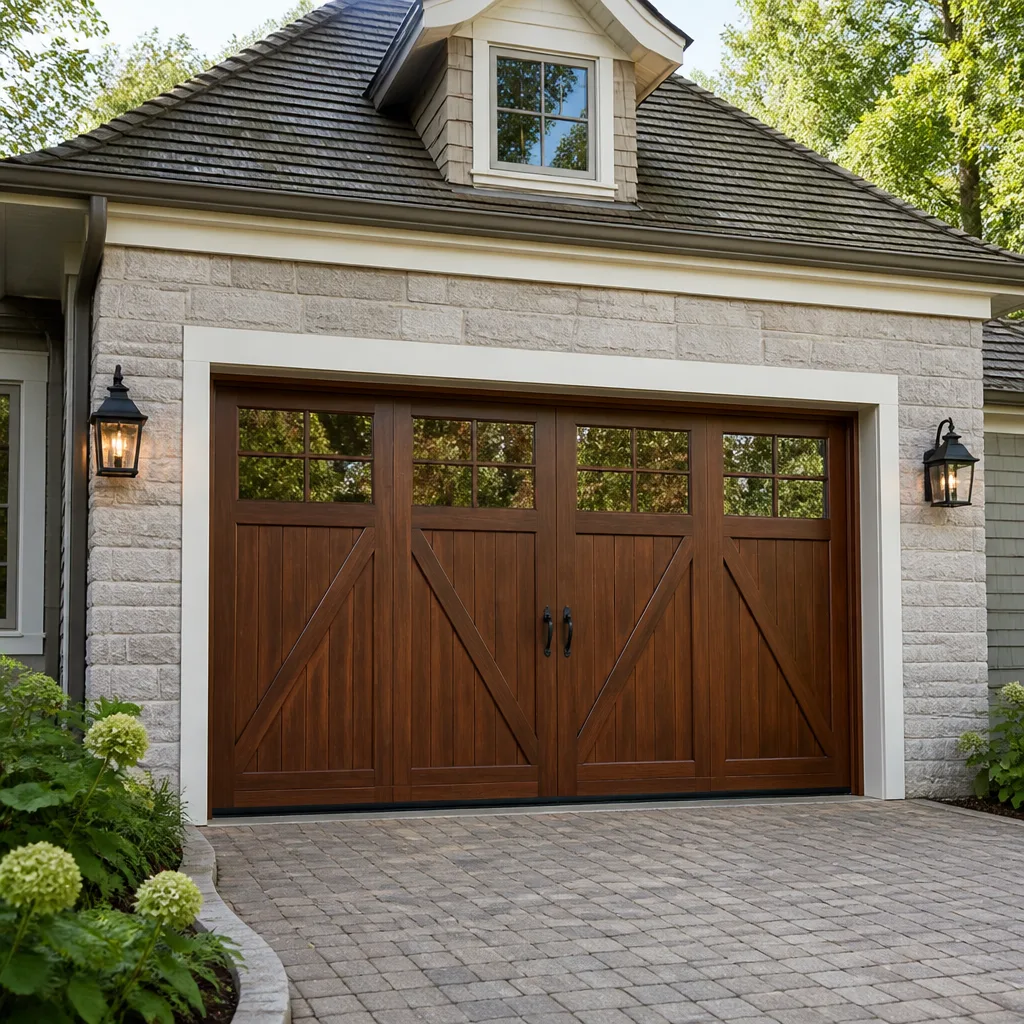 Carriage house
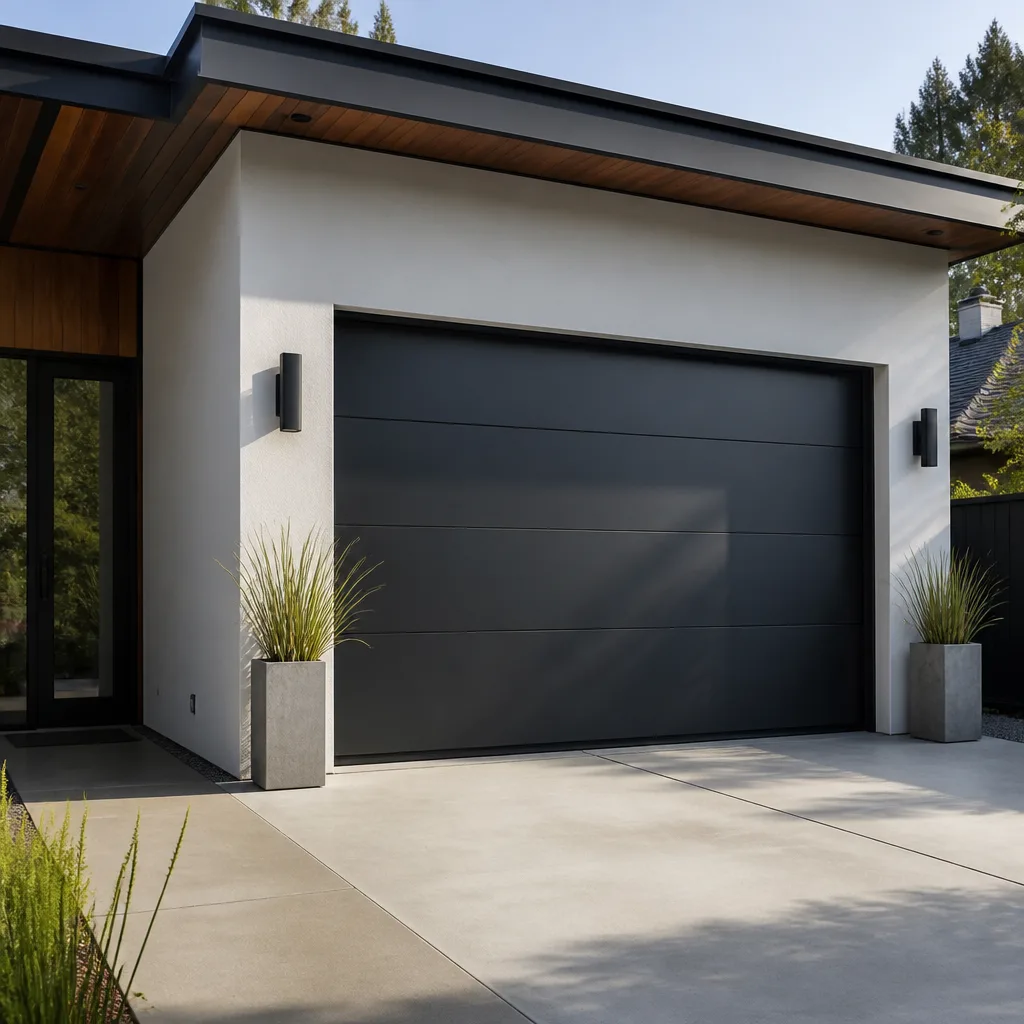 Modern flush
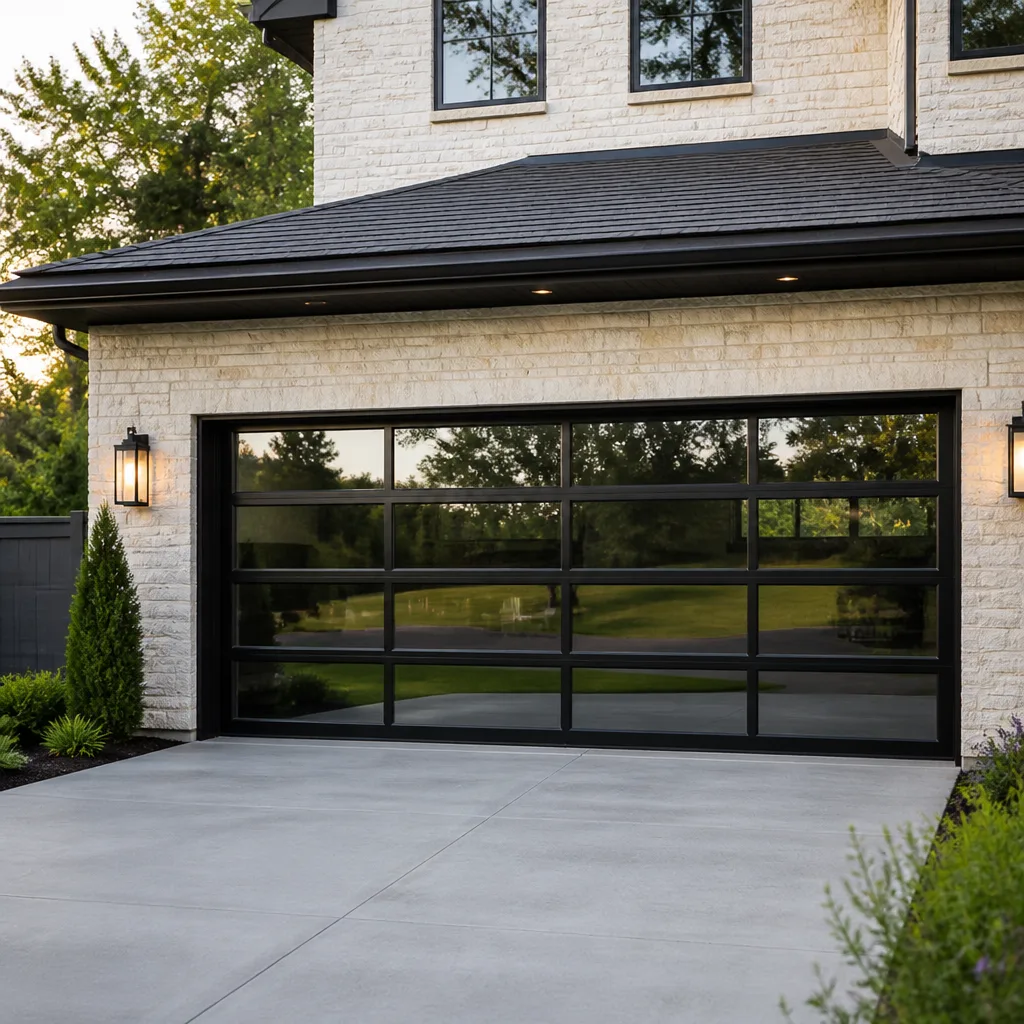 Full-view glass
 LiftMaster openers
 Chamberlain openers
Full 25-point door and opener safety check with every visit - springs, cables, rollers, tracks, and your LiftMaster or Chamberlain opener included
You get a price before we start. It does not change when the pro arrives.
Get your free estimateGarage Door Opener Repair & Installation Troubleshooting: Common Problems and How to Fix Them
The number-one misdiagnosed opener problem is a failed logic board, which turns out to be a misaligned safety sensor about 60 percent of the time. That misdiagnosis costs homeowners $250 to $350 for a board they never needed. Confirming the real fault takes thirty seconds and a dollar-store tape measure. We’ve run thousands of opener calls in Summerlin, and the pattern holds: the expensive part gets blamed before the cheap part gets tested. This guide gives you the diagnostic sequence we use, the blink codes that tell you what the unit already knows, and the specific findings that should trigger a written photograph before anyone quotes a part.
Quick Answer
Most garage door opener failures fall into five categories: safety sensor misalignment, force-limit miscalibration, a failed start capacitor, a dead wall control or wiring fault, and a genuinely failed logic board. Sensors and force limits account for the majority of “door reverses on close” complaints and cost nothing or very little to correct. A motor that hums but doesn’t turn usually needs a start capacitor, not a new motor. The opener’s LED blink code tells you which of these you’re dealing with before you call anyone.
Styles & brands we work with
- Raised-panel steel
- Carriage house
- Modern flush
- Full-view glass
- LiftMaster openers
- Chamberlain openers
Table of Contents
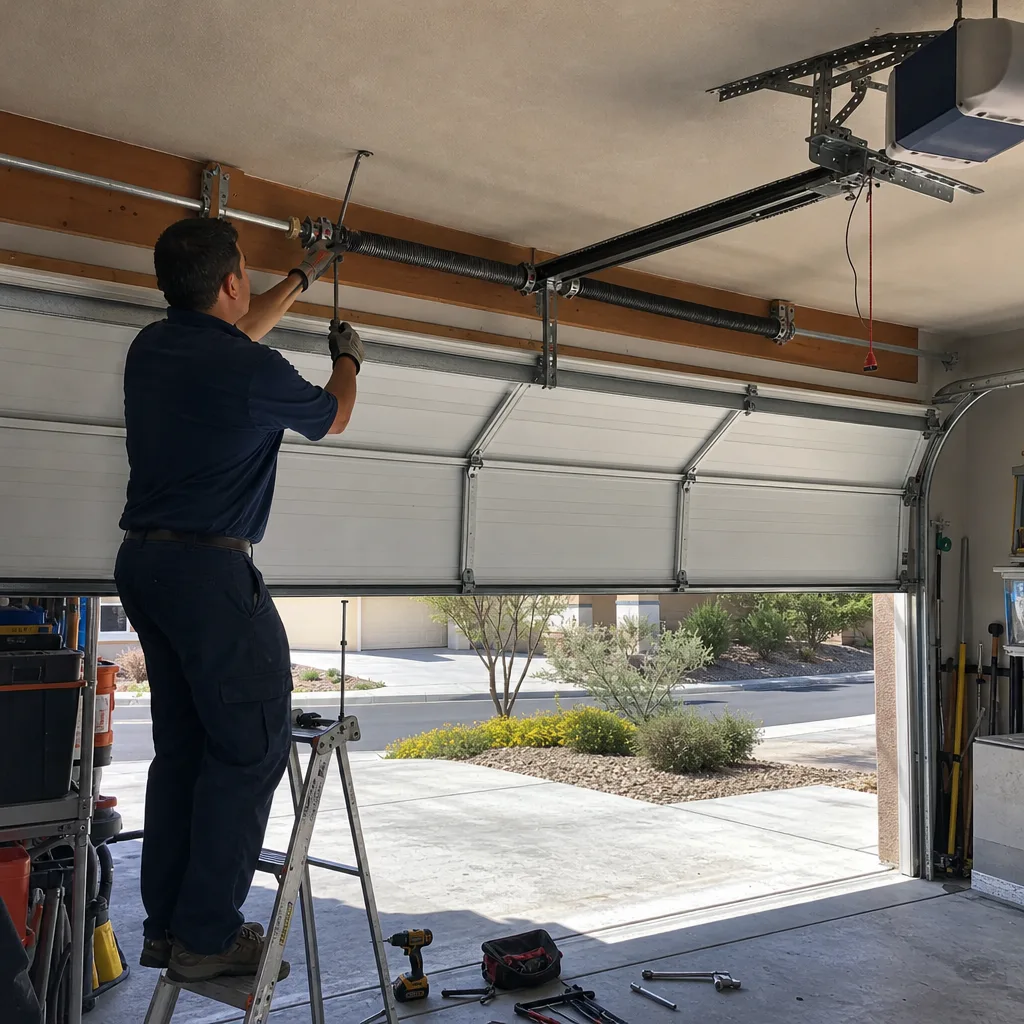
- How to read your opener’s LED blink code before you call anyone
- The symptom-to-cause decision tree
- Door reverses immediately on close: sensor or force limit?
- Door won’t move at all: where the fault actually lives
- Motor hums but doesn’t turn: the capacitor test
- Force-limit adjustment and why it matters
- Remote works but the wall button doesn’t
- Which findings require a written photograph before any part is ordered
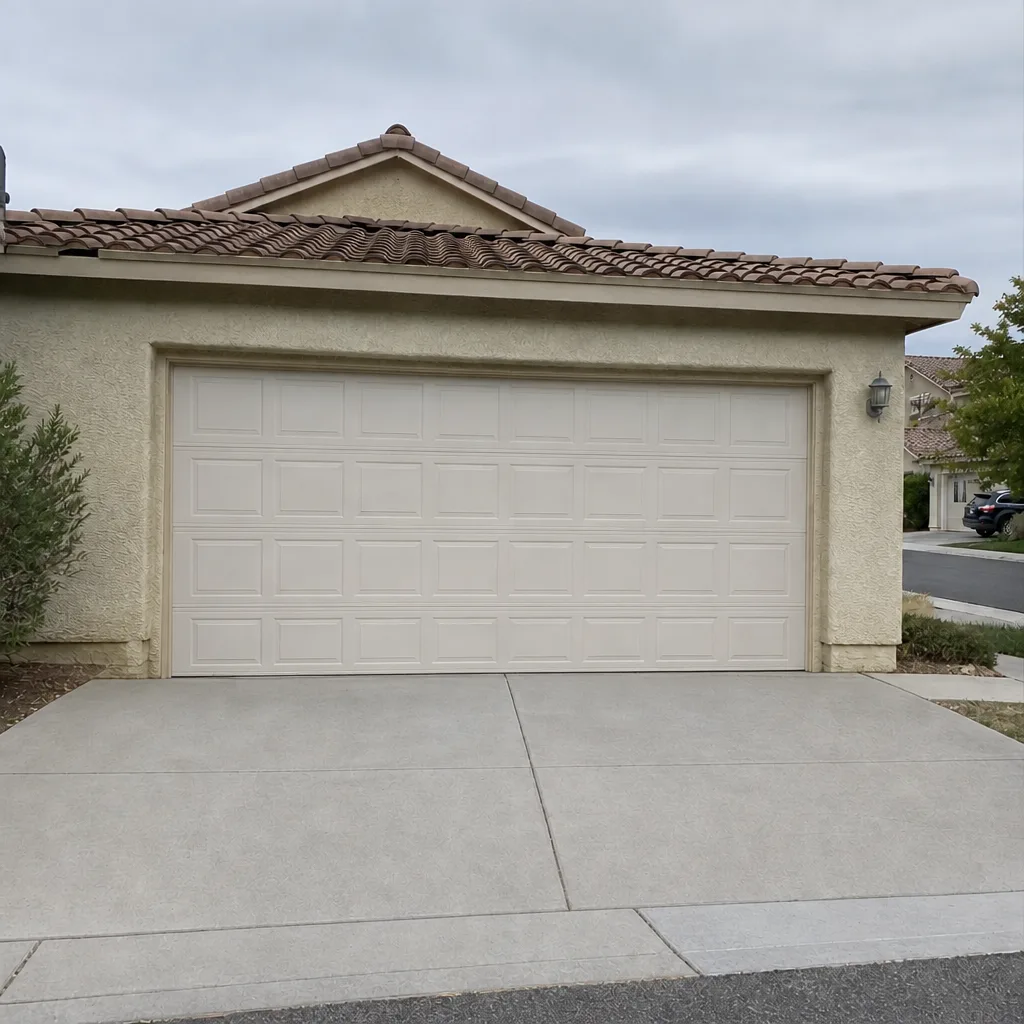
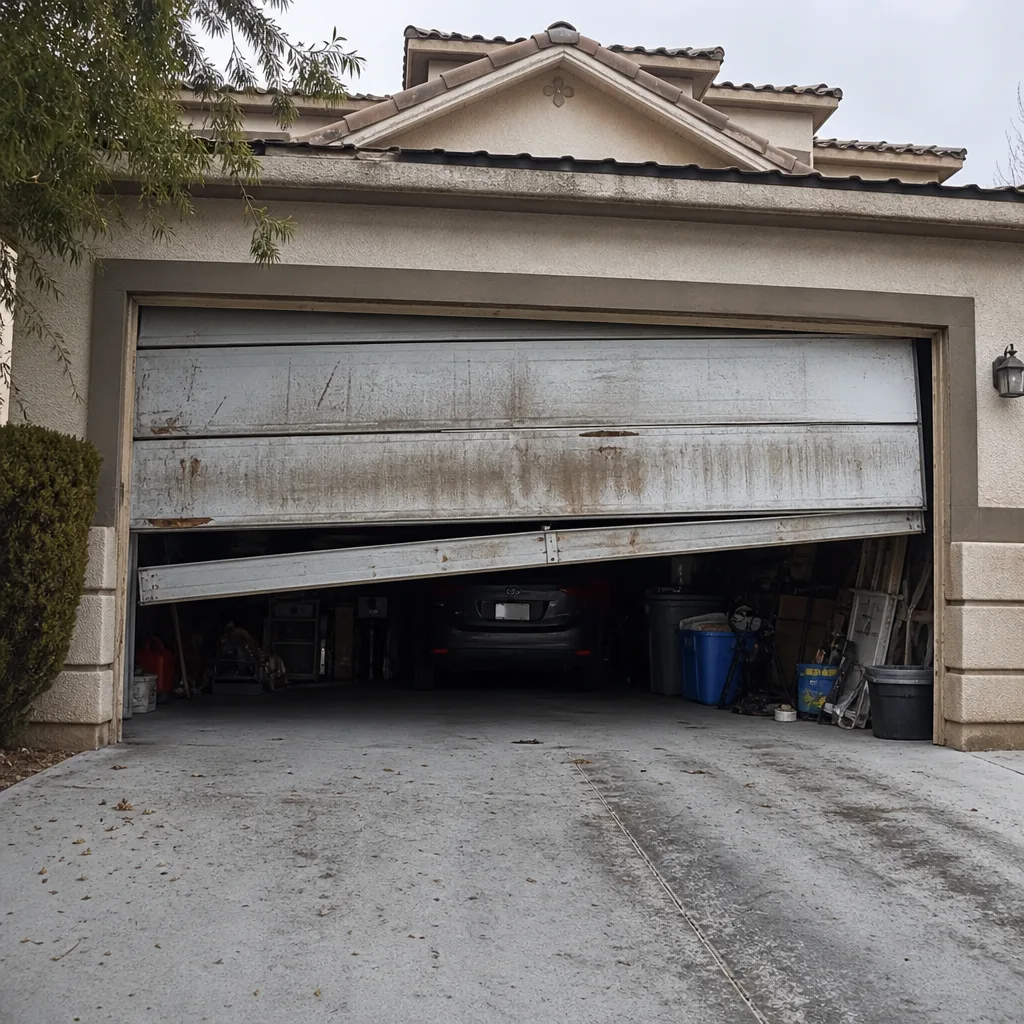 Before
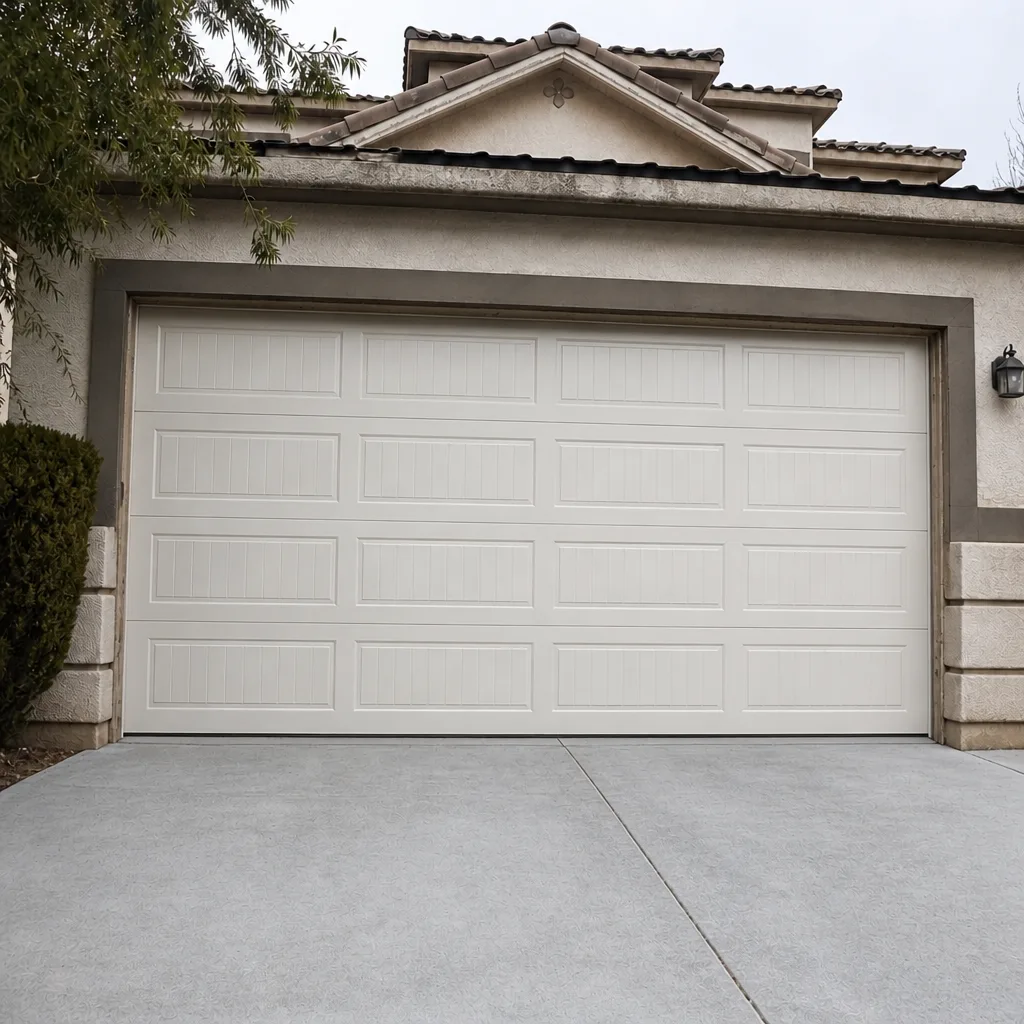 After
How to read your opener’s LED blink code before you call anyone
Every major opener built since 2010 stores its faults and reports them through an LED on the back or side of the motor head. LiftMaster and Chamberlain units flash a diagnostic code; Genie units use a combination of colored LEDs. The light is a fault log, and reading it takes about a minute. Find the LED, press the wall button or the remote, and count the flashes.
On LiftMaster and Chamberlain models, the pattern follows a standard set:
- 1 flash, pause, 1 flash: safety sensor obstruction or misalignment
- 2 flashes: safety sensor wire short or open circuit
- 3 flashes: safety sensor fault, often a failed sending or receiving eye
- 4 flashes: safety sensor wire reversed or a bad connection at the terminals
- 5 flashes: RPM sensor or motor control issue, which can mean a failed board or a slipping drive
- 6 flashes: motor overload or a force-limit problem
- Up-arrow and down-arrow flashing together: the travel limits need reprogramming
Genie units report differently. A single red LED that stays solid usually means the safety beam is blocked. A red LED that blinks with a green LED steady means the door is not fully closed at the limit switch. Newer Genie models with SmartSet use a numbered code on the display.
Write the code down. That four-second count is the difference between a $12 sensor bracket and a $300 board, and it’s the first thing any competent technician should ask for when you call. When we take an opener call in Summerlin, the blink code tells us what parts to bring before we leave.
The symptom-to-cause decision tree
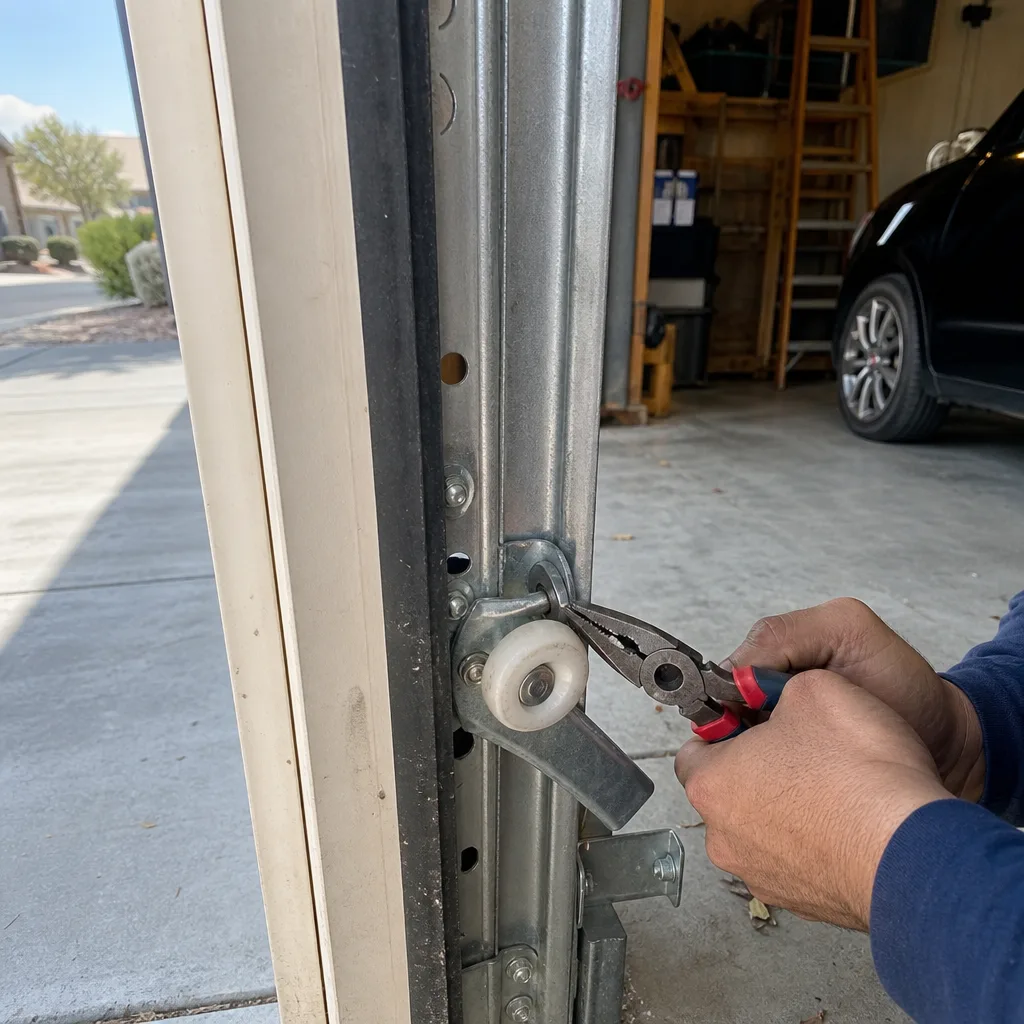
Most homeowners describe a symptom, not a component. “It won’t close” and “it won’t open” are different faults with different causes ninety percent of the time. Use the branch that matches what you’re seeing.
- Door reverses immediately on close. Check the safety sensor alignment first. If the sensors are aligned and the LEDs on both eyes are steady green, the down-force limit is too low. If the door reverses only when it touches the floor, it’s the force limit, not the sensor.
- Door won’t move at all, no sound. Check the wall outlet the opener is plugged into and the breaker. Then check the wall control wiring at the terminal block. Then check for a locked-out vacation mode or a dead battery in the wall control.
- Door moves partway then stops. The travel limits are out of adjustment or the RPM sensor is reporting a slip. On older units this is often a worn drive gear or a stretched chain.
- Motor hums but the door doesn’t move. The start capacitor has failed, or the door is mechanically bound (bent track, broken spring, misaligned roller). Before replacing anything, pull the manual release and try lifting the door by hand. If it won’t lift easily, the problem is the door, not the opener.
- Remote works but the wall button doesn’t. The wall control wiring, the wall control itself, or the lockout feature. The remote and wall button use separate signal paths and the fault sits on the wall path.
- Wall button works but the remote doesn’t. Remote battery, remote programming, or a failed receiver in the logic board. Test a second remote before assuming the board is bad.
That sixth branch is the one that gets misread most often. A homeowner replaces the board when a $4 battery was the whole problem. If your remote worked last week and doesn’t today, change the battery and reprogram before anything else.
Door reverses immediately on close: sensor or force limit?
A door that reverses mid-travel or on contact with the floor is reporting one of two faults: the safety beam is interrupted, or the down-force limit is set under the actual weight of the door. These have opposite fixes and only one of them costs money.
Run the alignment test first. The two sensor eyes are mounted about six inches off the floor, one on each side of the opening. Each eye has an LED. When the beam is intact, both LEDs are steady. When the beam is broken, the sending eye’s LED goes dark or the receiving eye blinks.
Now the tape measure test. Measure the height of the sending eye from the floor. Measure the height of the receiving eye. If those two numbers don’t match within a quarter inch, the beam isn’t landing on the receiver, and the door will reverse every time regardless of what you do to the force setting. Adjust whichever bracket is lower until the LEDs are steady. If the beam is intact and the LEDs are steady green, the sensors are not your problem, and you’re in the force-limit branch below.
In our experience, sensor misalignment shows up more in winter in Summerlin than homeowners expect. The temperature swings between a cold desert night and a warm afternoon move the door jamb enough to shift a bracket that was perfect in October. If your door reverses every January and fixes itself in March, that’s why. One homeowner in The Ridges had the same “recurring” fault three winters running before a technician measured the brackets and found one was mounted 3/8 of an inch low.
Door won’t move at all: where the fault actually lives
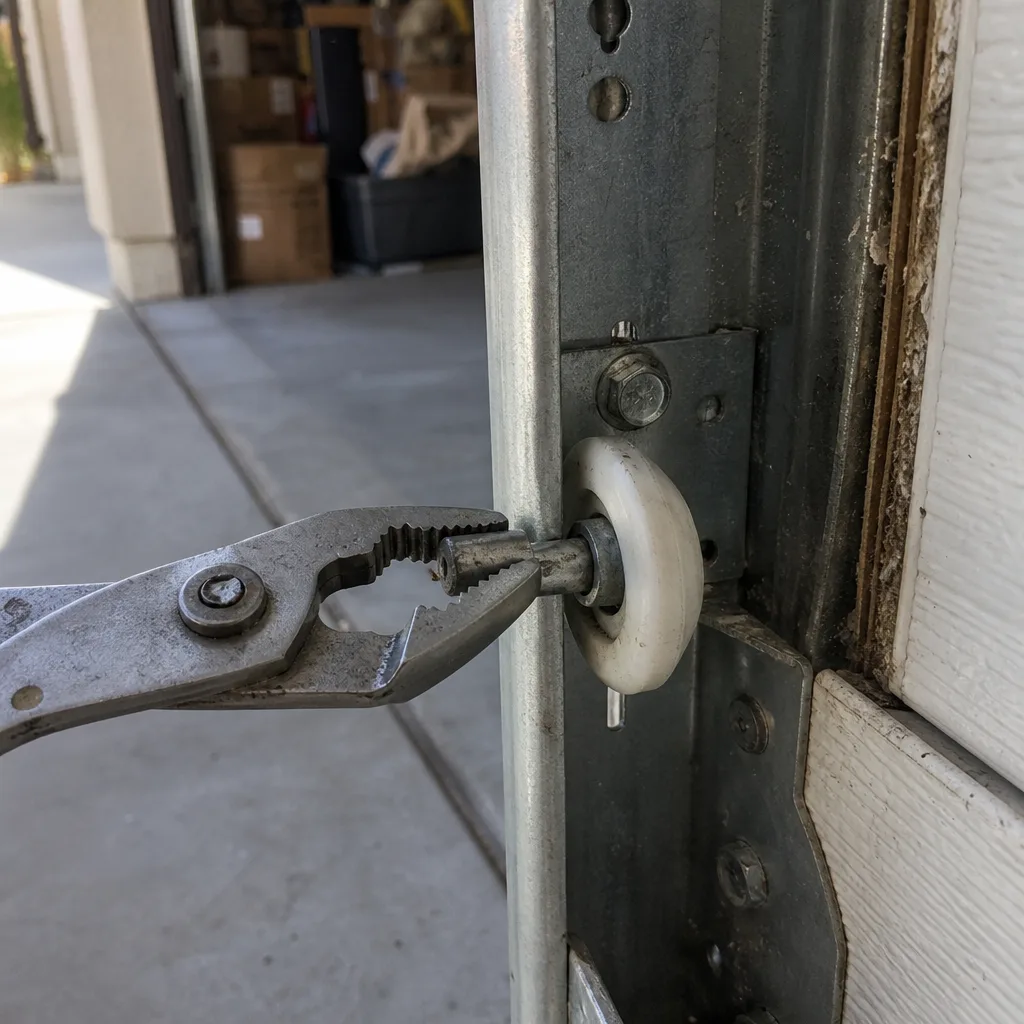
A completely dead opener is rarely a dead opener. The fault is usually upstream of the motor. Run these checks in order, because each one takes thirty seconds and rules out a category:
- Confirm the outlet the opener plugs into is live. Test it with a lamp or a phone charger.
- Check the breaker. Openers typically share a circuit with garage lighting and outlet loads.
- Inspect the wall control wire at the terminal block on the motor head. A single loose strand of wire at the terminal will kill the control circuit.
- Check for a vacation or lockout mode. Chamberlain and LiftMaster wall controls lock out remotes with a long press; Genie uses a switch on the wall console.
- Look for the LED. If there’s no LED activity at all on the motor head, you’re looking at a power fault or a dead board. If the LED blinks, the board is alive and the fault is downstream, usually the travel limits or the safety sensor circuit.
Summerlin homes built in the 2015-2020 window often have the opener on a GFCI-protected garage circuit that trips when the outlet next to the door gets wet. If your opener dies after a rainstorm, check the GFCI before you check anything else. That one detail has saved more than a few service calls.
Motor hums but doesn’t turn: the capacitor test
A motor that hums, clicks, and doesn’t move the door is almost always missing its start. Single-phase AC motors use a capacitor to create the phase shift that gets them spinning, and that capacitor has a service life of roughly eight to twelve years. When it fails, the motor gets power but can’t build torque. The correct repair is a capacitor, which runs about $6 for the part and $60 to $110 installed. Replacing the motor for this symptom is a mistake.
Here’s the test. With the opener unplugged from the wall, open the motor head cover and locate the capacitor, a small cylindrical component near the motor. It will have a capacitance value printed on the side, in microfarads. A multimeter with a capacitance setting will tell you whether it still holds that value; a capacitor that reads more than 10 percent below its rating has drifted and needs replacing.
Capacitors hold a charge and can shock you even with the opener unplugged. Discharge the capacitor across its terminals with an insulated resistor before touching it, or leave the test to a technician. This is one of the few components in a garage door opener where the work itself carries real risk, and we’d rather you skipped it than handled it ungrounded.
If the capacitor tests good and the motor still hums without turning, the problem is mechanical. Pull the manual release and lift the door by hand. If it’s heavy or binds, look for a broken torsion spring, a bent track, or a seized roller, and stop running the opener until that’s corrected. Running an opener against a bound door strips the drive gear and turns a $90 repair into a $280 one.
Force-limit adjustment and why it matters
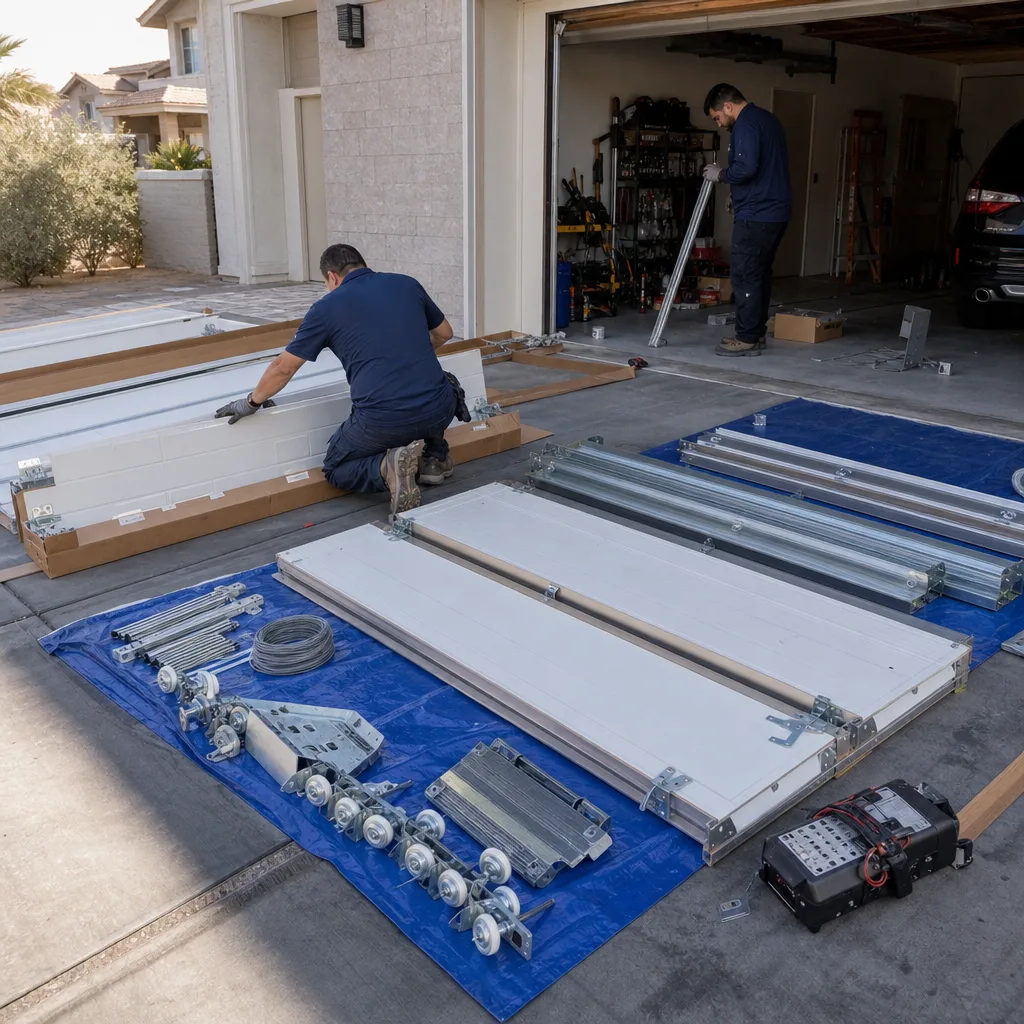
The force limit is the amount of resistance the opener will push through before it reverses. It exists to protect people and objects. When it’s set too low, the door reverses on slight weather-stripping resistance. When it’s set too high, the safety reversal protection stops working, which is the opposite of safe.
Most openers have two adjustment screws on the motor head, one for up-force and one for down-force. On LiftMaster and Chamberlain units, the up-force screw is usually the left one. On Genie, the adjustment is a single dial or a pair of screws labeled with arrows. The procedure:
- Open the door to fully open and close it to fully closed once, so the opener re-learns the travel.
- Turn the down-force screw a quarter turn toward the increase direction, marked by an arrow or a plus sign.
- Test the door. It should close without reversing on its own resistance.
- Place a 2×4 flat on the floor under the closing door and confirm the door reverses on contact. This test is required by UL 325 and confirms the safety reversal is still functional after your adjustment.
- Repeat the quarter turn until the door closes smoothly and still reverses on the 2×4.
If the door reverses on the 2×4 test with the force at its correct setting, the force limit isn’t the fault. Something else is interrupting the sensor circuit, or the door has developed mechanical resistance that shouldn’t be there. A door that needs a force-limit increase every few months is telling you the door’s mechanics are degrading, and the opener is doing the only thing it can about it.
Remote works but the wall button doesn’t
The wall control and the remote use separate signal paths and separate circuits, which is why the fault always lives on one side or the other. If the remote operates the door and the wall button doesn’t, the wall control wiring is the first suspect. Inspect the low-voltage wire at both ends for a loose staple, a pinched run behind drywall, or a bad connection at the terminal block. The wall control runs on about 12 to 24 volts and a single broken strand at the terminal will stop it dead.
If the wiring looks intact, the wall control itself may have failed. Most wall controls cost $30 to $60 and swap in under ten minutes. Test by briefly shorting the wall control terminals at the motor head with a short piece of wire; if the door operates, the wall control or its wiring is the fault. If it doesn’t, the problem is at the terminal block or the logic board’s input side.
One thing most homeowners don’t know: a Chamberlain or LiftMaster wall control with a motion sensor and a timer-to-close has its own circuit board. When that board fails, the door can stop responding to the wall button while the remote keeps working. That’s the wall control, not the main board, and the fix is a $45 part. If someone quotes you a logic board for that symptom, ask for the wall control voltage readings in writing first.
Which findings require a written photograph before any part is ordered
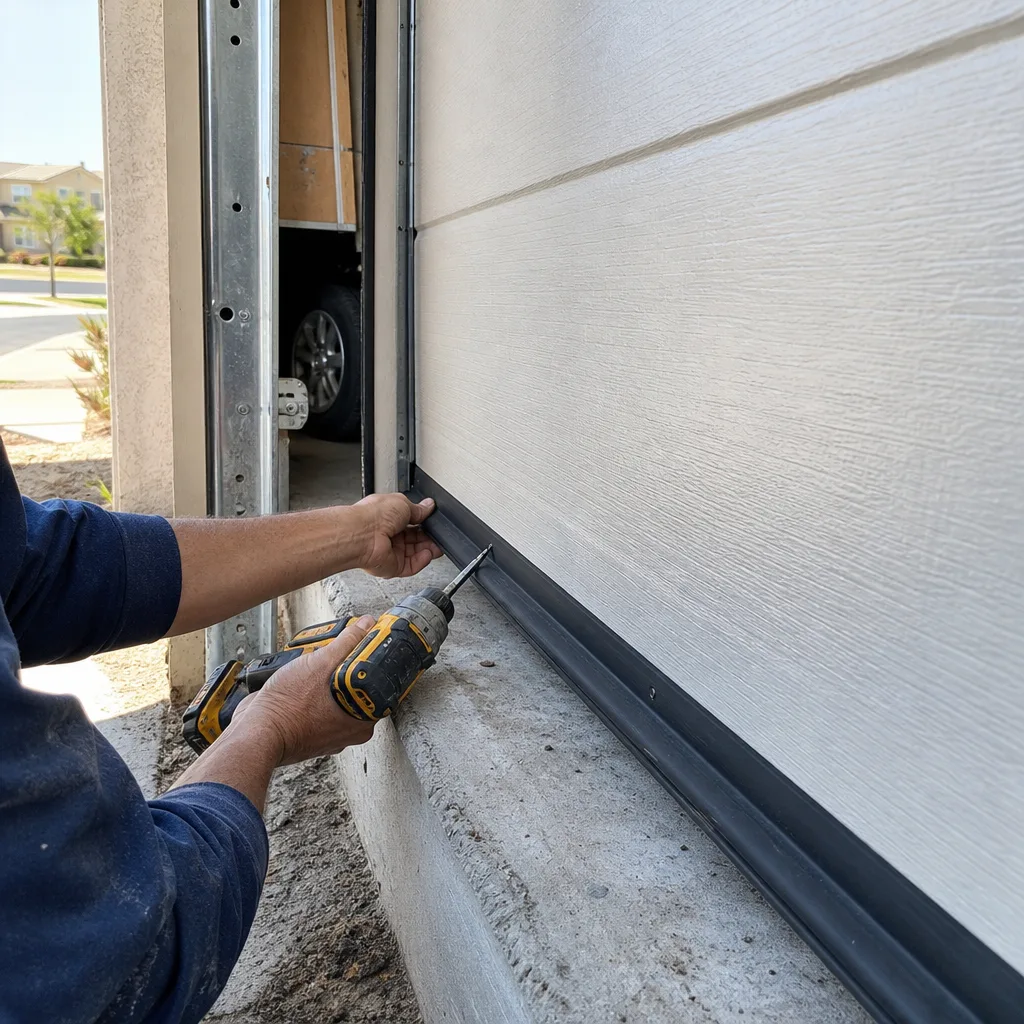
This is the part of the diagnostic sequence that saves the most money, and it’s the reason we built our process around it. Before any part gets ordered, the finding that justifies the part should exist as a photograph. When a technician quotes a logic board, you should be looking at a photo of that board with the fault visible. When a technician quotes a motor, you should be looking at a photo of a capacitor that tested below spec or a motor that failed a load test. Our garage door opener repair and installation service in Summerlin works under Clause 4 of The Haven Standard, which requires that photo before the quote. It’s the founding rule here, codified: the customer sees the failed part before anyone quotes a replacement.
The findings that should always produce a photo:
- A failed logic board, with the fault location identified
- A capacitor that has drifted below its rated capacitance, with the meter reading visible
- A broken torsion spring, with the break photographed at the coil
- A bent track, with the deflection shown against a straight edge
- A failed safety sensor eye, with the LED state visible in the photo
Findings that legitimately don’t require a photo: a dead remote battery, a tripped GFCI, a wall control with a loose wire you’re about to re-terminate, a reprogrammed travel limit. If a technician tells you to sign off on a $300 part and can’t produce a photo of it, ask for one. That single request has redirected more estimates than any discount offer in the trade.
If you already have a written estimate from another company, we’ll give you a free second opinion on the paperwork. No coupon, no code. Bring the quote and we’ll walk through it with you. If it holds up, we’ll say so.
Common Mistakes to Avoid
- Replacing the logic board before testing the sensors. Sensors cause the majority of “dead opener” complaints. Test the alignment with a tape measure before you authorize any board work; the error costs $250 or more and repeats because the sensor was never the fix.
- Running an opener against a bound door. If the door won’t lift by hand with the release pulled, the opener isn’t the problem. Running it anyway strips the drive gear and turns a simple repair into a motor job.
- Adjusting the force limit without the 2×4 test. The down-force setting is what makes the safety reversal work. Raising it without confirming the door still reverses on a 2×4 flat on the floor disables the one protection that exists to prevent injury.
- Buying a universal remote without checking compatibility. Frequency and rolling code generation vary by brand and year. A remote that doesn’t match the opener’s receiver won’t program no matter how many times you try.
- Overriding the safety sensors with a jumper. People do this to get the door to close. It’s the single most dangerous fix in the trade, because the beam is what stops the door on a child, a pet, or a car.
- Ignoring a summer heat symptom as a fluke. Summerlin garages regularly hit 110 degrees and above in July and August, and hot logic boards, expanded weather-stripping, and heat-stressed capacitors fail intermittently. An opener that “works in the morning” is telling you something; intermittent faults get diagnosed, not ignored.
- Assuming the motor is the expensive failure. The start capacitor costs under $10 and explains most hum-without-move symptoms. Ask for the capacitor test before any motor replacement, in writing.
See the difference
BeforeAfter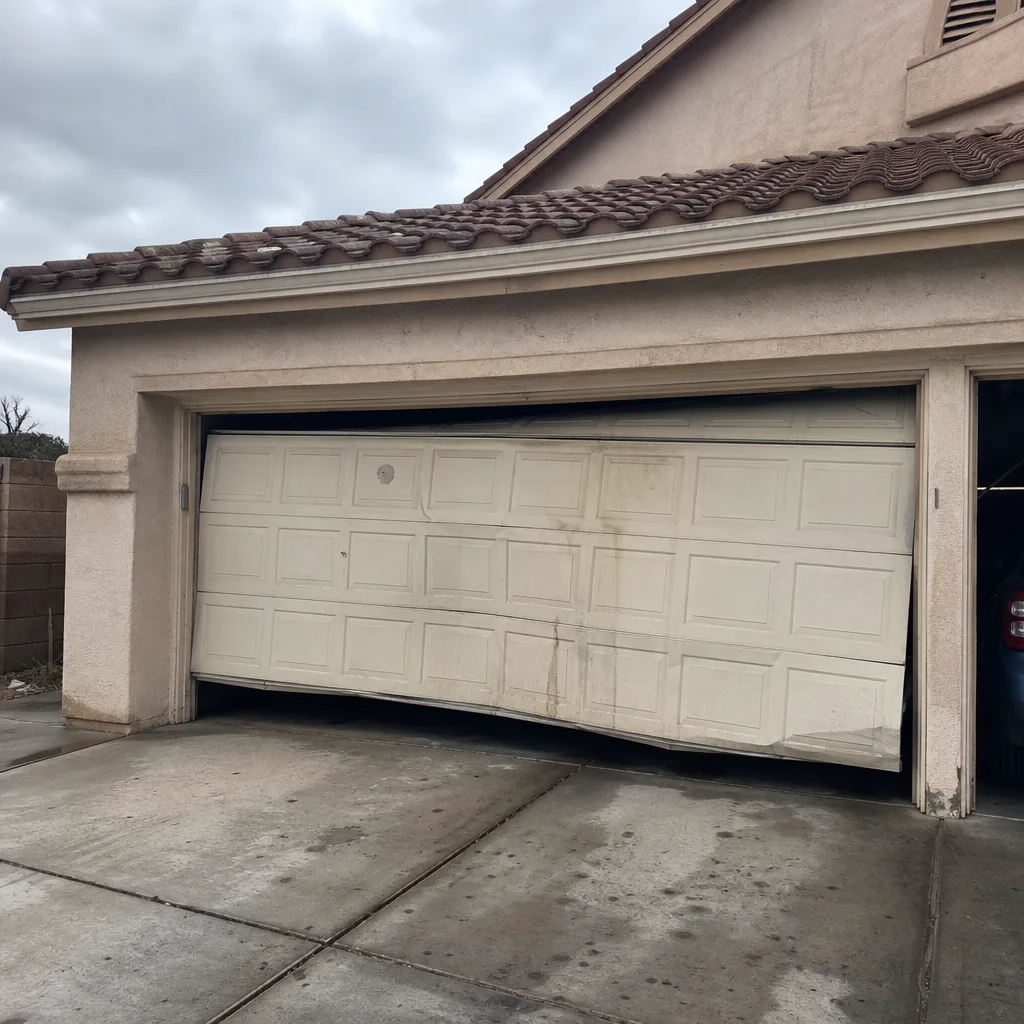 Before
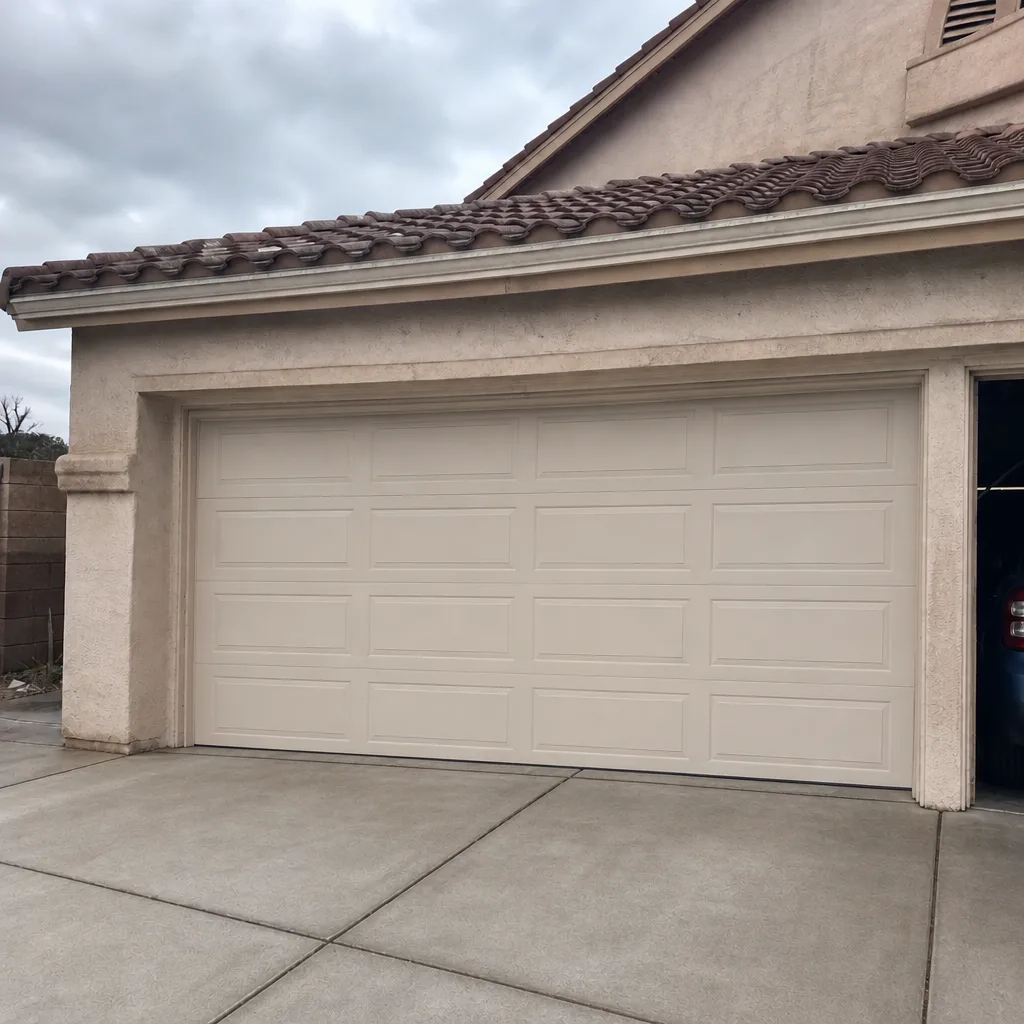 After
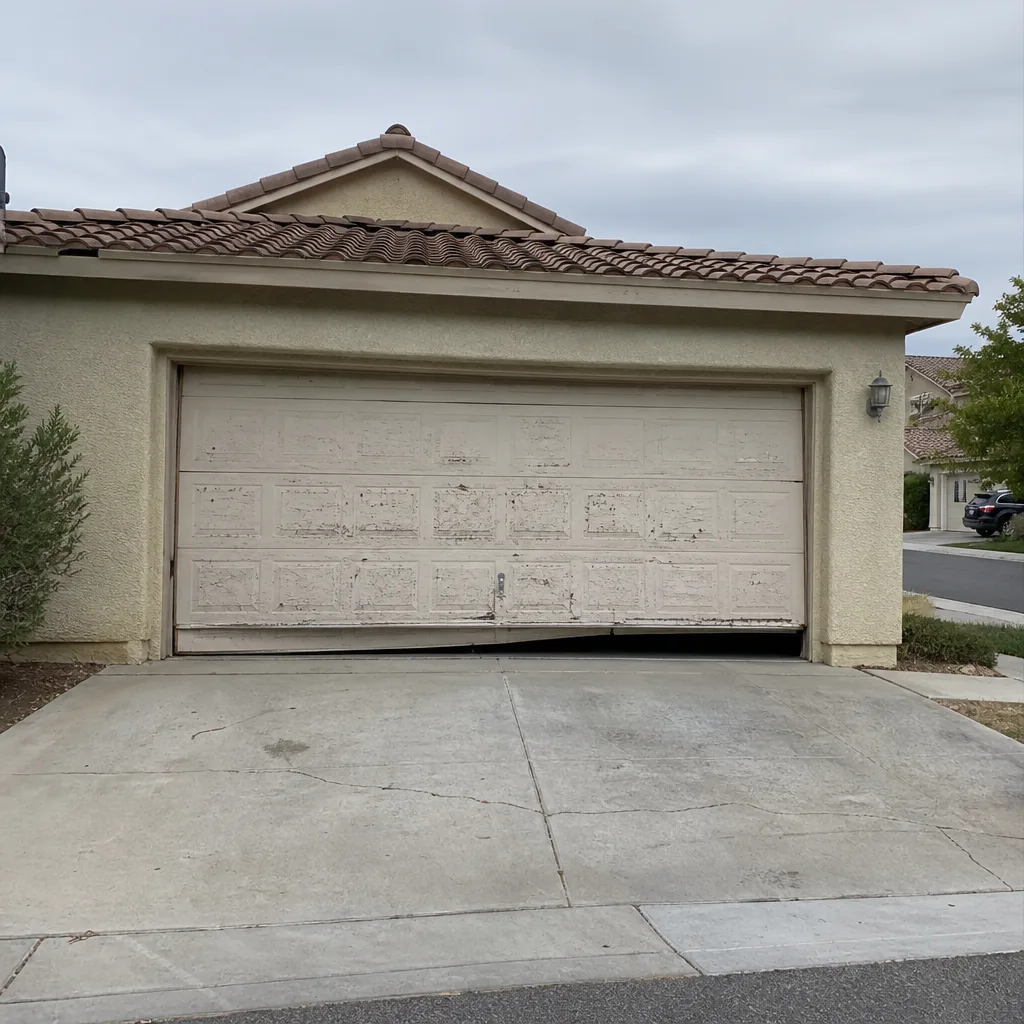 Before
 After
When to Call a Professional
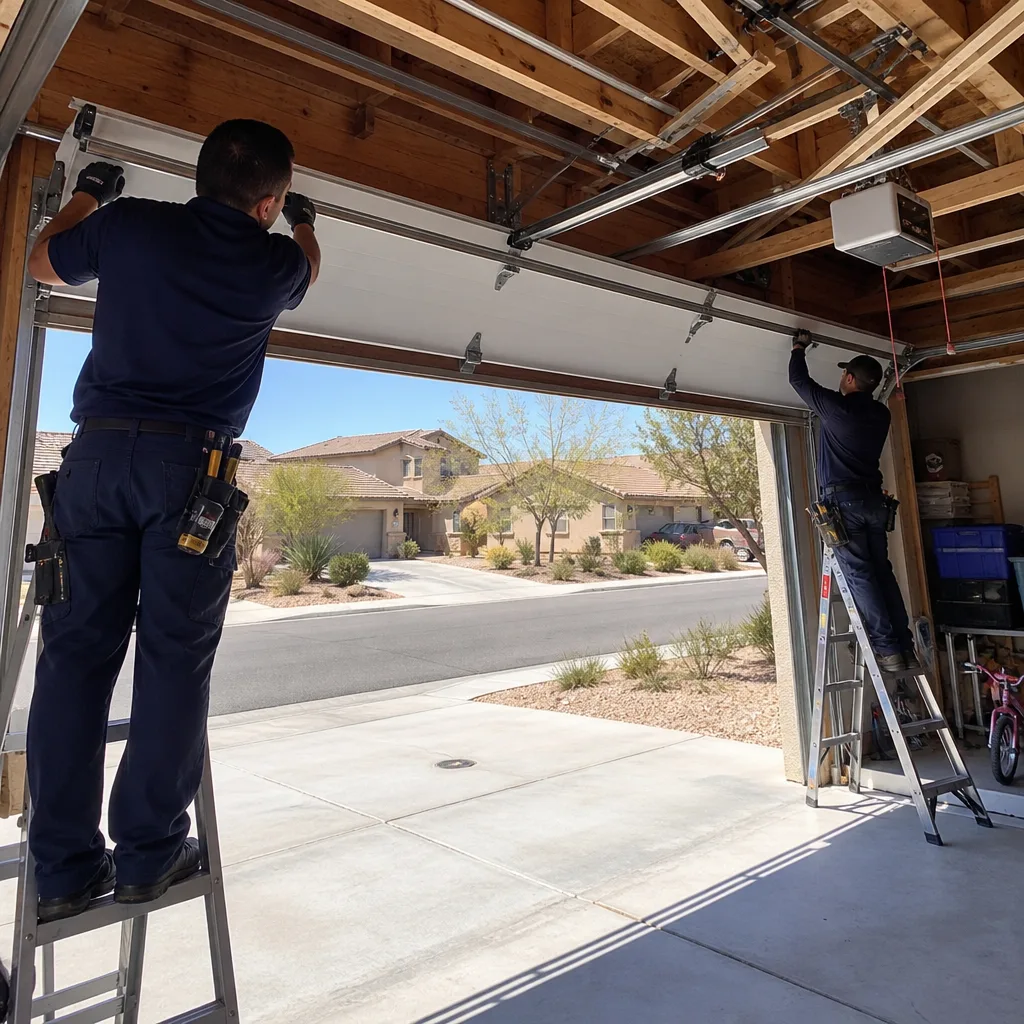
Call a technician when the fault involves the torsion spring, the door’s mechanical balance, high-voltage wiring at the logic board, or a capacitor you’d have to handle while charged. Springs are under enough tension to cause serious injury, and a door that’s out of balance will damage a new opener as fast as the old one. Call if the door won’t lift by hand with the release pulled, if you see a broken spring, if the motor hums with no capacitor test performed, or if a technician has quoted a logic board without a photograph of the failed component.
Servo Garage Doors Summerlin offers free estimates in Summerlin. Call (844) 797-3654 and a live person answers, day or night. Every quote is a flat, written price with the scope in writing before any work starts, and every visit closes with a photo record of what we found and what we did. Our technicians have up to 11 years of experience and work on every major brand, from LiftMaster and Chamberlain to Genie and Clopay.
Frequently Asked Questions
Most opener repairs in Summerlin run $90 to $180 for sensor alignment, force-limit adjustment, capacitor replacement, or wall control work. Logic board replacement typically runs $220 to $380 for the part and labor on common LiftMaster and Chamberlain models. Every quote we deliver is a flat, written price with the scope in writing before work starts. Call (844) 797-3654 for an exact quote; estimates are free.
Most opener faults are same-day repairs because the parts are common and the diagnostic work is fast. Sensor alignment, force-limit adjustment, capacitor replacement, and wall control swaps are usually completed on the first visit. If your fault requires a logic board for an older or less common model, we may need to order the part, and you’ll have the written price before we do. Call (844) 797-3654 to confirm availability for today.
No. Clause 1 of The Haven Standard requires a flat, written price and written scope before any work begins, and the price doesn’t move once you’ve approved it. If the technician finds something the initial quote didn’t cover, you get a new written price and a chance to approve it before anyone touches the unit. Call (844) 797-3654 to schedule a written estimate.
Yes. The technicians we work with are background-checked, licensed, and insured, and the license number appears on the page rather than in fine print. Every job closes with a documented photo record of the findings and the completed work. Call (844) 797-3654 with any questions about credentials before you book.
Hot-weather reversing usually traces to one of three faults: a safety sensor bracket that has shifted with jamb expansion, weather-stripping that has softened and increased down-force resistance, or a logic board that’s heat-stressing. The thermal swing from a 70-degree morning to a 115-degree afternoon shifts brackets by small amounts and changes the resistance the force limit sees. A technician can measure the sensor heights and the door’s balance in under a half hour. Call (844) 797-3654 to schedule the check.
No. The remote and wall control use separate signal paths, so a wall-control fault almost never means a new opener. The cheap fixes are wall control wiring, the wall control itself (usually $30 to $60), or a lockout mode. If it’s the wall control’s circuit board, that part is still under $50. Call (844) 797-3654 and we’ll walk through the symptom before anyone comes out.
The Bottom Line
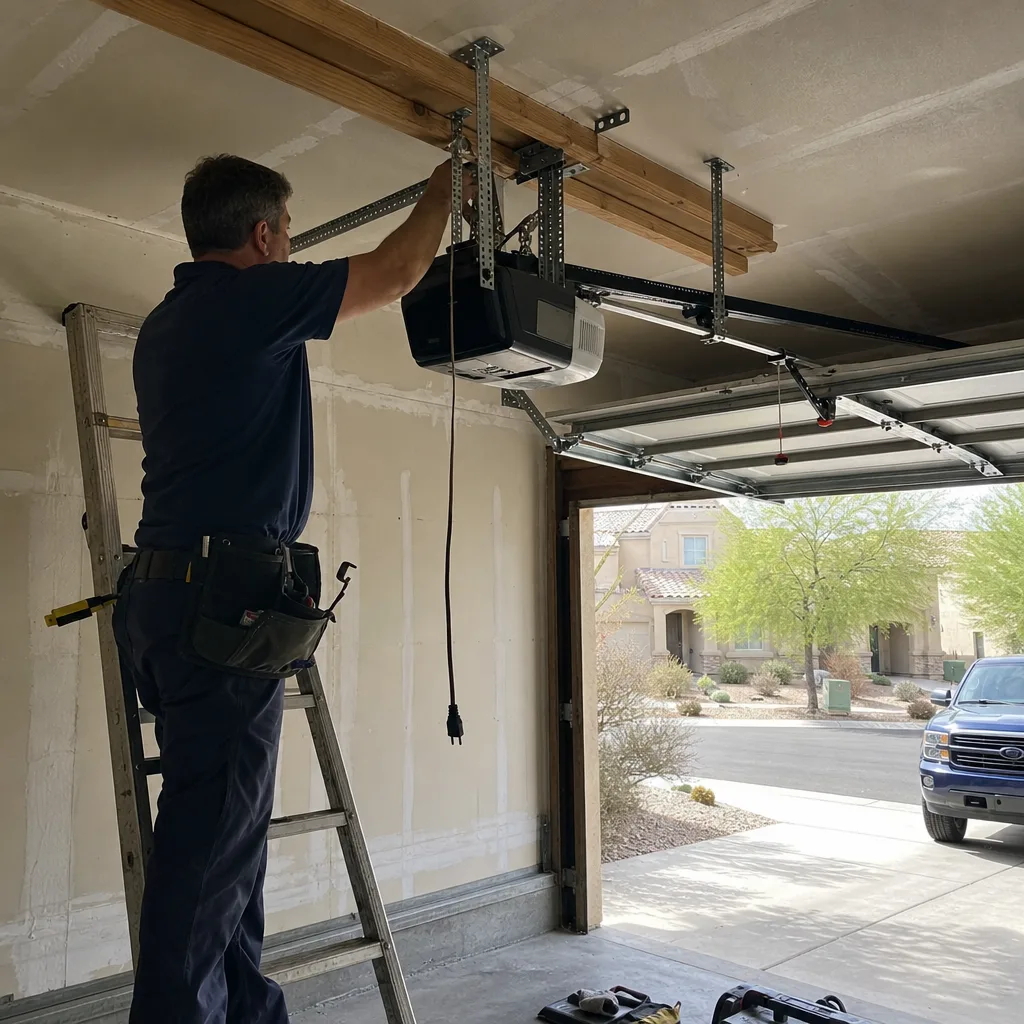
Most opener “failures” come down to sensor alignment, force-limit calibration, a worn capacitor, or a wall control fault, and every one of those has a specific test that costs nothing to run. The blink code tells you which branch you’re in. The tape measure confirms whether the sensors are actually seeing each other. The capacitance reading on the start capacitor rules out a $300 board for a $6 part. Get those three facts in your hands before anyone quotes a part, and ask for a photograph of any failed component before you sign a written price. That’s the whole diagnostic sequence, and it’s the one we use in Summerlin.
If you want your door looked at by a technician who’ll hand you a photo before a quote, or a written second opinion on an estimate you already have, call Servo Garage Doors Summerlin at (844) 797-3654. Estimates are free, and the price on the page doesn’t move once you’ve approved it. You can also start with our Servo Garage Doors Summerlin home page, our garage door repair service in Summerlin, or our garage door installation in Summerlin if you’re replacing rather than repairing.
Written by the team at Servo Garage Doors Summerlin.