
Last updated November 17, 2026
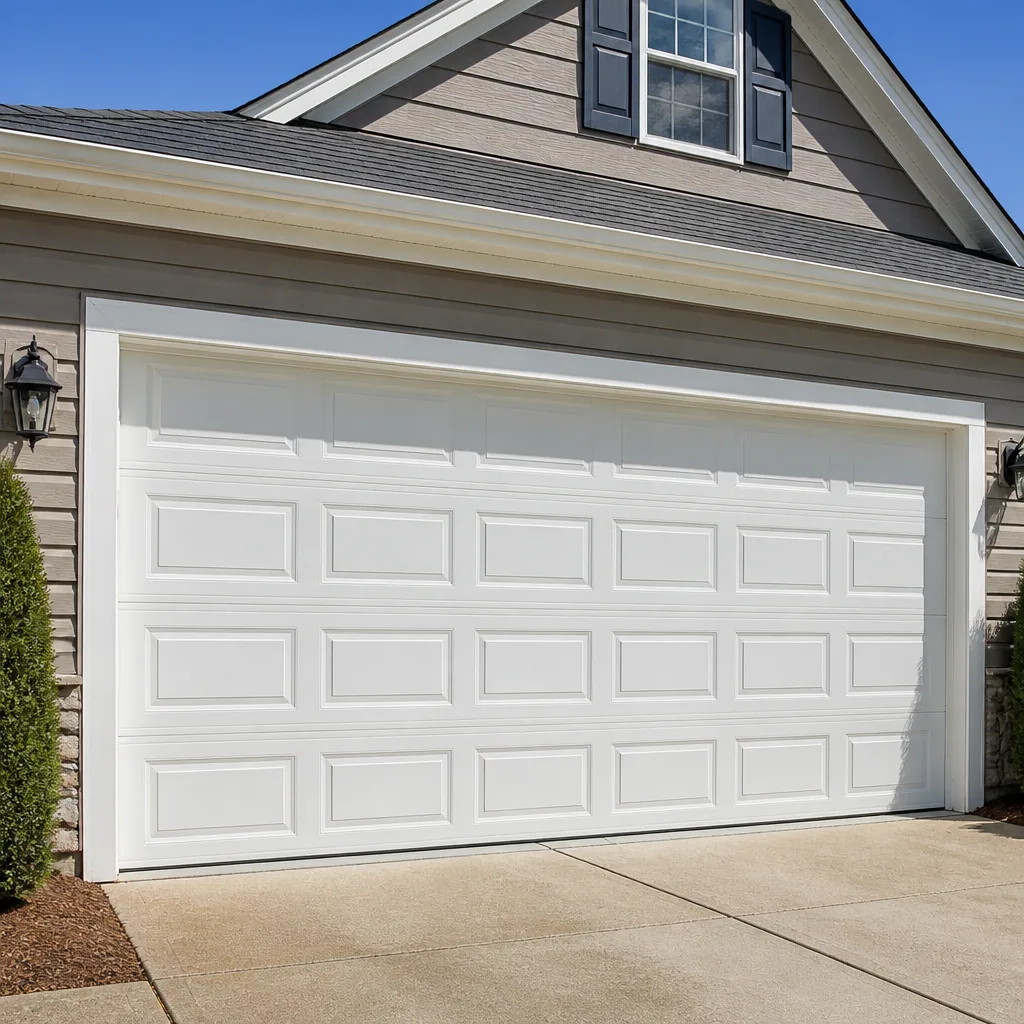 Raised-panel steel
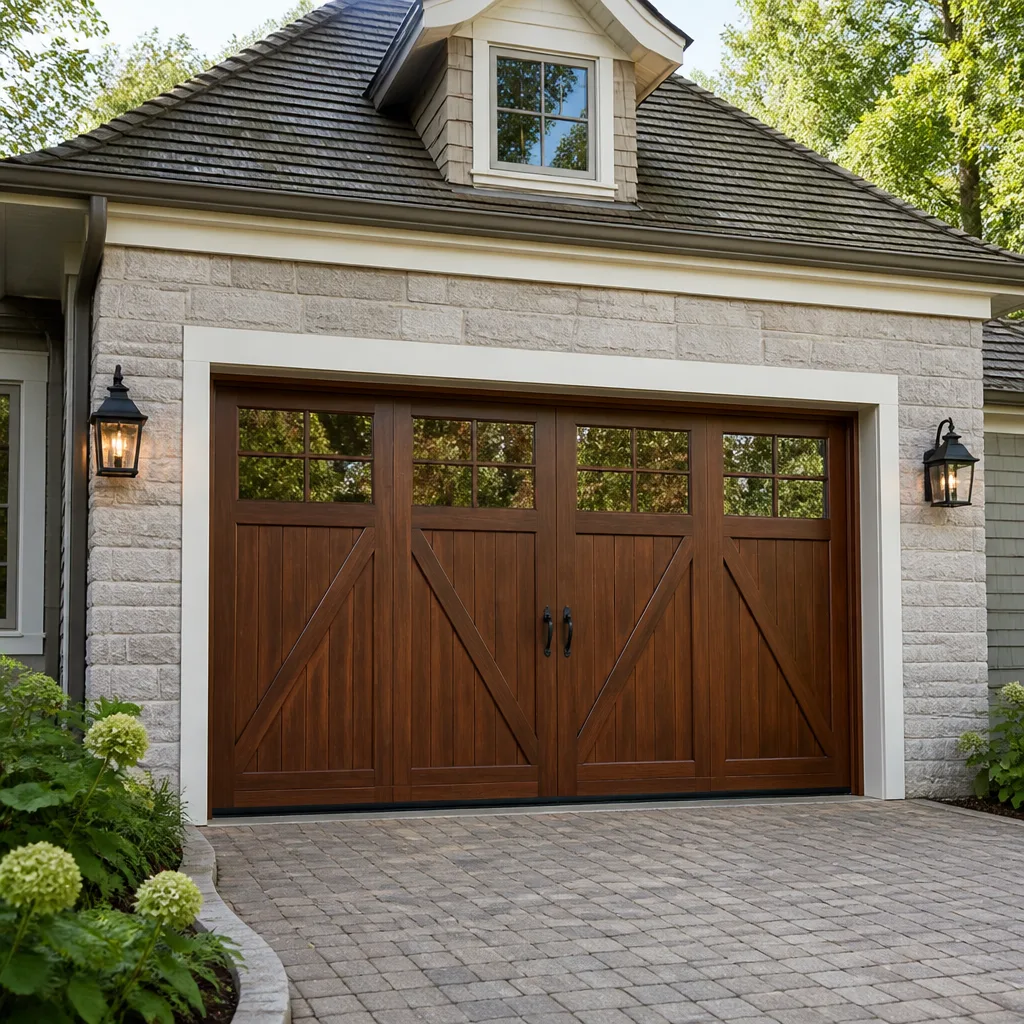 Carriage house
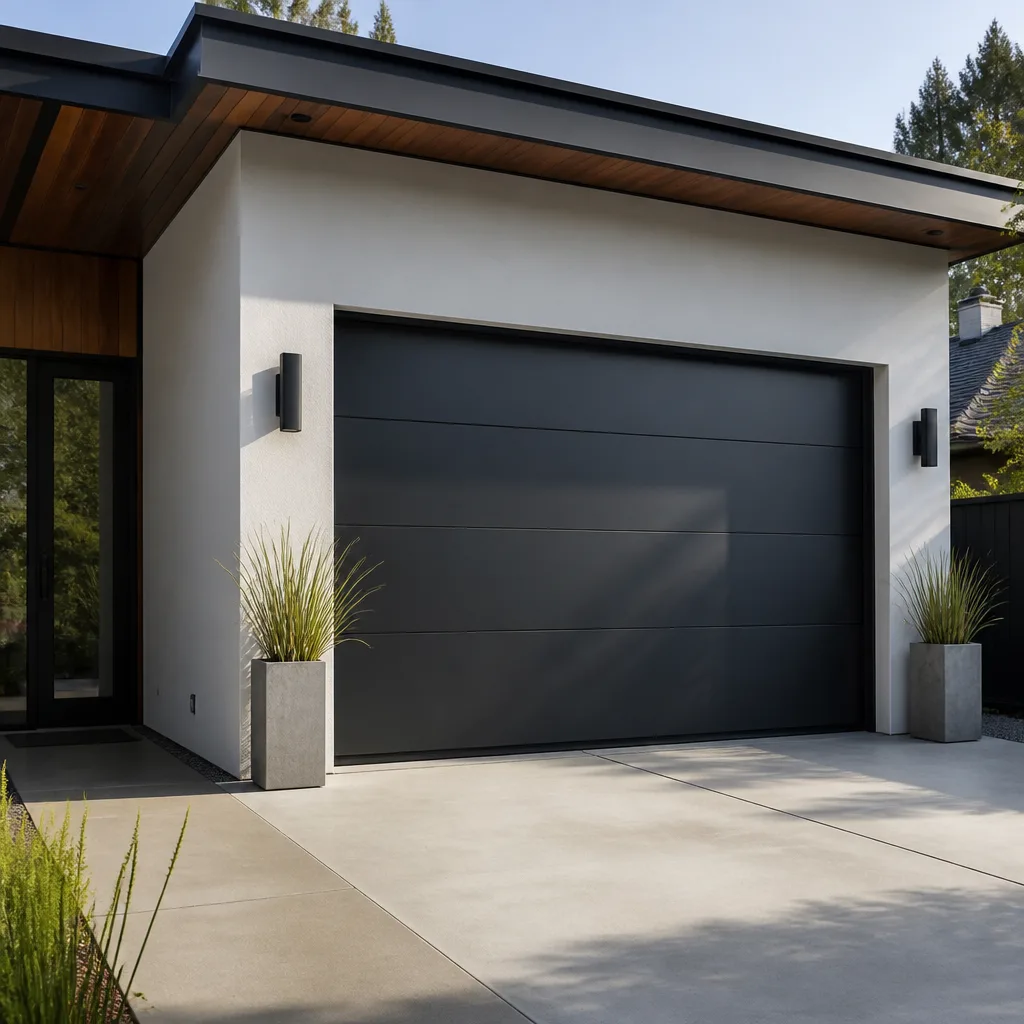 Modern flush
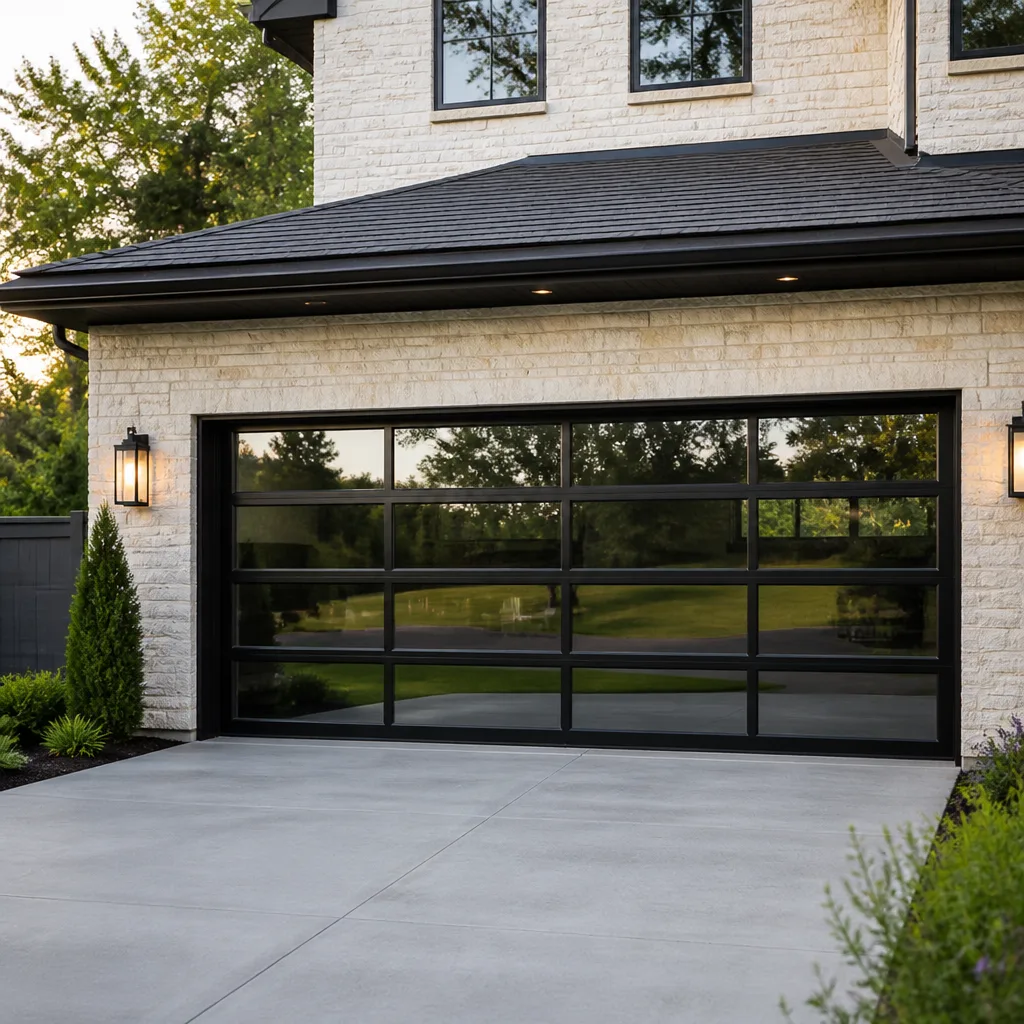 Full-view glass
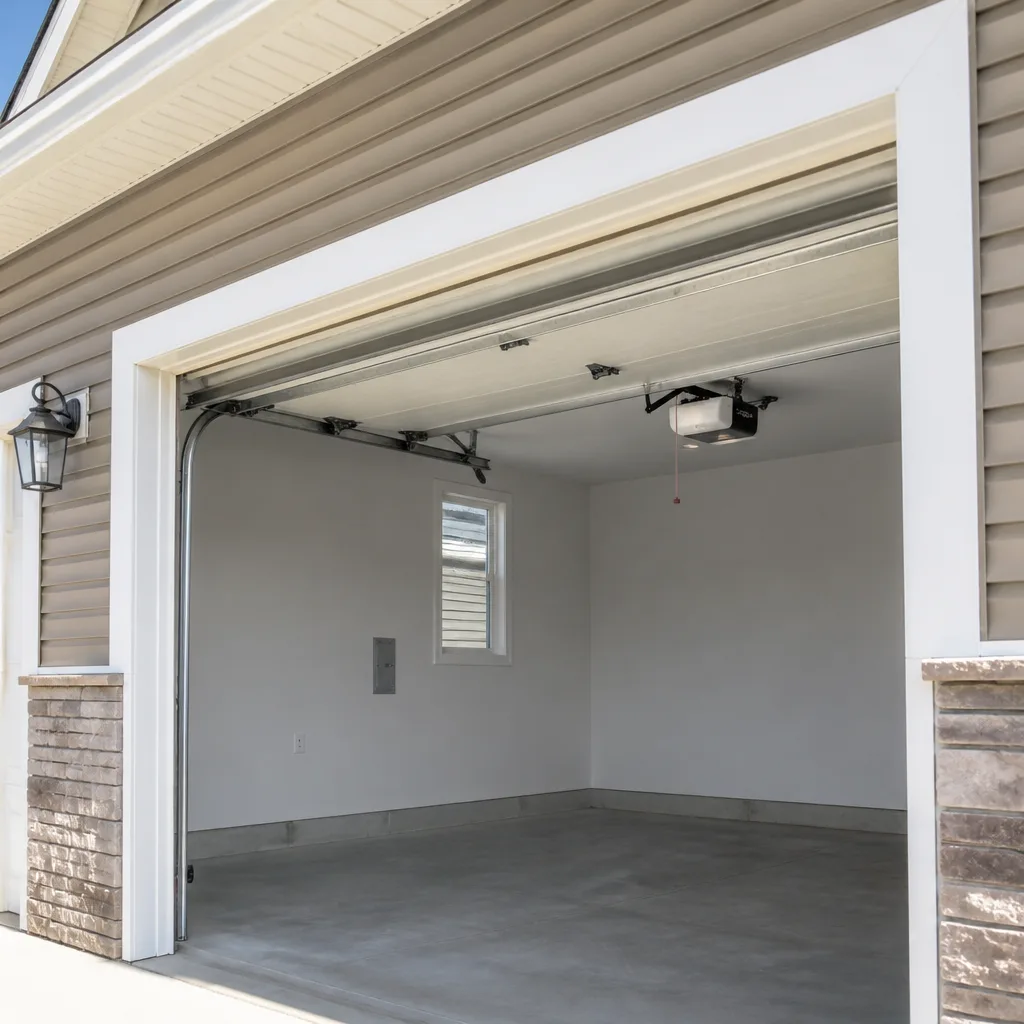 LiftMaster openers
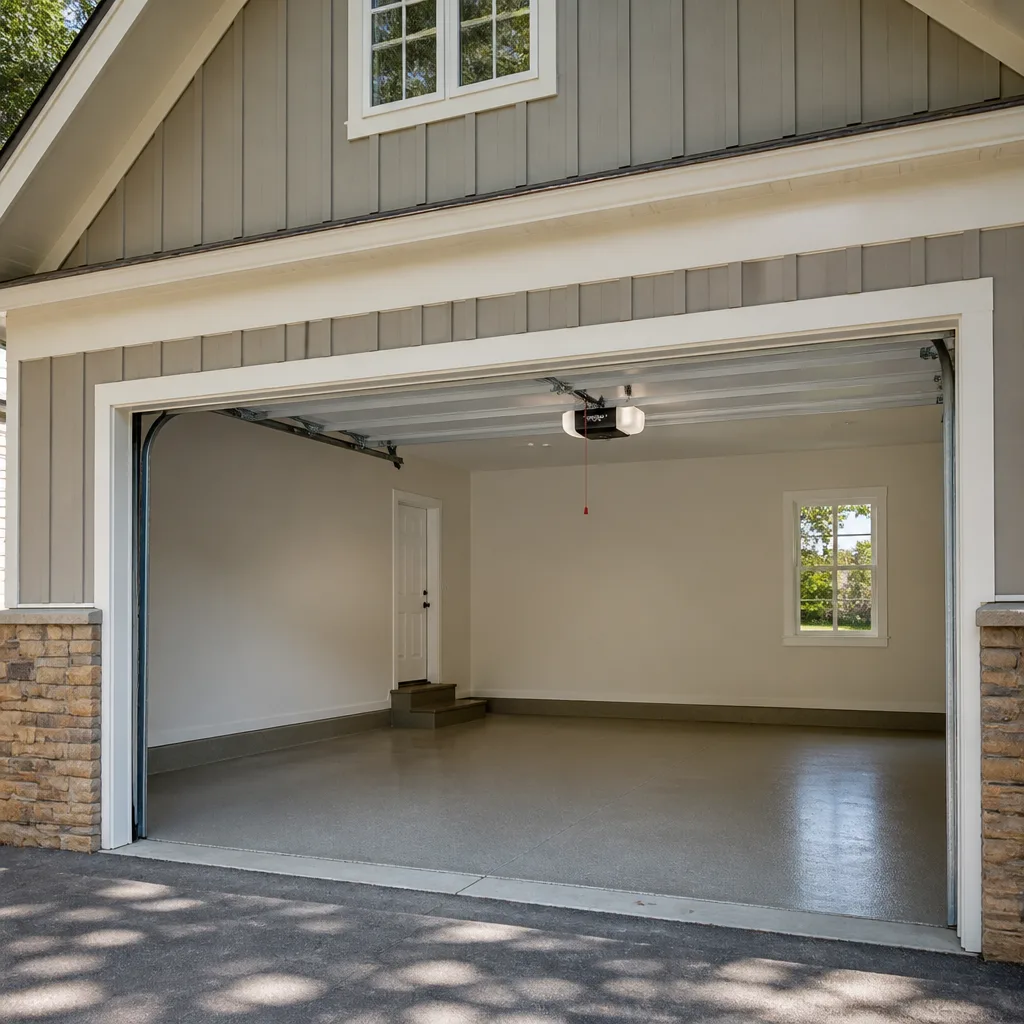 Chamberlain openers
Full 25-point door and opener safety check with every visit - springs, cables, rollers, tracks, and your LiftMaster or Chamberlain opener included
You get a price before we start. It does not change when the pro arrives.
Get your free estimateDIY vs Professional Garage Door Opener Repair & Installation: What’s Safe to Do Yourself
Replacing an opener’s logic board, re-pairing a remote, and nudging the travel limits are legitimate DIY tasks that many homeowners handle in an afternoon with a screwdriver and the manual. But the same homeowner who re-tensions the torsion spring connected to that opener has stepped into a different risk category entirely, and conflating the two is how people get hurt. A standard torsion spring on a two-car door stores roughly 100 ft-lbs of torque. That stored energy does not care how confident you feel. This guide draws the line at the component, not the person, so you can tell exactly which opener jobs reward a Saturday and which demand a trained technician in Summerlin.
Quick Answer
Logic board swaps, sensor alignment, remote programming, travel-limit adjustment, and force calibration are safe DIY tasks if you work with the power off and follow the manufacturer’s manual. Any task that requires releasing or adjusting stored spring tension is not DIY under any circumstance, no matter your mechanical skill. Installation that involves new wiring to your home’s electrical system, out-of-square headers, high-lift track, or commercial-duty openers above 1.25 HP is professional work. The line is the component, not your ability.
Styles & brands we work with
- Raised-panel steel
- Carriage house
- Modern flush
- Full-view glass
- LiftMaster openers
- Chamberlain openers
Table of Contents
- The Real Line: Why It’s the Component, Not Your Skill
- Garage Door Opener Tasks That Are Safely DIY
- The Hard Line: Stored Spring Tension and the Physics of Why
- Does DIY Opener Work Void the Warranty?
- Photograph Everything: The Documentation Habit That Protects You
- Three Installations Where Professional Help Always Pays for Itself
- What Summerlin Conditions Change About This Decision
- Common Mistakes to Avoid
- When to Call a Professional
- Frequently Asked Questions
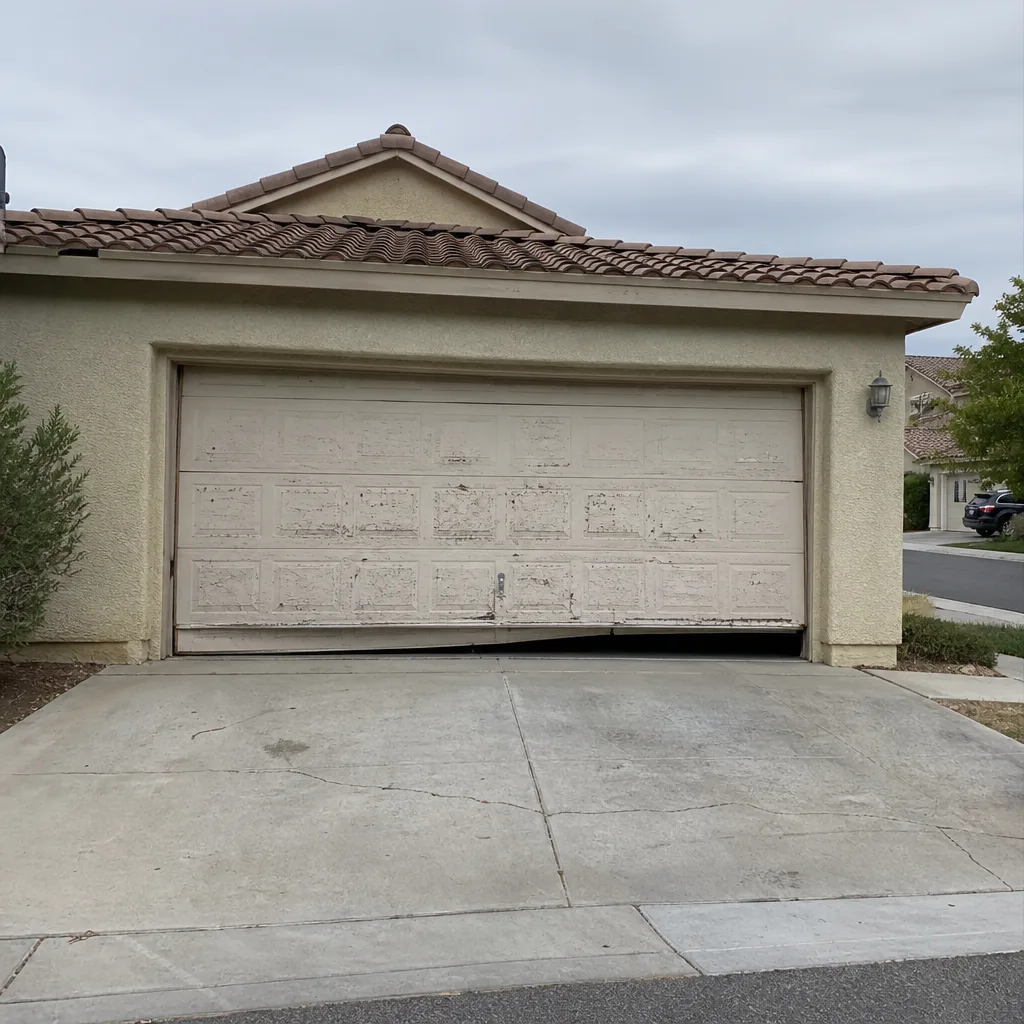
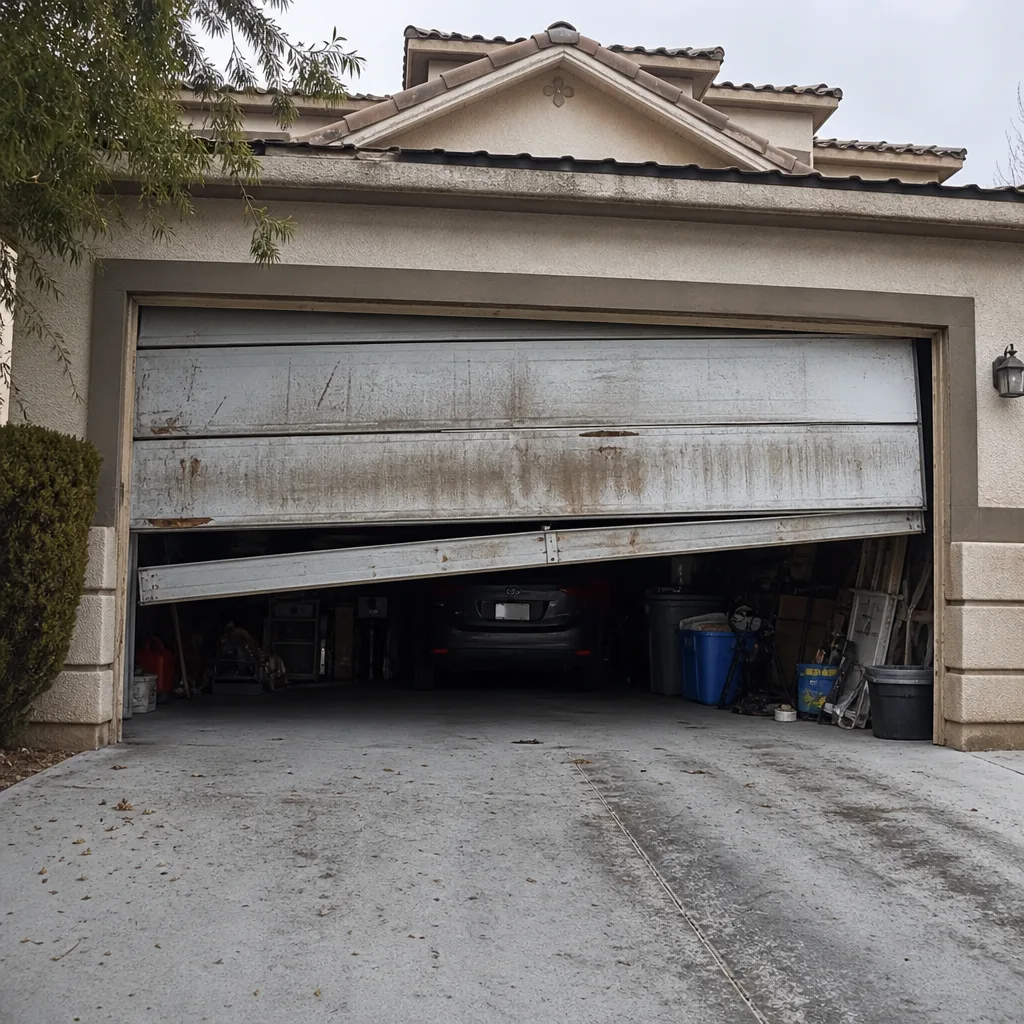 Before
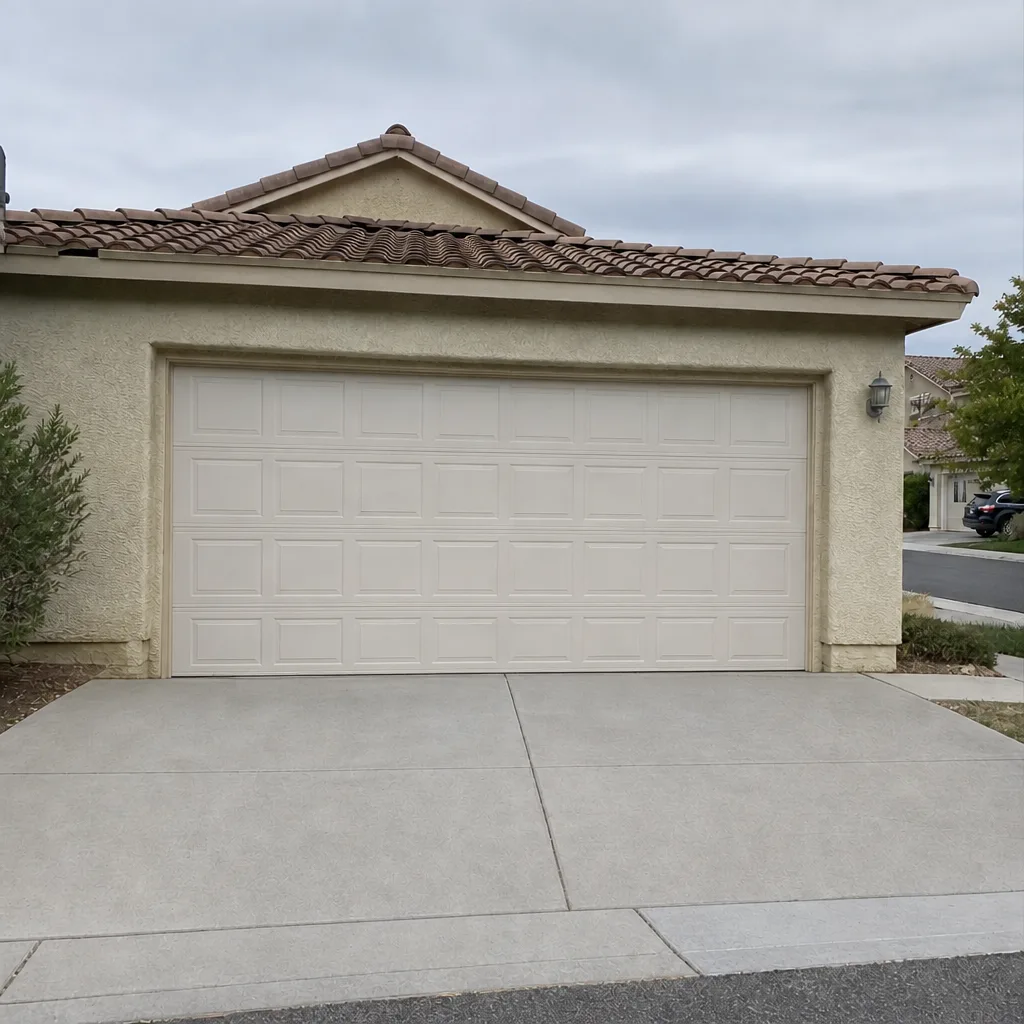
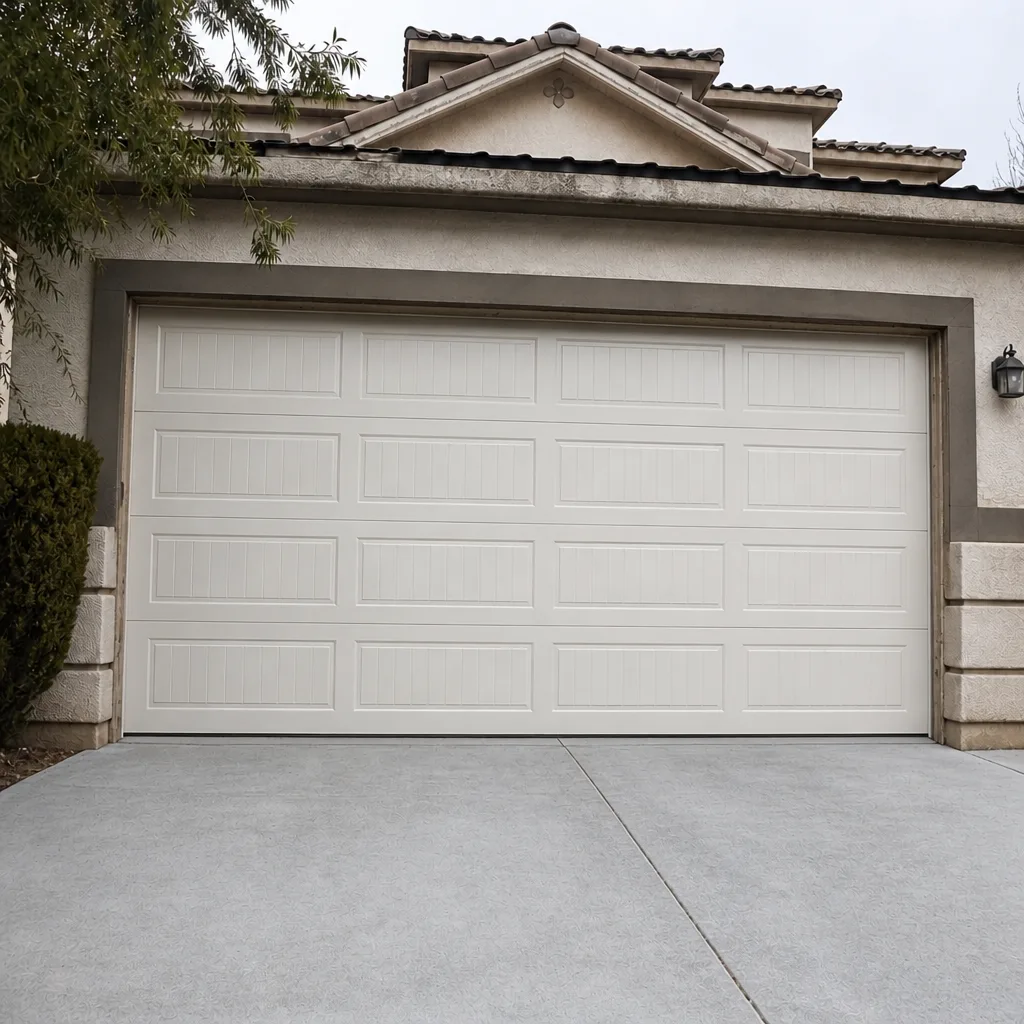 After
The Real Line: Why It’s the Component, Not Your Skill
Most DIY-versus-pro guides frame the question around how handy you are. That framing is wrong, and it’s why people who can rebuild a carburetor still shouldn’t touch a wound torsion spring. The deciding factor is which specific component the task touches and what that component can do when it fails. An opener logic board at 120 volts switched off is inert. A torsion spring under tension is a loaded mechanical system storing enough energy to break a wrist or worse.
When we assess a garage door opener in Summerlin, the first distinction we make is electrical-side versus mechanical-side. The electrical-side tasks are low voltage, mostly logic, and recoverable if you get them wrong. The mechanical-side tasks involve the door’s counterbalance system, the tracks, and the cables, and those are the tasks with liability consequences.
This is Clause 4 of The Haven Standard in practice. The technician photographs the failed component before quoting a replacement because the customer deserves to see what actually broke. That same principle applies to you as a DIYer: know exactly which part you’re touching before you touch it.
Three questions decide whether a task stays in your hands:
- Does the task require the power to stay on to complete? If yes, you’re in professional territory for anything beyond sensor alignment.
- Does the task involve releasing, adjusting, or re-tensioning any spring, cable, or counterbalance component? If yes, stop.
- Does the task require new wiring that connects to your home’s electrical panel or a new circuit? If yes, you need a licensed contractor for the electrical side.
Every opener task filters through those three questions cleanly. There is no gray zone once you know the component you’re working on.
Garage Door Opener Tasks That Are Safely DIY
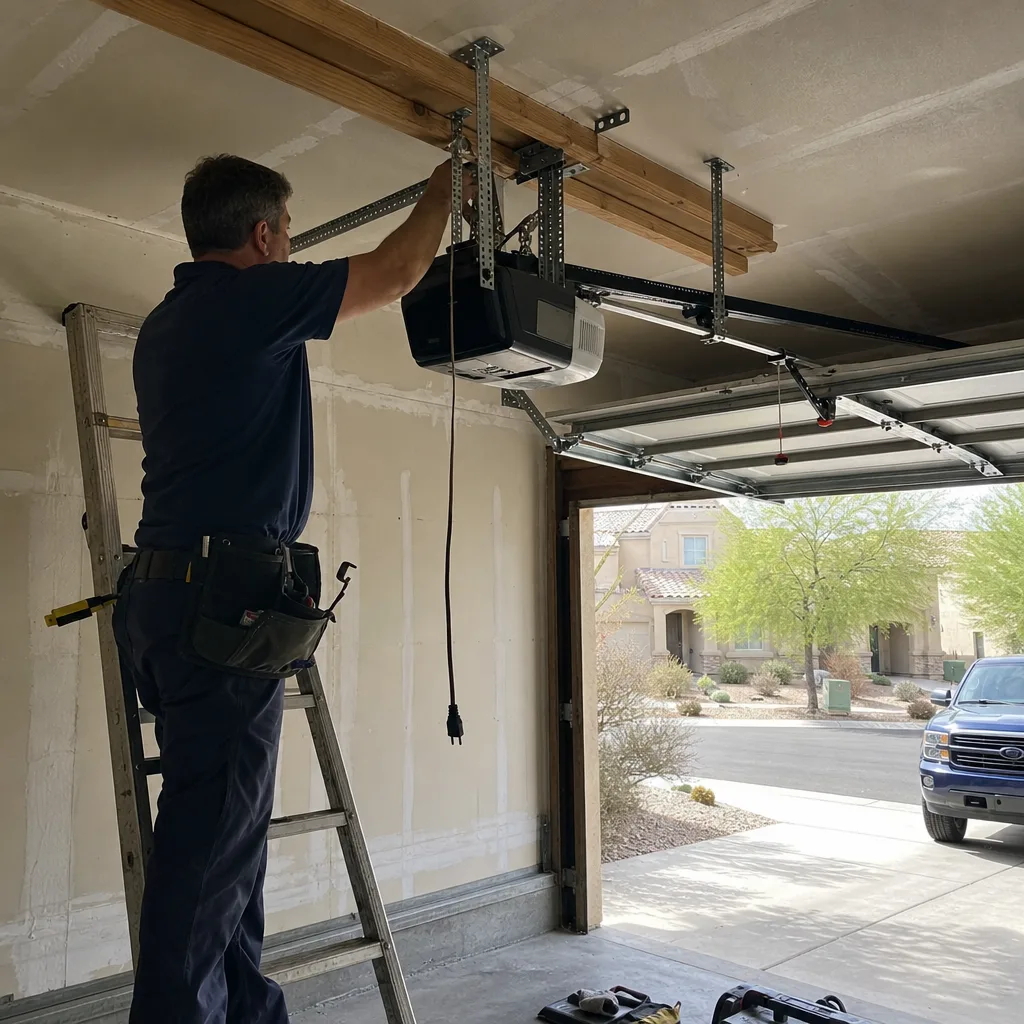
Five opener tasks fall clearly into the safe category. Each one keeps you away from stored energy and high-voltage wiring. Here’s what each involves, the tool required, and what breaks if you get it wrong.
| Task | Tool Required | Failure Mode If Done Incorrectly |
|---|---|---|
| Logic board swap | Phillips screwdriver, anti-static wrist strap | Blown board from static or reversed connector; opener won’t power on |
| Safety sensor alignment | Adjustable wrench, level | Door reverses mid-travel or won’t close; safety circuit stays open |
| Remote programming | None (uses opener’s learn button) | Remote doesn’t pair; wrong frequency, wrong button sequence |
| Travel-limit adjustment | Screwdriver or the opener’s adjustment tool | Door stops short or crushes against the header; motor strains |
| Force calibration | None (uses the opener’s force dial or menu) | Door fails to reverse on contact or reverses too easily; safety hazard |
The logic board swap is the most involved of the five but still safely DIY on a Genie or Chamberlain unit where the board sits in an accessible panel. Kill the power at the breaker first, not just the wall switch. Ground yourself on the chassis before touching the board. Photograph the wire connectors before you unplug them, because the connector layout differs between a Genie board and a LiftMaster board and a reversed ribbon cable can destroy a new board the moment power returns.
Sensor alignment is the most common opener fix in Summerlin and the one most worth doing yourself. The two safety sensors sit at the bottom of the tracks and must face each other within a few degrees. If the door closes halfway and reverses, one sensor has drifted out of line. Loosen the wing nut, aim the sensor’s indicator light at its partner, and re-tighten. If the indicator glows steady, the beam is aligned.
Remote programming and travel-limit adjustment both live in the opener’s plastic housing and involve nothing more dangerous than a ladder and the manual. Force calibration is the one to treat with the most care of the five. It sets how hard the door pushes before reversing on contact, and a door that pushes too hard before reversing is a crushing hazard. Test with a roll of paper towels, not your hand.
The Hard Line: Stored Spring Tension and the Physics of Why
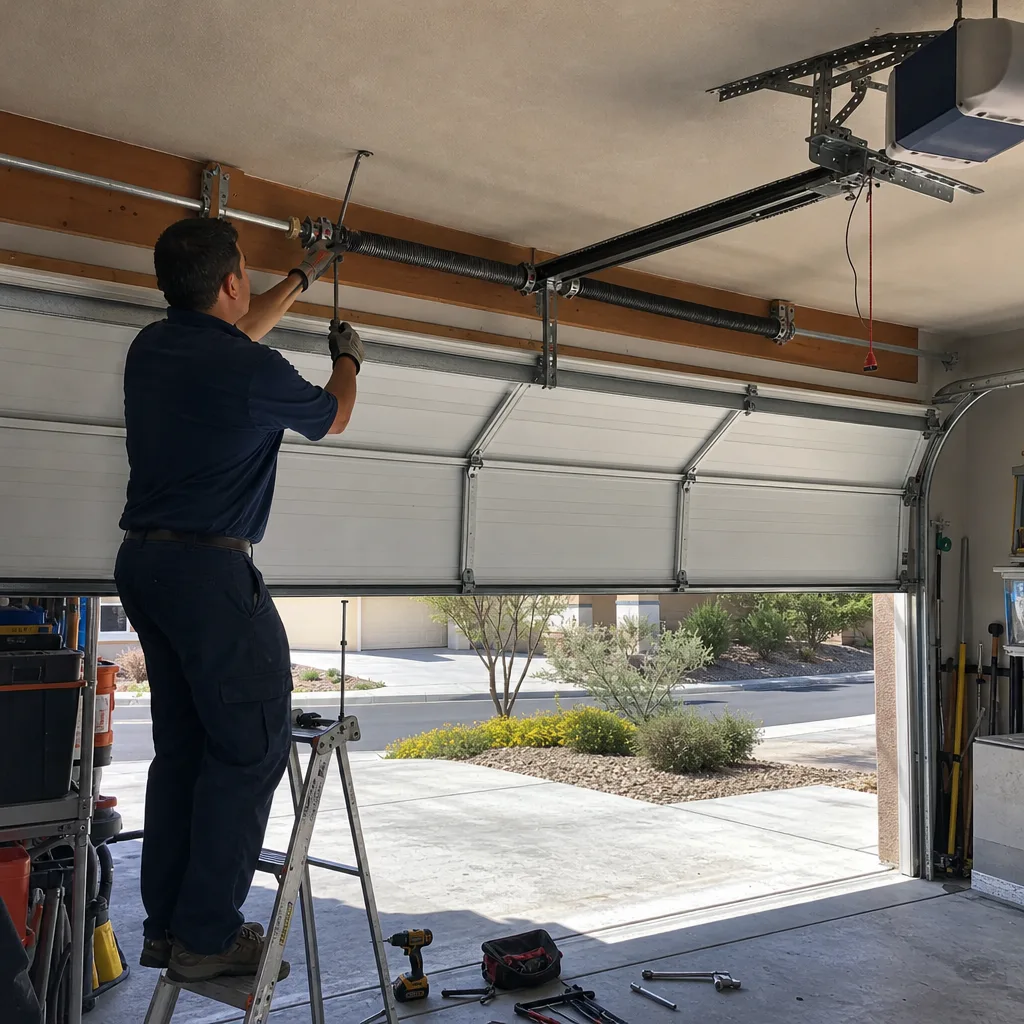
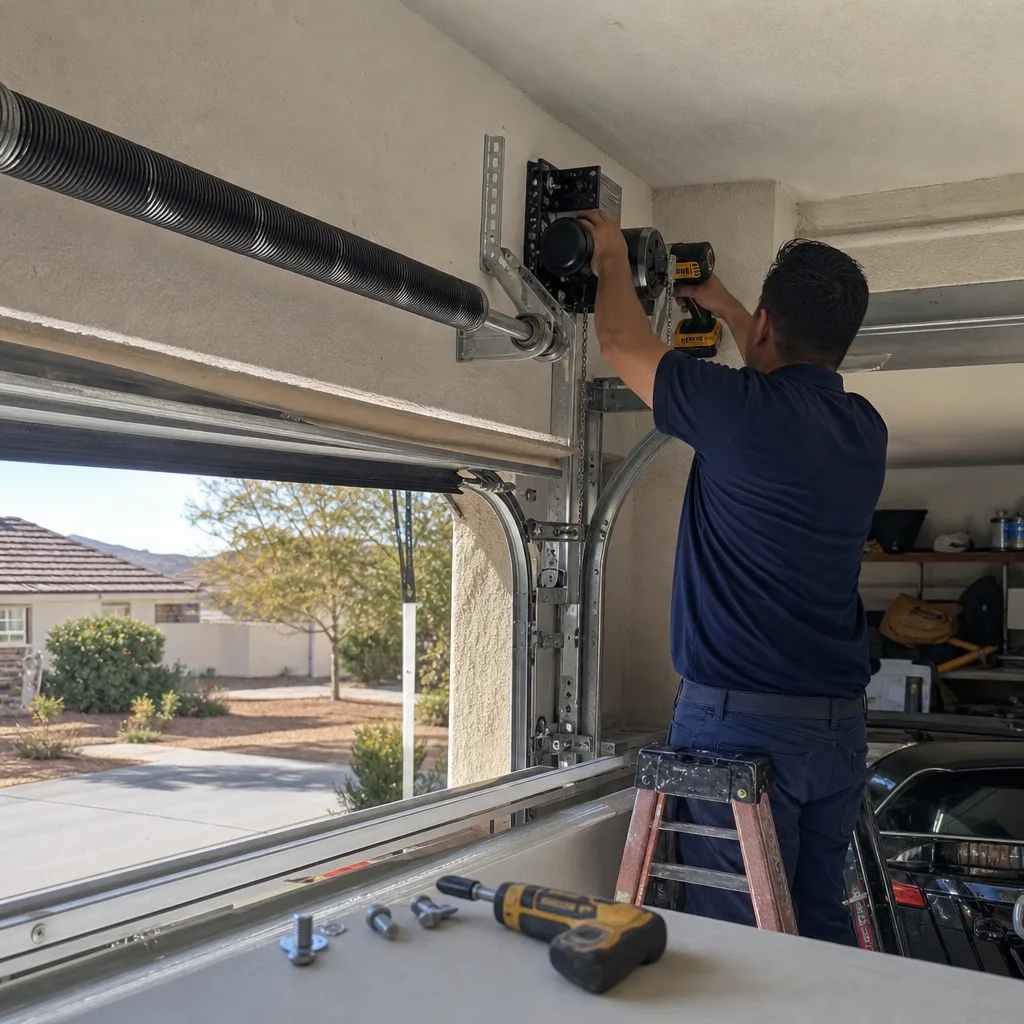
The line is a torsion spring that has absorbed energy. A standard torsion spring on a two-car door stores roughly 100 ft-lbs of torque, held in check by two winding bars and a set of set screws. Releasing that tension incorrectly doesn’t just fail. It releases, and a winding bar that slips out of a wound spring can travel across a garage with enough force to drive through drywall. This is the single most dangerous task in residential garage work.
The physics is straightforward. A torsion spring is wound to counterbalance the door’s weight. Winding it stores energy, and that energy is released back into the door to lift it. When the spring is wound, the system is loaded. When you loosen a set screw on a wound spring, you’re removing the only thing holding that load. It doesn’t gradually release. It releases all at once.
The same principle applies to extension springs on older single-car doors, where the spring runs alongside the track under tension. Both spring types share one rule: nothing on the counterbalance system is a DIY task.
What makes this confusing is that your opener sits right next to the spring. You can see the spring from the same ladder you use to reach the logic board. That proximity fools people into thinking the tasks belong together. They don’t. The opener pushes the door; the spring carries its weight. You can safely service the pusher. You cannot safely service the bearer.
The cables are the second half of this. A torsion cable under tension snapping free is a separate lethal event, and cable replacement is always professional work for the same reason. If a cable has slipped off its drum or frayed, close the door gently and leave it closed until a technician arrives.
The frame we use for a homeowner deciding in Summerlin: if the task requires you to remove tension from the system to complete it, the task is out of your hands. Full stop. There is no skill level that changes the physics.
Does DIY Opener Work Void the Warranty?
For most residential openers, an owner installation or owner repair does not void the product warranty. LiftMaster, Chamberlain, Genie, and Craftsman all publish owner-installation instructions and treat them as legitimate use. What voids a warranty is damage caused by improper installation, not the act of installation itself.
The warranty line sits at the electrical connection to your home. Most manufacturers expect a licensed contractor for any new wiring that runs from the opener to your electrical panel or a new circuit. If you’re plugging a pre-existing opener cord into an existing outlet, you’re covered. If you’re running new Romex from the panel to a junction box, that’s an electrician’s job and a manufacturer will point to that clause if something goes wrong.
Two practical rules protect the warranty:
- Keep the receipt and the date of the part. A warranty claim on a logic board requires proof of purchase and installation date.
- Follow the manufacturer’s manual, and don’t modify the unit beyond what the manual describes. Cutting the housing to fit a larger board, splicing a different connector, or upgrading a 1/2 HP unit with parts rated for higher HP cancels any goodwill the manufacturer might have extended.
The other thing a warranty won’t cover is the door itself. If you replace an opener and the door was already out of balance, a manufacturer won’t honor a claim on the opener when it burns out under strain from a door the spring can no longer carry. That’s worth checking before you install anything new. Lay a hand on the door, lift it to the halfway point, and let go. A balanced door stays put. A door that drops to the floor has a spring problem, and the opener is about to inherit it.
Photograph Everything: The Documentation Habit That Protects You
A DIY repair that you photograph before and after protects you in a way that a receipt alone doesn’t. We’ve seen disputes in Summerlin where a homeowner replaced a part and then a technician later couldn’t tell whether the failed component was the one the homeowner touched or a neighbor it. The photo record settles that in seconds.
What to capture on every DIY opener repair, in this order:
- Photograph the failed component in place, at full frame, with the part number visible if it’s printed on the housing or sticker.
- Photograph the wiring layout inside the opener housing before you disconnect anything. This is your map for reassembly.
- Photograph the new part’s model number and date on the box.
- Photograph the completed install with the door closed and the opener running at least one full cycle.
- Write the date and the part number in a note you save to your phone. Photos without context age badly.
This is exactly why Clause 4 of The Haven Standard requires the technician to photograph the failed component before quoting a replacement. The customer deserves to see the evidence, not just a description. The same discipline works for you. A documented DIY repair history traces back to the part, the date, and the condition, so that when the same component fails again, the professional you call knows what they’re looking at and you know what you did.
It also changes the conversation if you call for a second opinion. Bring a written estimate from another company and we’ll give you a free second opinion. If you headed off the problem yourself, bring your photos and the written price you paid for your parts. Neither of those goes to waste.
Three Installations Where Professional Help Always Pays for Itself
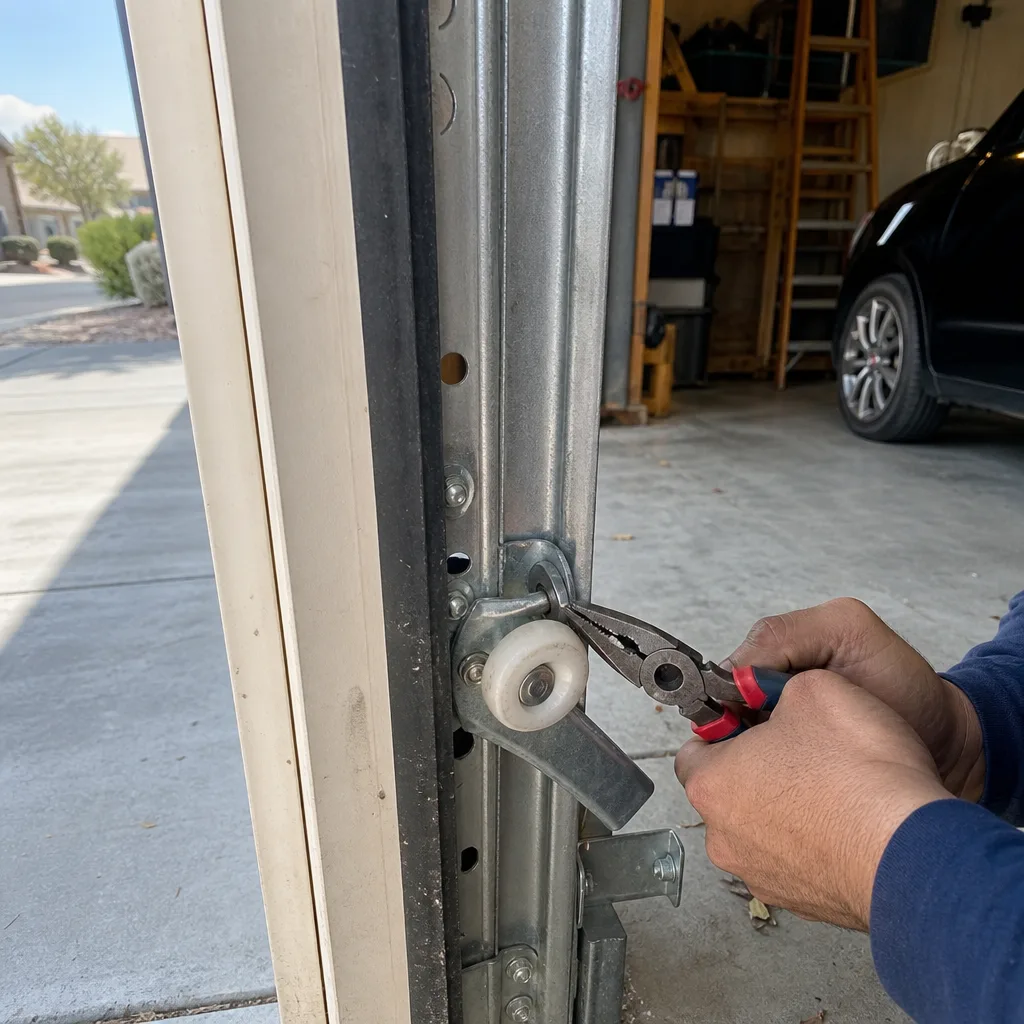
Some installations look like a weekend job and turn into a week of rework. In our experience across Summerlin, three configurations always cost more as DIY than as professional install.
1. Out-of-square headers that require shimming
A header that’s out of level and plumb by half an inch puts the entire track system at odds with itself. If it’s off, the door binds, the rollers wear unevenly, and the opener strains. Diagnosing a shimmed header takes a level, a plumb line, and the experience to know that a 1/4-inch shim in the right place solves a problem that looks like a track issue. An out-of-square header on a Summerlin home built in the 1990s is common enough that we check for it on every installation. A homeowner who skips the check installs a door that never runs smoothly.
2. High-lift track configurations (14-foot ceilings)
A high-lift track raises the door closer to the ceiling to clear the open overhead space. The geometry inside a high-lift kit has to match the opener’s travel and the door’s balance precisely. If the door’s spring system was rated for a standard 7-foot-high track and you install high-lift without adjusting the spring, the door runs out of balance from day one. Getting this wrong means the opener works against a spring that no longer matches the door. On a 14-foot-ceiling Summerlin garage, this is the configuration that trips up DIY installers most often.
3. Commercial-duty openers above 1.25 HP
Residential openers run on a standard 120-volt household circuit. Commercial-duty openers above 1.25 HP draw more current than a standard residential circuit is rated for, and installing one on a shared circuit is a wiring violation with real code implications. A homeowner who hooks a commercial-duty unit to the garage’s existing outlet may find it throws breakers or overheats the circuit. Wiring a dedicated circuit for a high-HP unit is an electrician’s job, and matching the opener to the door’s weight and cycle count is a professional one.
If any of those three sounds like your garage, the right first move is a free measure and a written price, not a trip to the hardware store. Professional installation isn’t same-day work. It’s measured, ordered, and scheduled, which is why the installers who do it well quote in writing before they start.
What Summerlin Conditions Change About This Decision
Summerlin’s climate and building stock shift the DIY math in ways that a generic guide won’t tell you. The desert heat is the main factor. Garage interiors here routinely run 20 to 30 degrees hotter than the outdoor air, and opener logic boards, sensors, and motors don’t age the same way in that environment as they do in a milder climate.
A logic board that fails on a Summerlin unit frequently fails from heat cycles, not from use. The part cools overnight and heats past 130 degrees by midday in July. If you’re replacing that board yourself, use an anti-static strap and check the capacitors for bulging before you discard the old one, because the failure symptom often looks like a dead board when it’s actually a heat-damaged capacitor or a loose connector. Photograph both before you decide the board has to go.
Spring fatigue is the second Summerlin factor. The heat accelerates spring metal fatigue, and springs fail in summer more often than in winter here. That’s the time homeowners notice the door running slow and reach for the opener as the culprit, when the spring is the actual cause. Photographing the spring’s wire diameter and inspecting for a clean break at the coil is what a trained eye does to separate a spring problem from an opener problem. That’s a job for a technician, but seeing the symptom clearly helps you decide whether to call.
Homes in The Ridges, Red Rock Country Club, and Summerlin West tend to carry larger two-car and three-car doors with heavier panels than the older tracts near Sahara. A heavier door demands a more capable opener, and an opener that’s undersized for its door works harder and fails sooner. Before you replace a failed unit yourself, confirm the new unit’s HP rating matches the door’s weight. An undersized opener is a false economy in this part of Summerlin.
Building stock is the third factor. Summerlin garages from the 1990s have 7-foot track heights and older opener wiring. Newer construction in Summerlin West sometimes comes with higher ceilings that invite high-lift notes. Knowing which you have changes whether a project stays DIY.
Common Mistakes to Avoid
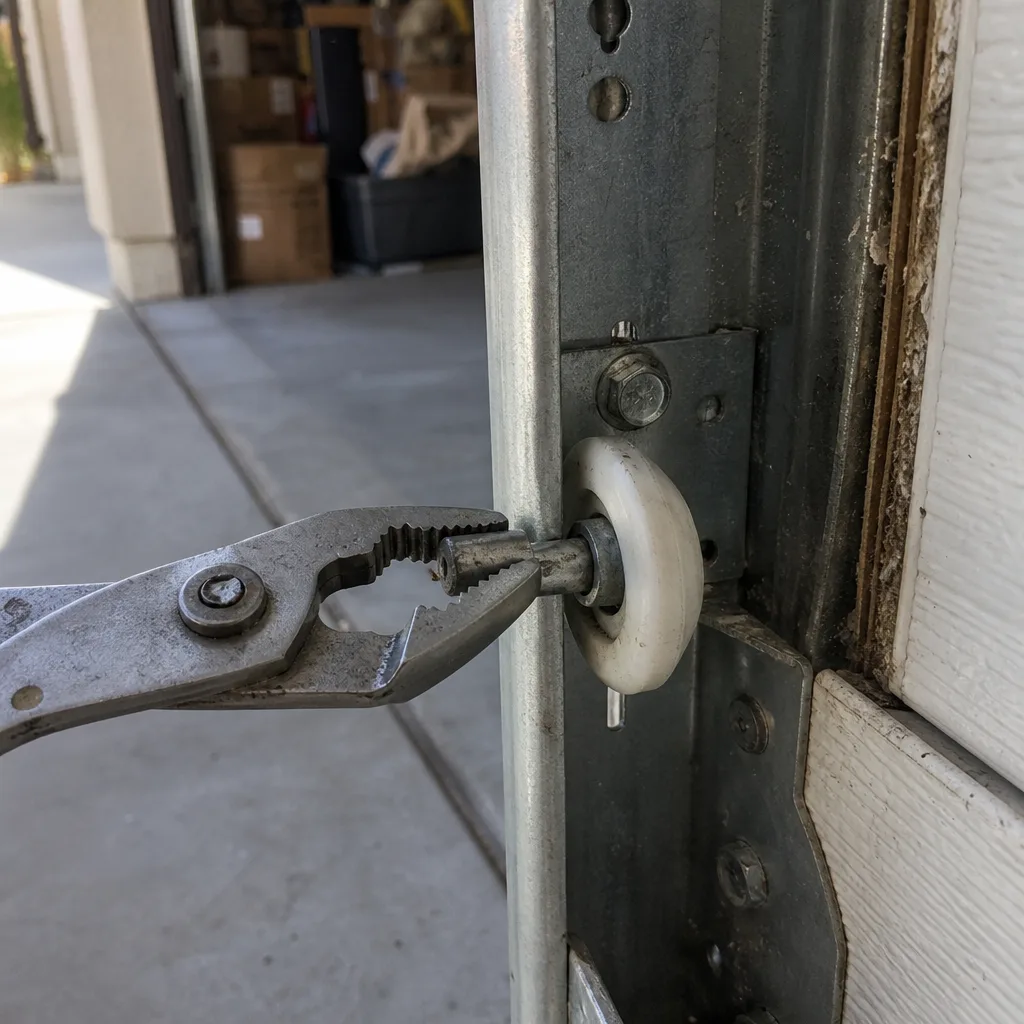
- Working on the spring because the opener is nearby. The opener and the torsion spring share a garage, not a risk category. If the task involves a spring, a cable, or a counterbalance component, stop. A wound spring stores enough energy to cause serious injury in a fraction of a second.
- Cutting power at the wall switch instead of the breaker. A wall switch removes control power, not necessarily the power at the motor. Kill the circuit at the panel before you open the housing on any opener repair in Summerlin or anywhere else.
- Reversing the wire connectors during a board swap. The connector layout on a Genie board and a Chamberlain board isn’t the same. A reversed ribbon cable can destroy a new board the moment power comes back on. Photograph the connectors before you pull them.
- Adjusting force calibration until the door “works” without testing reversal. Force calibration is about how much the door pushes before it reverses on contact. If you dial it up so the door closes cleanly but no longer reverses on a roll of paper towels, you’ve made your door less safe than it was when it failed. Test with a towel, not your hand.
- Installing a new opener on a door that was already out of balance. A door that drops when you let it go halfway up has a spring problem. An opener installed on that door inherits the strain and fails sooner. Check balance before installation, always.
- Running new wiring without checking the circuit’s rating. A standard residential circuit won’t carry a commercial-duty opener above 1.25 HP. Wiring a dedicated circuit is an electrician’s work, and a homeowner who skips that step may trip breakers until the circuit is corrected.
- Skipping the photo record because the job was small. A five-minute sensor alignment doesn’t feel like it needs documentation. But if the same sensor fails again in three months, the photo from the day you fixed it tells the next technician what you did, when, and what condition the part was in. That’s information worth keeping.
When to Call a Professional
Call a professional when the task involves a torsion spring, a cable, a counterbalance component, a new dedicated circuit, an out-of-square header, a high-lift track configuration, or a commercial-duty opener. Call when the door is out of balance, when the spring has broken, when a cable has slipped off its drum, or when you’re not sure which part failed. Call when your opener keeps failing the same way and you can’t see why. Call when the part is on the far side of the line.
For anything that falls in the safe category, we’ll happily tell you so. We photograph the failed part before quoting a replacement, deliver a flat written price before any work starts, and follow up with a documented record of what was found and what was done. For Garage Door Opener Repair & Installation in Summerlin, estimates are free. Call (844) 797-3654 for a free estimate.
Frequently Asked Questions
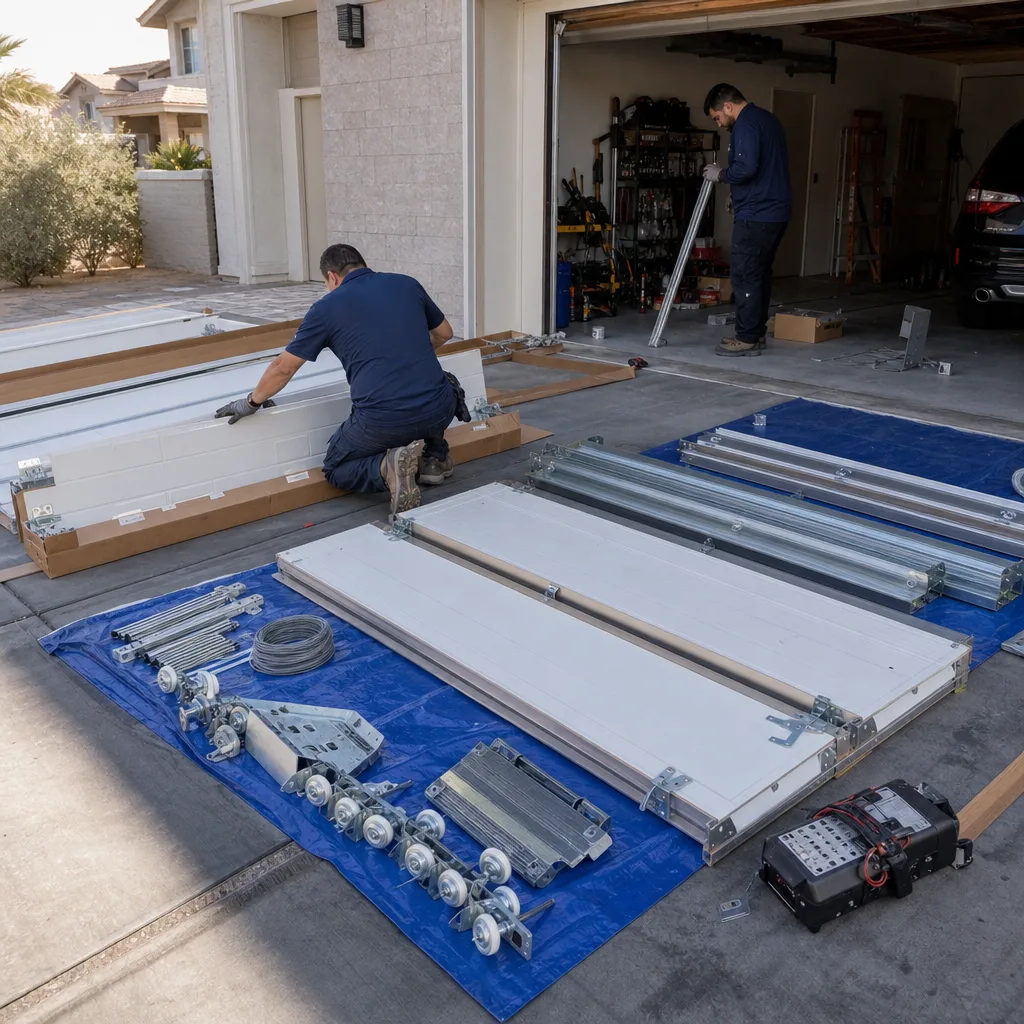
Yes, you can replace a residential garage door opener yourself, provided the electrical connection uses an existing outlet and the door and its spring system are healthy. What most homeowners underestimate is the mechanical side: if the door is out of balance, the tracks are mismatched to the new opener, or the ceiling height calls for a high-lift configuration, the installation stops being DIY. When you’re replacing rather than repairing, expect a free measure and a written price rather than a same-day install, because the opener has to be ordered to match the door. Call (844) 797-3654 for an exact quote, free.
Yes, replacing a logic board is safe DIY work if you kill the circuit at the breaker, wear an anti-static strap, and photograph the wire connectors before you unplug them. The two failure points are static damage to the new board and a reversed ribbon cable, both of which are avoidable with care. If you’re not comfortable opening the housing, the repair is quick enough that calling a technician is a reasonable move. Estimates are free.
No, for most residential openers an owner repair does not void the product warranty, as long as the failure isn’t from improper installation and you keep the receipt. What does void it is damage caused by the repair itself, or new wiring that connects to your home’s electrical system without a licensed contractor. Read the manual’s wiring clause before you run any new circuit.
Your garage door reverses before closing because the safety sensor circuit is open or misaligned, which is the most common opener fault we see in Summerlin. Check that both sensors at the bottom of the tracks face each other and that their indicator lights are steady rather than blinking. If realigning them doesn’t solve it, the sensor or its wiring has failed and a technician should look. Call (844) 797-3654 for an exact quote.
Garage door opener repair in Summerlin typically runs $120 to $340 depending on the part, with a logic board or motor replacement at the higher end and sensor or limit adjustments at the lower. The price is quoted and agreed in writing before any work starts, per Clause 1 of The Haven Standard, so the invoice matches the quote. If the failure is on the spring side rather than the opener side, the repair is priced differently and the quote reflects that. Call (844) 797-3654 for an exact quote, free.
You can install a commercial-duty opener above 1.25 HP in a home garage only with a dedicated circuit, because that class of opener draws more current than a standard residential circuit is rated for. Wiring the circuit is an electrician’s work, and matching the opener to the door’s weight and cycle count is a professional’s call. Don’t plug a high-HP unit into the existing garage outlet and assume it’s fine.
The Bottom Line
The DIY-versus-professional question for openers comes down to the component, not your skill. Logic boards, sensors, remotes, travel limits, and force calibration are safe to handle yourself, and we’ll tell you so when they’re the actual cause. Spring tension, cables, new wiring, out-of-square headers, high-lift track, and commercial-duty openers are not. The physics of a wound spring doesn’t bend to confidence. Photograph what you touch, follow the manual on the tasks that stay in your hands, and call before you cross the line. If you want a free second opinion on someone else’s written estimate, or a free measure for an install, call us and we’ll bring the paperwork.
For Garage Door Repair in Summerlin, Garage Door Installation in Summerlin, and everything covered in this guide, the whole team at Servo Garage Doors Summerlin home is here to help. Call (844) 797-3654 for a free estimate. Every job gets a written price before any work starts, a documented photo record when we leave, and our 365-Day Done Right Promise: if it’s not done right, we make it right.
Written by the team at Servo Garage Doors Summerlin.
See the difference
BeforeAfter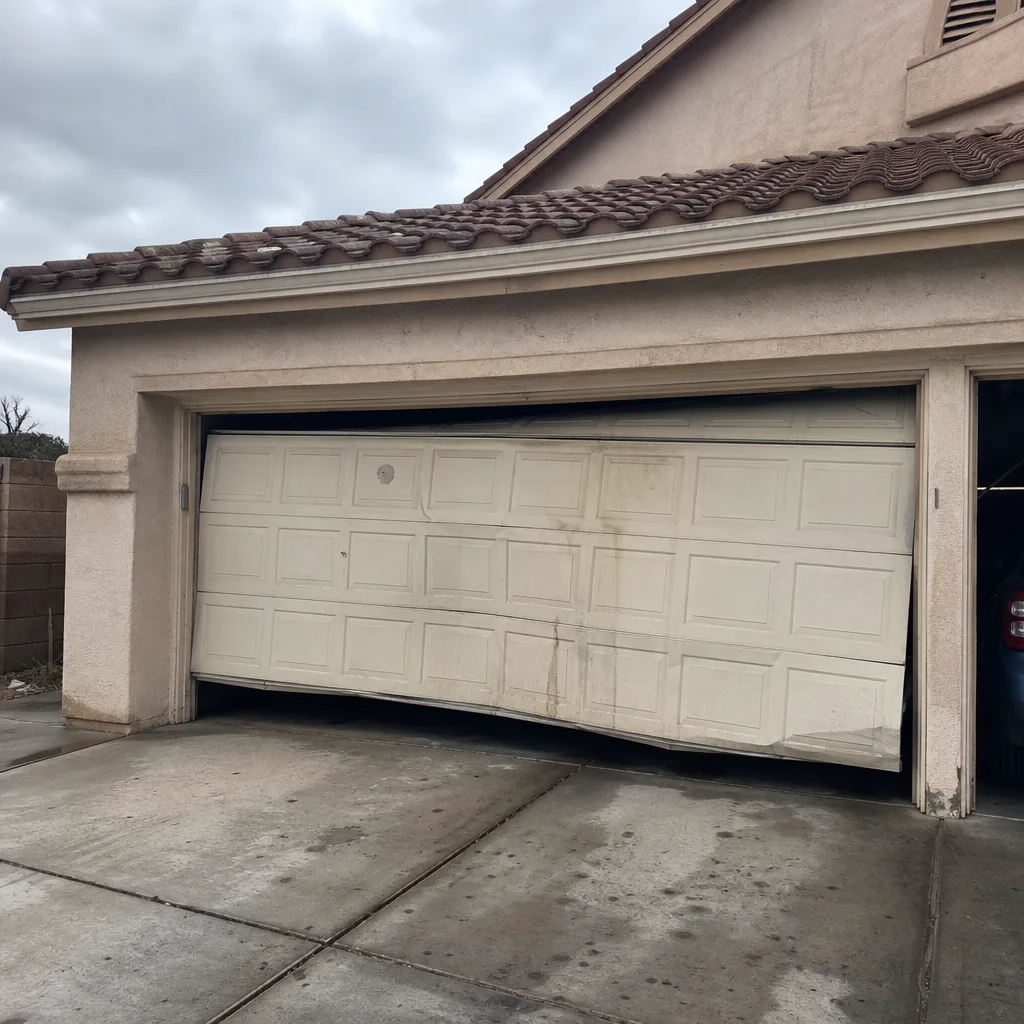 Before
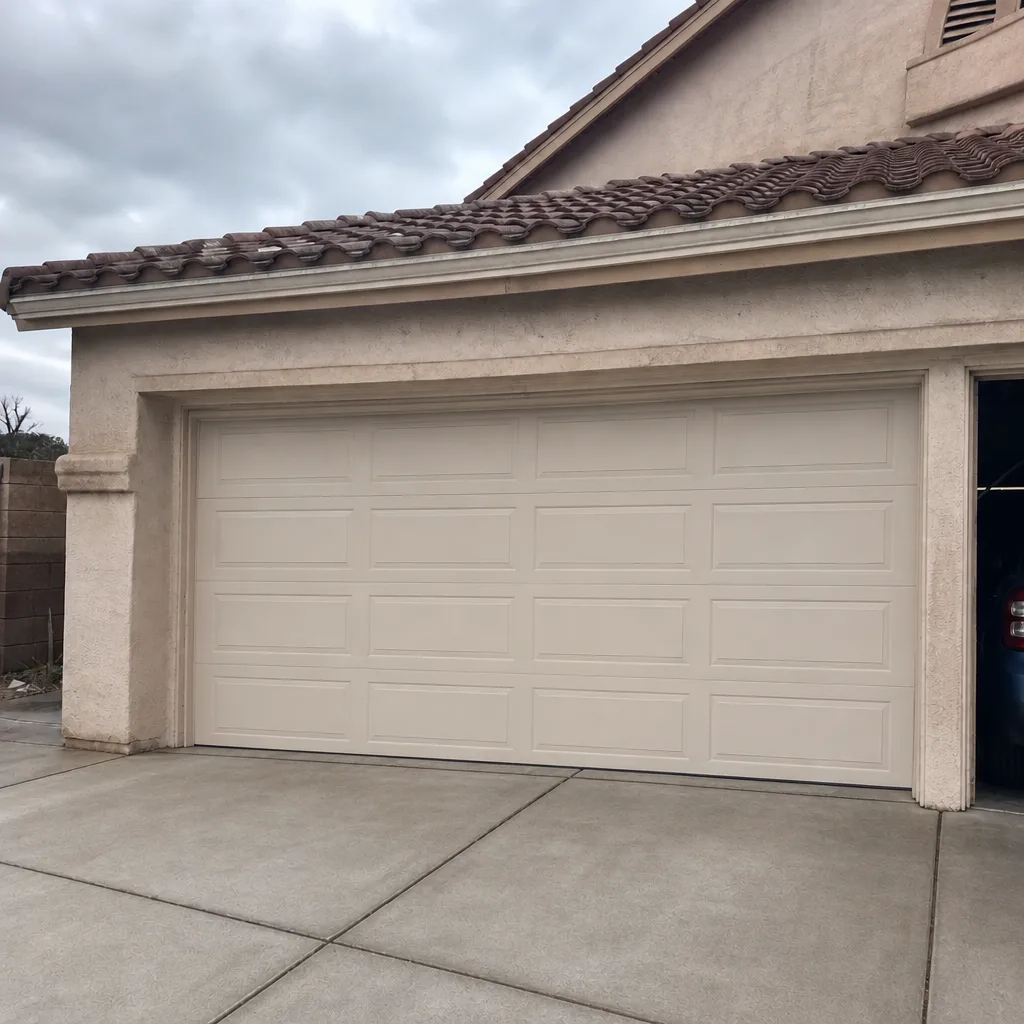 After
 Before
 After