
Last updated November 17, 2026
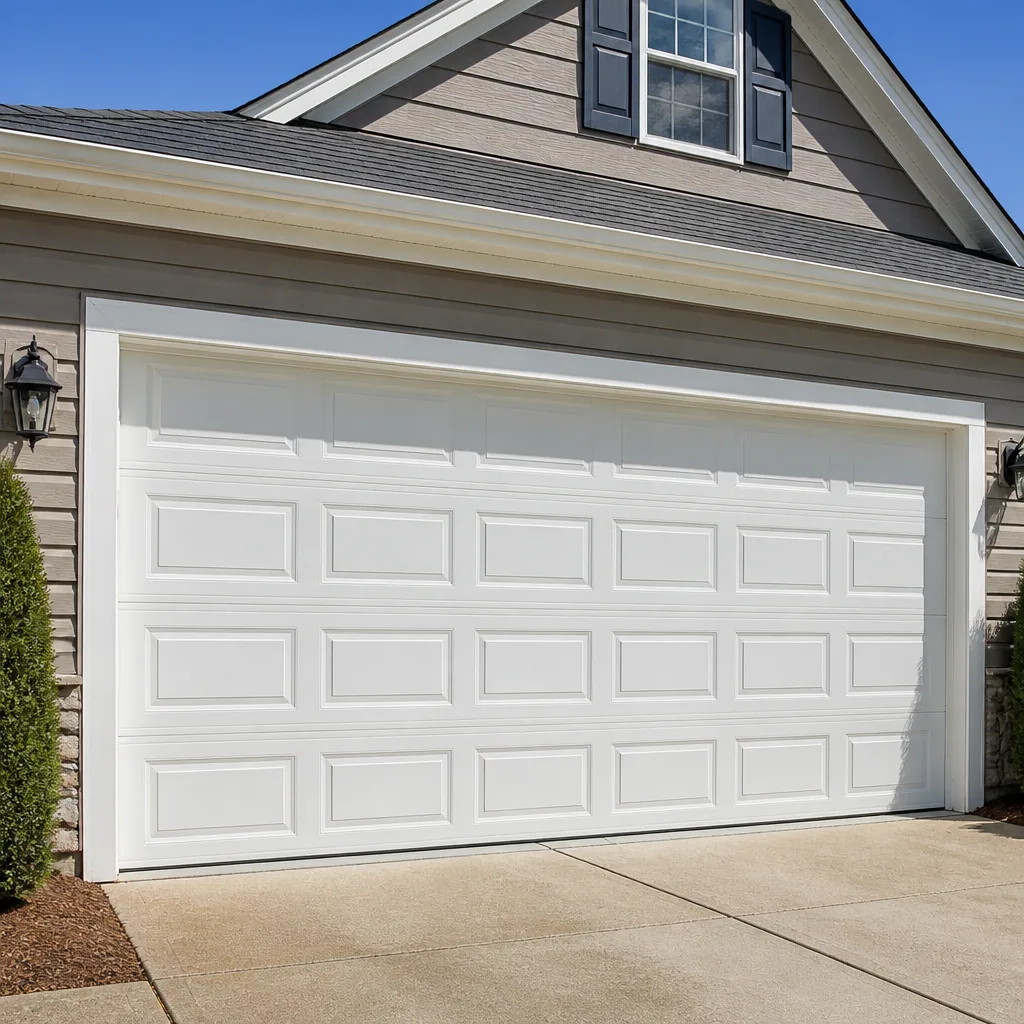 Raised-panel steel
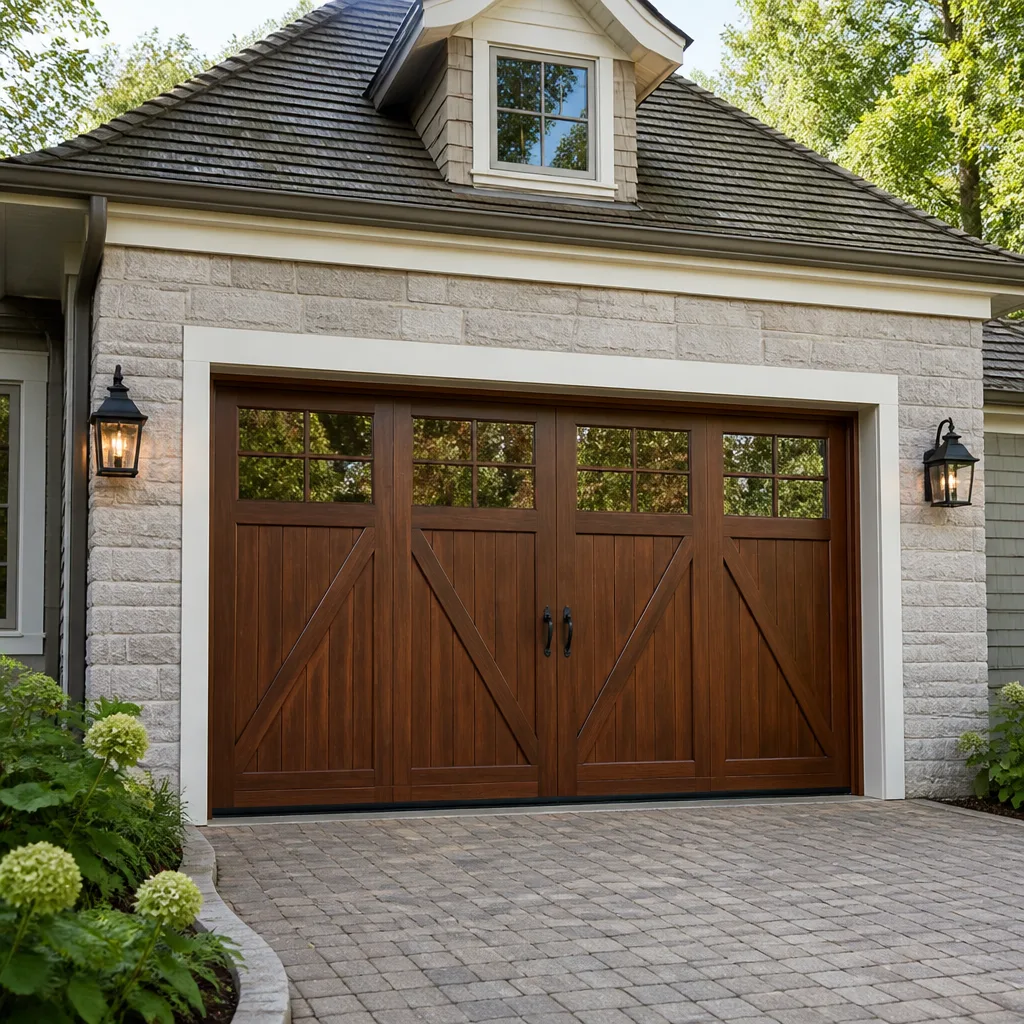 Carriage house
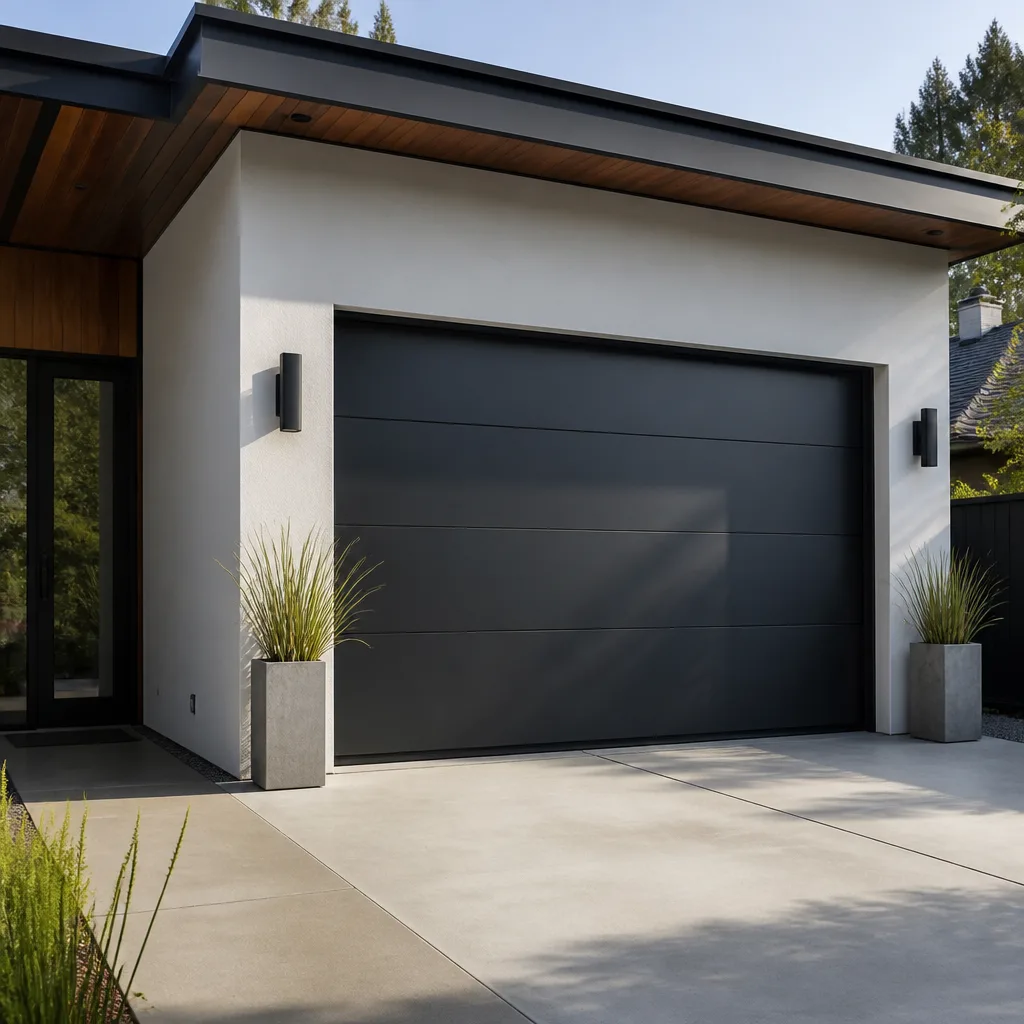 Modern flush
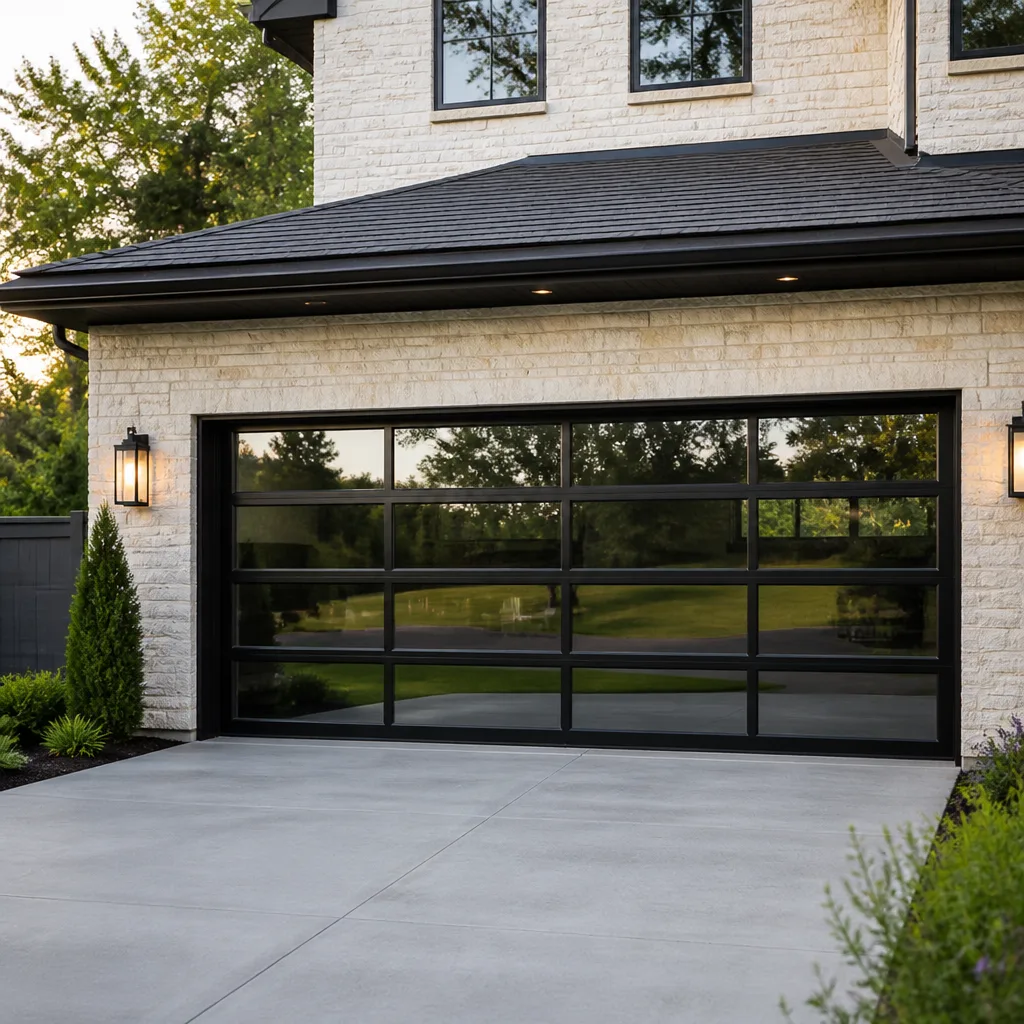 Full-view glass
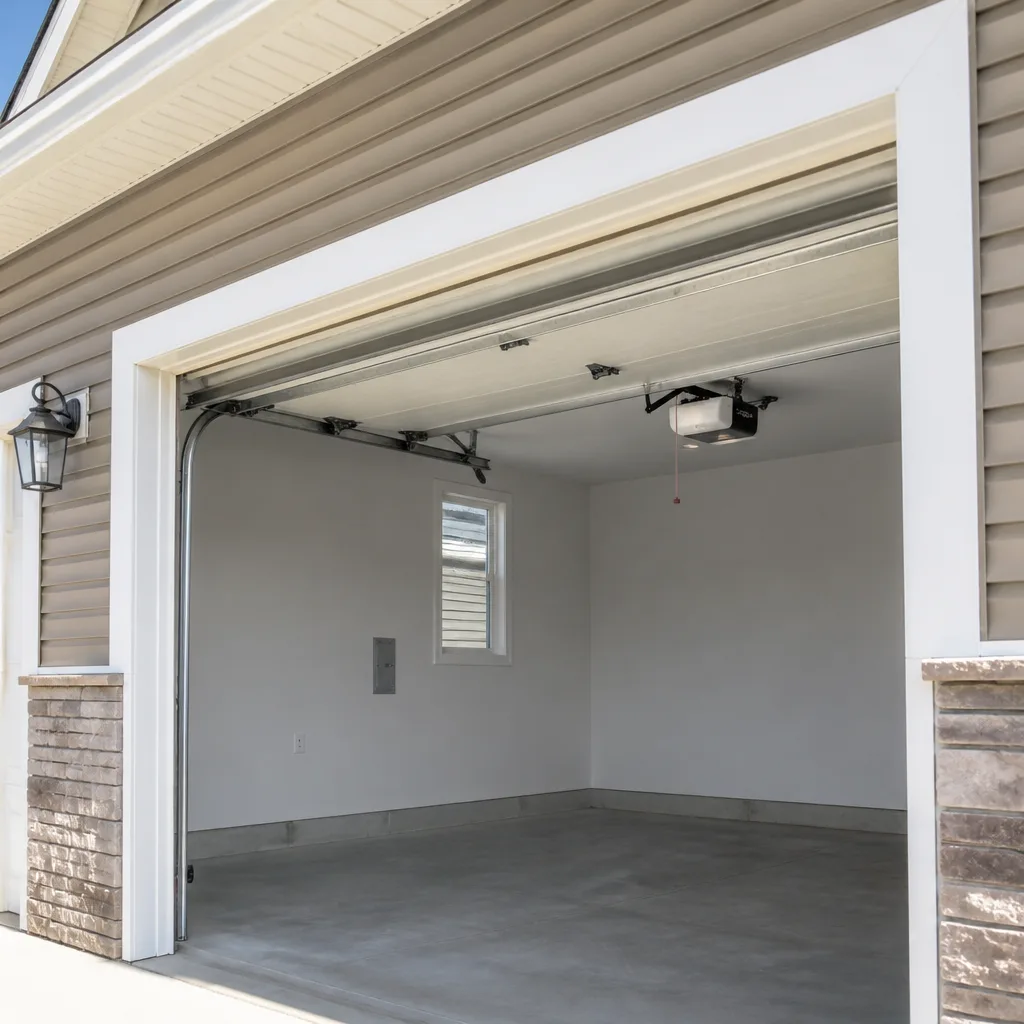 LiftMaster openers
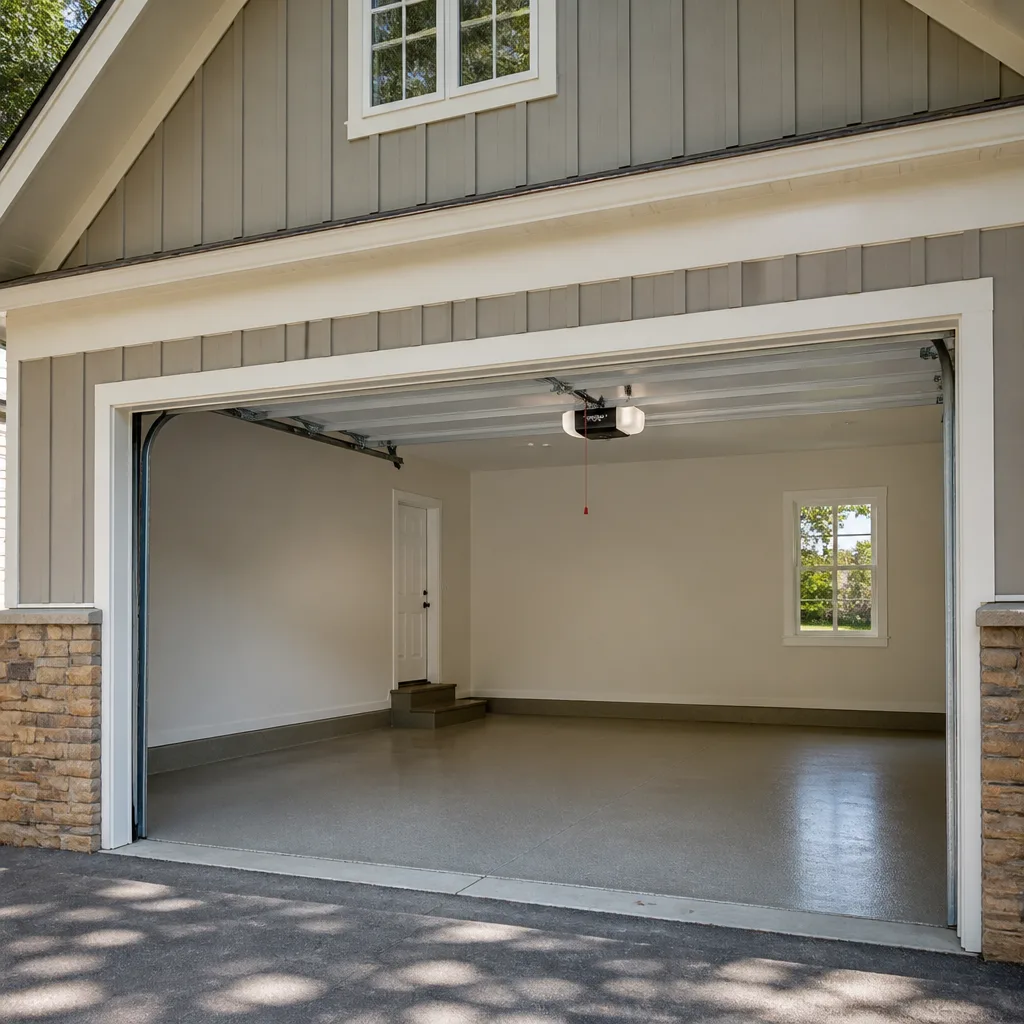 Chamberlain openers
Full 25-point door and opener safety check with every visit - springs, cables, rollers, tracks, and your LiftMaster or Chamberlain opener included
You get a price before we start. It does not change when the pro arrives.
Get your free estimateGarage Door Installation Warning Signs Every Homeowner Should Know
A garage door can pass a casual eye test and still have a torsion spring wound to the wrong tension – a condition that stores enough energy to break a wrist during the next service call. From the driveway, the panels look straight, the paint is even, the door goes up when you press the button. Beneath that normal-looking surface, a handful of installation errors sit quietly, and the physical evidence they leave behind is readable if you know what to look for. This guide teaches you to read that evidence: the level check on each vertical track, the cable coil that bunches on one side, the fastener driven into drywall, the door that feels heavy by hand. In Summerlin, where most of the housing stock went up between the late 1990s and the 2010s, these are the warning signs we get called about most.
Styles & brands we work with
- Raised-panel steel
- Carriage house
- Modern flush
- Full-view glass
- LiftMaster openers
- Chamberlain openers
Quick Answer
The most serious garage door installation warning signs are uneven vertical tracks, misaligned track brackets, cables that bunch on one side, a door that feels heavy when lifted by hand, and fasteners anchored into drywall rather than studs. These problems often look harmless for months before they fail, so the check that matters most is physical: a six-inch level against each vertical track, a hand-lift test with the opener disengaged, and a look at where the lag screws actually landed. If any of those fail, have the installation inspected before you keep running the door.
Table of Contents
- The Two-Minute Level Check That Catches Misaligned Tracks
- Uneven Cable Tension: What It Looks Like and Why It Racks the Door
- Spring Tension: Why a Heavy Door Is a Calibration Warning
- Fasteners Into Drywall: A Nevada Code Problem, Not a Shortcut
- The Photo Record You Should Take After Installation
- Why Summerlin Conditions Test an Installation Harder
- Brand and Hardware Signals Worth Noticing
- Common Mistakes to Avoid
- When to Call a Professional
- Frequently Asked Questions
Key Takeaways
- Cosmetic appearance tells you almost nothing about whether the springs, cables, and tracks were set correctly.
- A six-inch level on each vertical track catches bracket misalignment in about two minutes and needs no special tools.
- One cable coil bunching while the other stays flat means the door will rack under load, and it will wear rollers and hinges unevenly.
- A door that feels heavy when you lift it by hand is a spring calibration warning, not a quirk to live with.
- Lag screws driven into drywall instead of studs violate Nevada anchoring requirements and are the leading cause of track pull-out.
- Photograph the finished installation yourself so you have a dated record if a problem surfaces later.
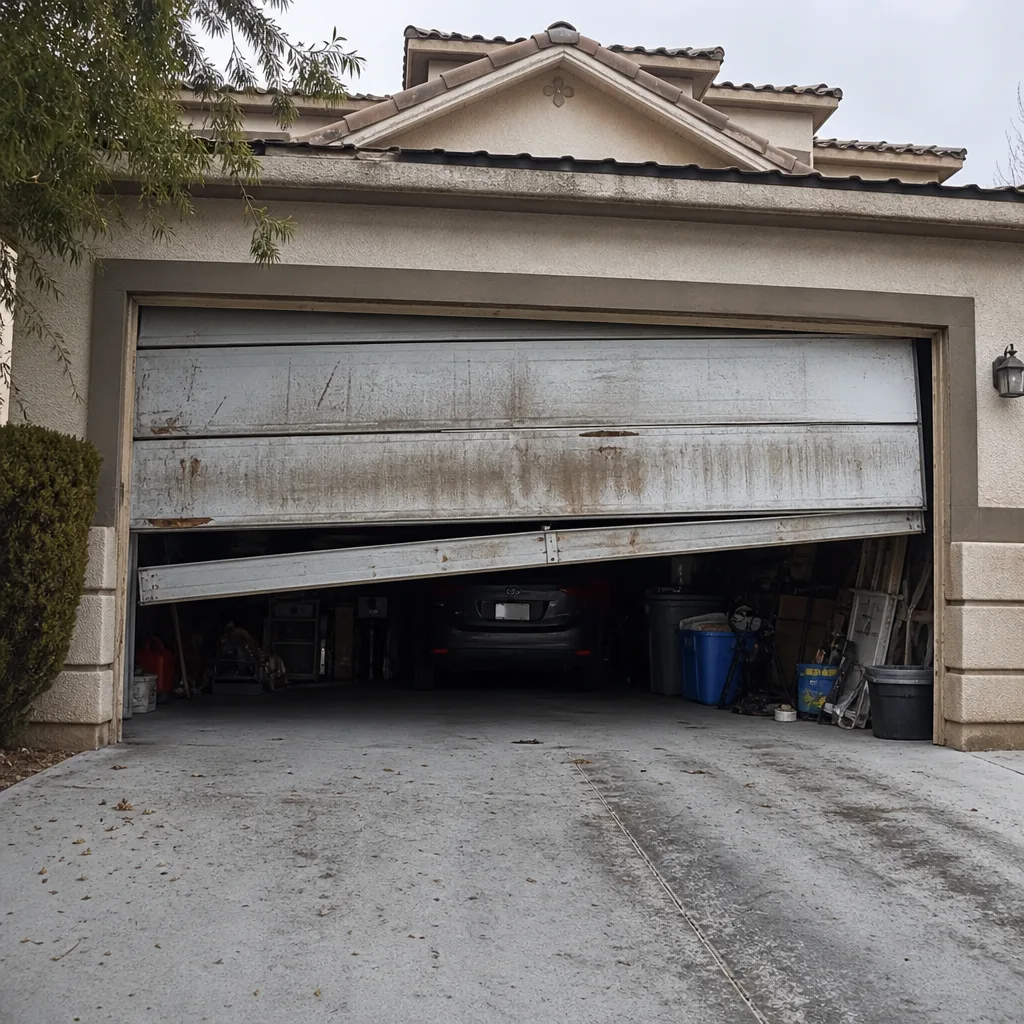 Before
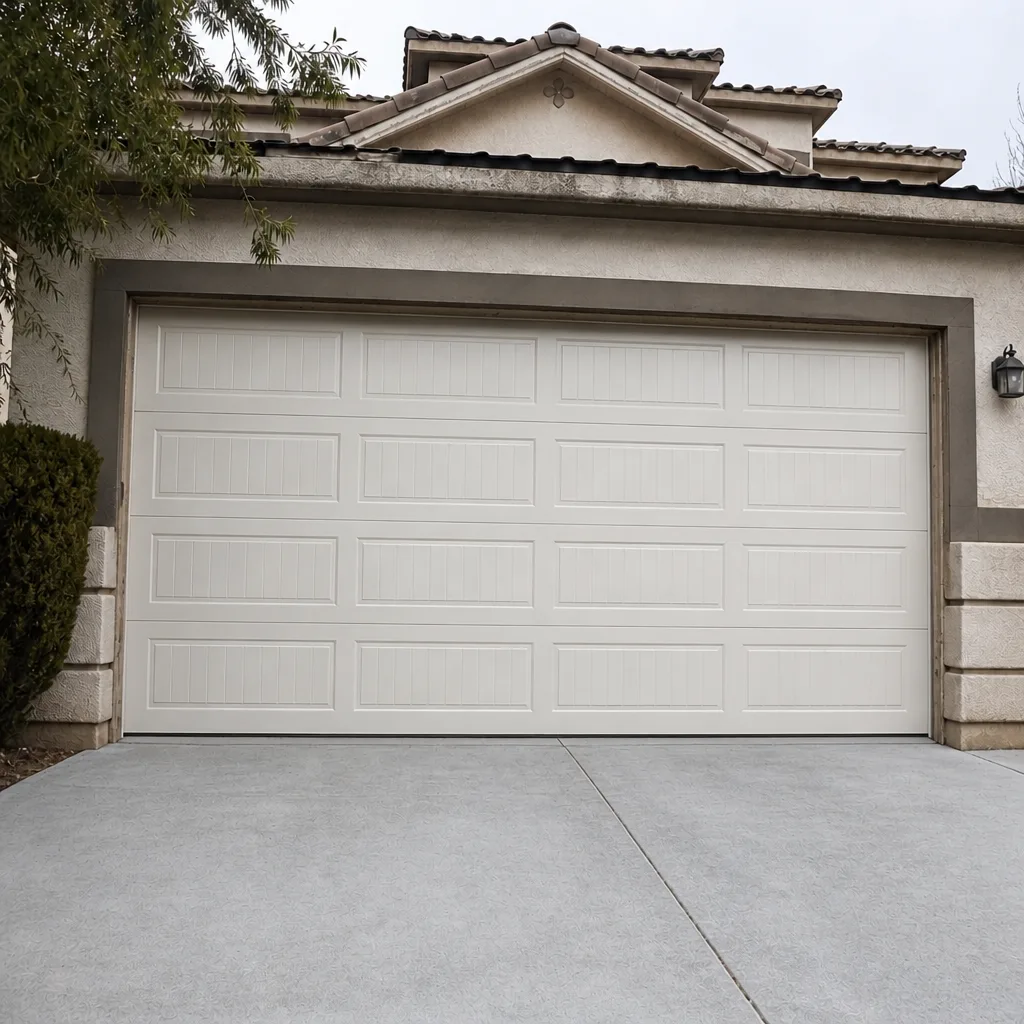 After
The Two-Minute Level Check That Catches Misaligned Tracks
Vertical track alignment is where installation quality gets decided, and it’s the check most homeowners can do without buying anything. A track that’s out of plumb by even a small margin forces the rollers to ride against one edge of the channel instead of the center. You won’t hear it at first. What you’ll notice over six to twelve months is one side of the door wearing rollers noticeably faster than the other, and eventually a scrape or a bind as the door travels.
Here’s how to check it:
- Open the door fully and disconnect the opener by pulling the release cord so the door is under spring tension only.
- Hold a six-inch level against the outside face of one vertical track, at the widest straight section below the curved portion. Note the bubble position.
- Repeat on the opposite vertical track. Both tracks should read plumb, and they should read the same way.
- Look at the gap between track and jamb at the top bracket versus the bottom bracket. If one gap is noticeably wider than the other, the track is tilted in or out.
On Summerlin homes built in the 2000s, we regularly see brackets set by eye rather than by level, and the door still runs smoothly enough that nobody notices until a roller gives out. A plumb track is the baseline every other adjustment depends on. If you’re not confident reading the result, garage door repair in Summerlin can include a track alignment check in a service visit.
Uneven Cable Tension: What It Looks Like and Why It Racks the Door
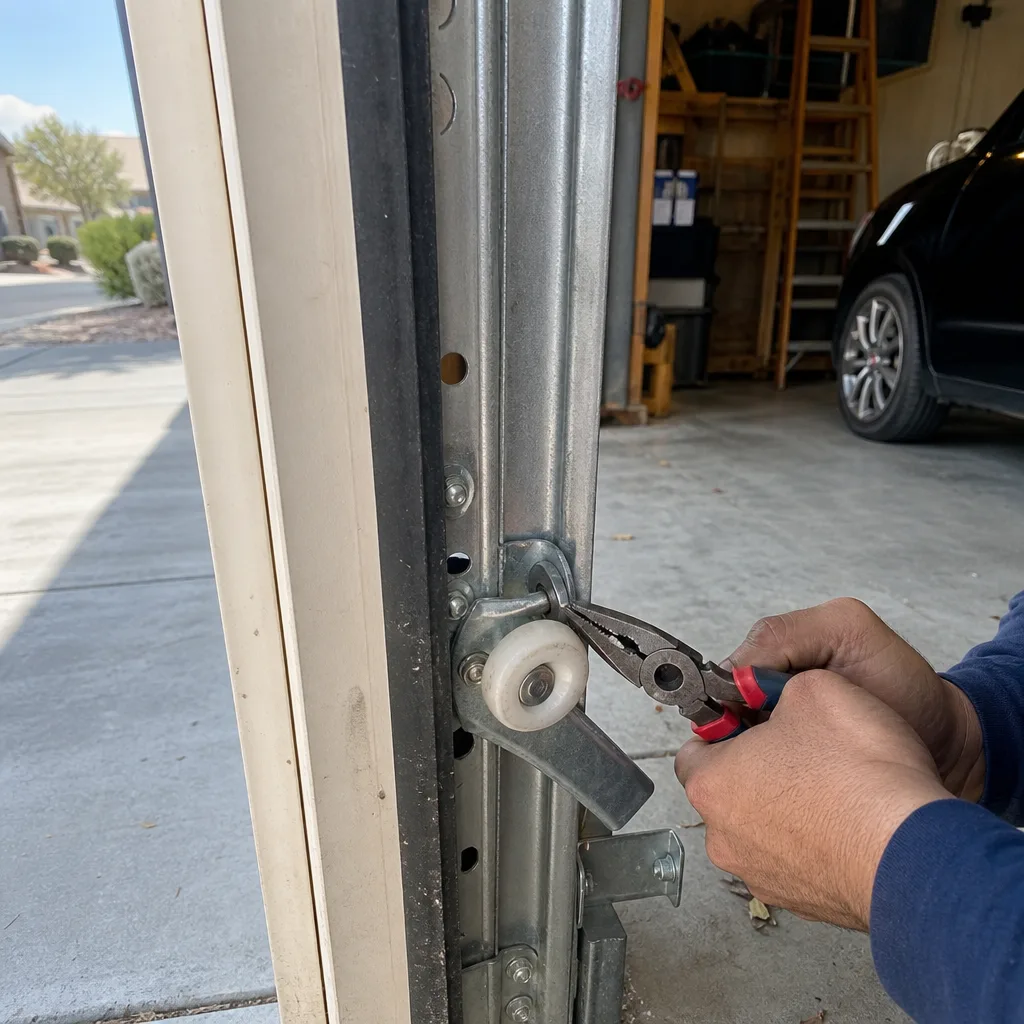
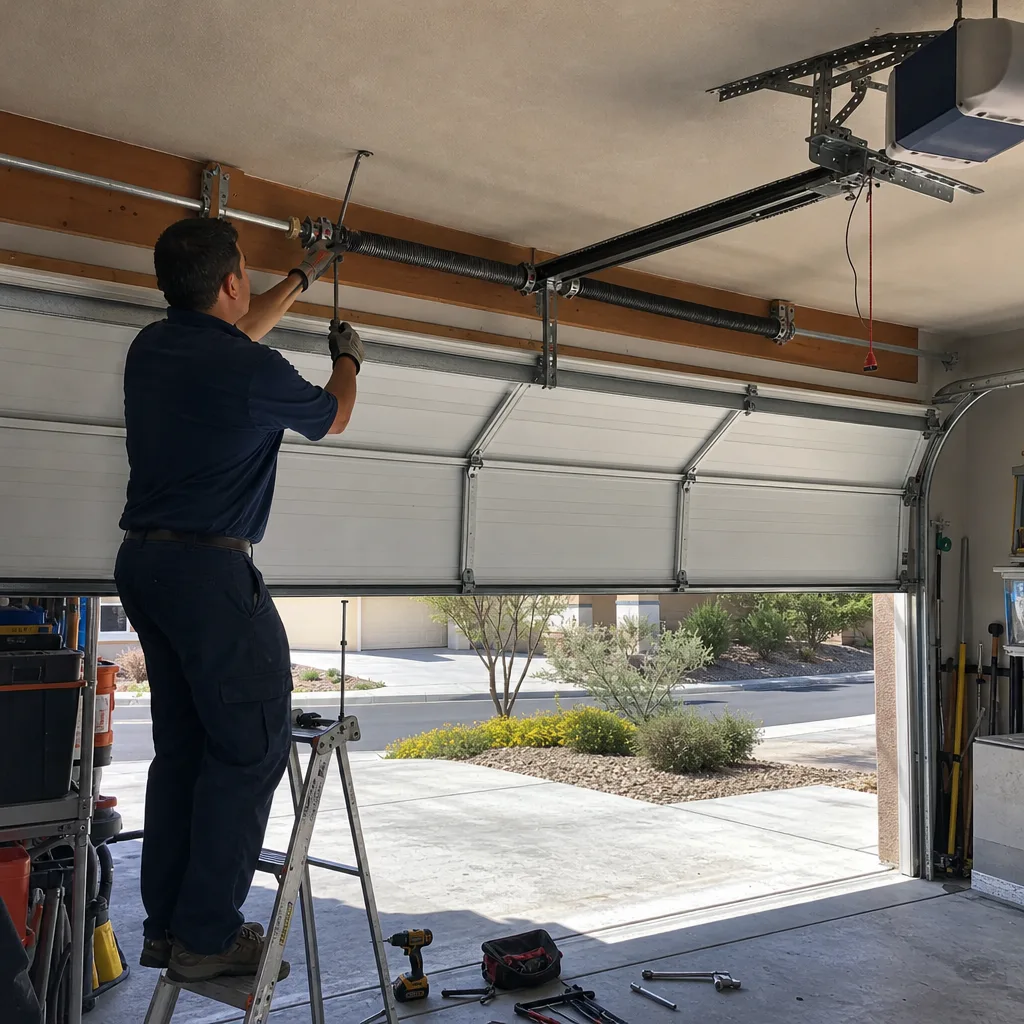
The lift cables run from the bottom corners of the door up over the drums at each end of the torsion shaft. When the installation is correct, both cables spool evenly and the coils sit flat and side by side on the drums. When the tension is uneven – one cable tighter than the other – the visual tell is clear: one cable coil bunches up while the other stays flat. You may also see the cable climbing over itself rather than winding in clean layers.
Uneven cable tension matters because it twists the door. The tighter side lifts first. The looser side lags, and the door racks – meaning the panels twist slightly out of square as they travel. That racking puts side load on the rollers, the hinges, and the end stiles of the panels. On a door with a heavy insulated panel, that stress shows up as cracked stiles or wallowed-out hinge holes within a couple of years.
What you can check without touching the cables:
- Stand at the center of the door and watch it travel from fully closed to fully open. The bottom edge should stay level and parallel to the floor the whole way.
- Watch each drum end as the door opens. The coils should look the same on both sides – same number of wraps, same tight pattern.
- A cable that looks slack, frayed, or kinked at the drum is never normal and needs hands-on inspection.
Do not adjust the cables yourself. They carry the full weight of the door, and a sudden release is a serious injury risk. This is a trained-technician job, and in our experience most uneven-cable calls trace back to the original installation rather than to a failure that developed later.
Spring Tension: Why a Heavy Door Is a Calibration Warning
The torsion spring (the coiled spring mounted on the shaft above the door) is what balances the door’s weight. When it’s wound to the correct tension, a door weighing several hundred pounds lifts with one hand and stays open at any point. When it’s wound too tight or too loose, the door either flies up with a slam or feels like it’s full of sand.
Here’s the warning sign to know: with the opener disconnected, a correctly balanced door should lift easily with one hand and hold its position about halfway up when you let go. If it feels heavy – if you have to lean into it – the spring is under-wound or under-sized. If it slams up and won’t hold mid-travel, it’s over-wound. Both are calibration problems, and both put extra load on the opener and cables every single cycle.
The correct tension is set per door, using the spring’s specified winding turns for that door’s weight and drum size – the spring manufacturer publishes the number, and the installer’s job is to hit it and check the balance by hand before calling the job done. A door that “feels heavy” is the single most common installation issue we find in Summerlin, and it’s usually on doors installed without a hand-lift balance test at the end. The tension can’t be verified by feel from the outside; it has to be checked by hand with the door disconnected, and if you’re not comfortable doing that, a service visit will confirm it.
Fasteners Into Drywall: A Nevada Code Problem, Not a Shortcut
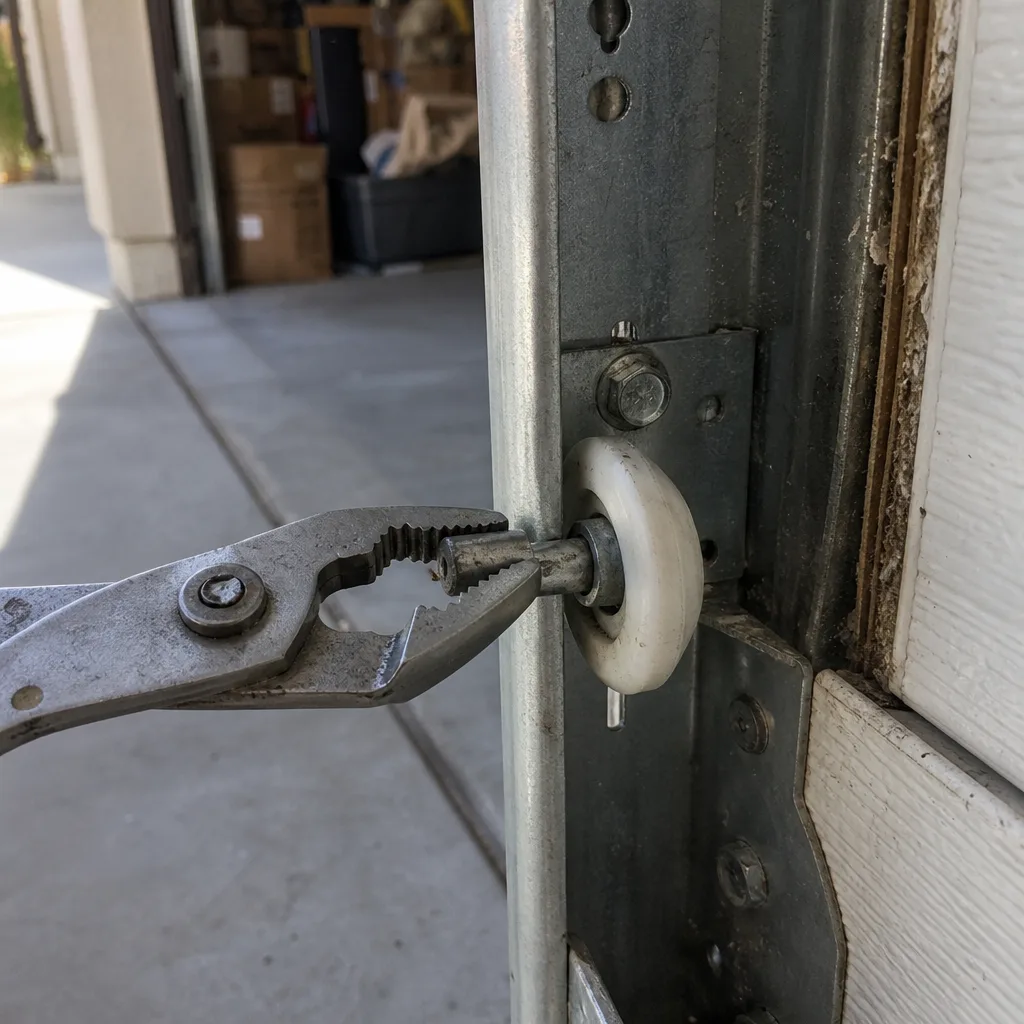
This is the one to look at before you sign off on any installation. The vertical track brackets and the door’s spring anchor plate have to be attached to solid framing – studs or blocking – not to the drywall. Lag screws driven into drywall only grip the paper-faced gypsum board, which has almost no pull-out strength. Under the constant spring load on the door, those fasteners gradually work loose, and a track pull-out can drop part of the door without warning.
Nevada requires that garage door hardware and safety devices be installed in accordance with the manufacturer’s instructions and be anchored securely to the structure. Fasteners into drywall don’t meet that standard. It’s a code problem disguised as a shortcut, and it’s the leading cause of track pull-out on installations we’re called out to inspect.
How to check (briefly, without disassembly):
- Look at the bracket fasteners along each vertical track. A lag screw driven into a stud passes through drywall, then catches solid wood or metal framing – you’ll see the head sitting tight against a clean hole.
- A screw into drywall alone typically sits in a ragged, oversized hole with no framing behind it. You may be able to move the bracket slightly with hand pressure. That’s the tell.
- Check the spring anchor plate above the door the same way. It carries the most load of any fastener on the door.
If you find drywall fasteners, don’t wait for a pull-out. Have the anchoring corrected. This is also why garage door installation in Summerlin starts with a structural check on the framing before any new hardware goes up.
The Photo Record You Should Take After Installation
The most useful thing you can do after any garage door installation is document it yourself. Not because the installer won’t, but because a dated visual record is what lets you prove a problem started early if it shows up six months later. This is the same principle behind our own installation documentation, which traces to Clause 4 of The Haven Standard: the customer sees the physical evidence of what was found and what was done, every time.
What to photograph, in order:
- The full door, both open and closed, from the driveway. Include a shot of the wall around it so panel alignment against the jamb is visible.
- Each vertical track, top to bottom, with a straightedge or level held against it. Get the bubble in the frame.
- Both cable drums, with the coils clearly visible on each side.
- The spring anchor plate and the bracket fasteners, close-up. You want the screw heads and the framing behind them in the shot.
- The opener, wall control, and safety sensor alignment at the floor.
- The manufacturer’s label or model sticker on the door and the opener, so the exact specs are on record.
Keep the photos with the written scope and the price you agreed to before work started. If a track starts to bind or a cable looks odd later, you have a dated reference for what the installation looked like on day one. On top of that, ask for the documented photo record of the work itself – not a general overview, but the specific failed or installed components, photographed by the technician. That record is what we include on every visit.
Why Summerlin Conditions Test an Installation Harder
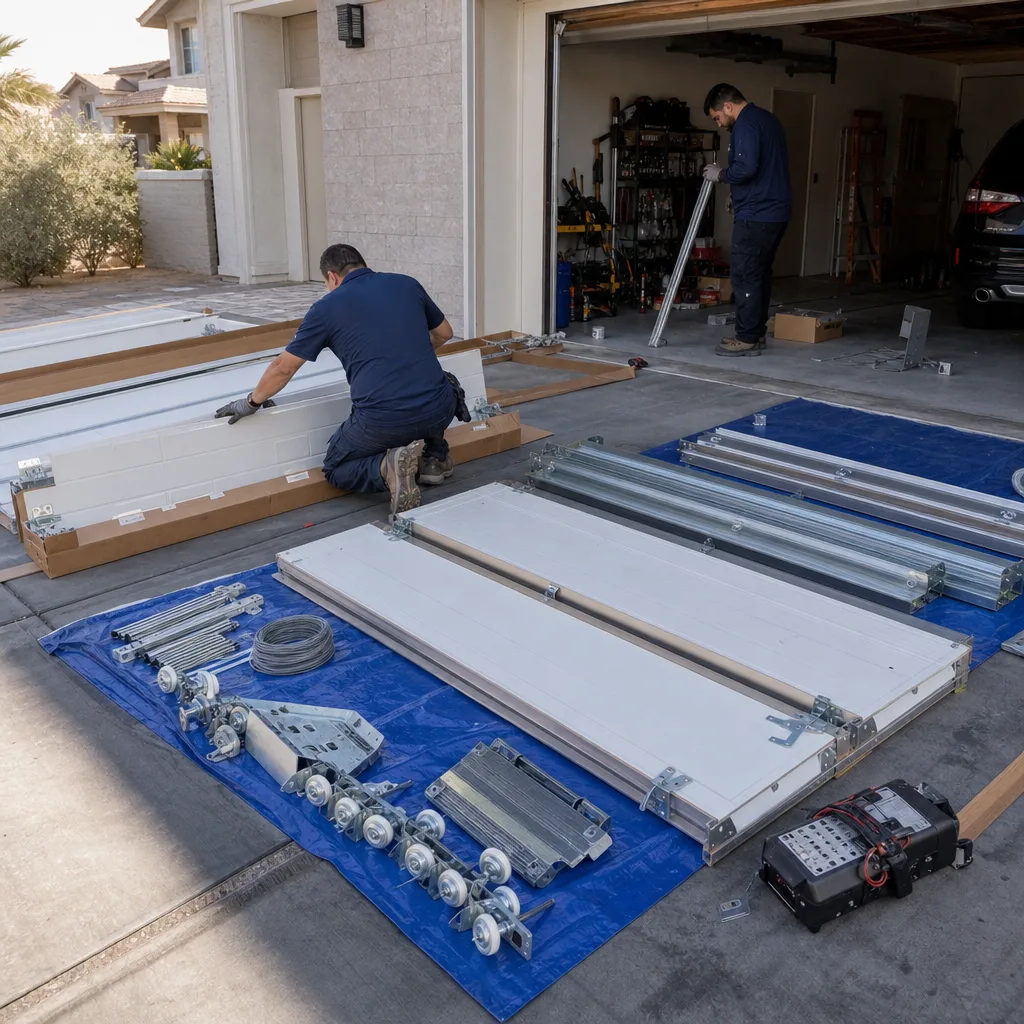
Summerlin’s climate is hard on garage doors in a specific way. The dry air and the summer heat swing the door’s steel and wood framing each day, and that constant expansion and contraction works loose any fastener that wasn’t set into solid framing to begin with. Where a drywall-anchored bracket might hold for years in a humid climate, it can pull out faster here. We also see plenty of south-facing doors on Summerlin homes – the ones facing the street with full afternoon sun – where the panel gets hot enough that the paint and the bottom weather seal age ahead of the rest of the door.
Add in the housing stock. Most Summerlin neighborhoods went up in a wave, and within a subdivision on a given street the doors tend to be the same age and the same builder-grade spec. That means the installation issues tend to cluster by block. When we service a single door in a Summerlin neighborhood, we often find the same track and cable patterns on the adjacent houses on the same street. If one neighbor has had a track pull-out, it’s worth having yours checked.
The desert dust is the other factor. Dust collects on the tracks, and a door that’s out of alignment drags that grit into the rollers faster than a plumb door does. If you’re seeing roller wear unevenly across a Summerlin installation of this era, the alignment issue is usually the reason, not just age.
Brand and Hardware Signals Worth Noticing
The hardware on the door tells you something about the installation philosophy. A LiftMaster or Chamberlain opener with the correct safety sensors, wired properly, is what a careful installation looks like. The same opener is only as good as the anchoring behind it – the opener doesn’t care whether the door’s tracks are plumb. And a factory-spec torsion spring is only as good as the winding turns the installer gave it. Brand names are a starting point; the physical evidence is what matters.
What to compare when you’re evaluating an installation:
- Was the door model and opener model recorded in the written scope, by name and spec?
- Is the torsion spring spec on the label visible, so the correct winding turn count can be checked?
- Are the safety sensors wired to the opener and tested at the floor, not just mounted and left?
- Did the technician photograph the anchor plate and the drum ends, or just the finished door?
We work with LiftMaster, Chamberlain, Genie, Clopay, Amarr, Wayne Dalton, Craftsman, and Raynor hardware, which means we’re never fitting an around-the-spec part just to save a phone call. That matters for the balance check and for finding the right replacement spring when one does fail. If you’re working through the opener side of an existing installation, our page on garage door opener repair & installation in Summerlin covers the opener-side diagnostics.
Common Mistakes to Avoid
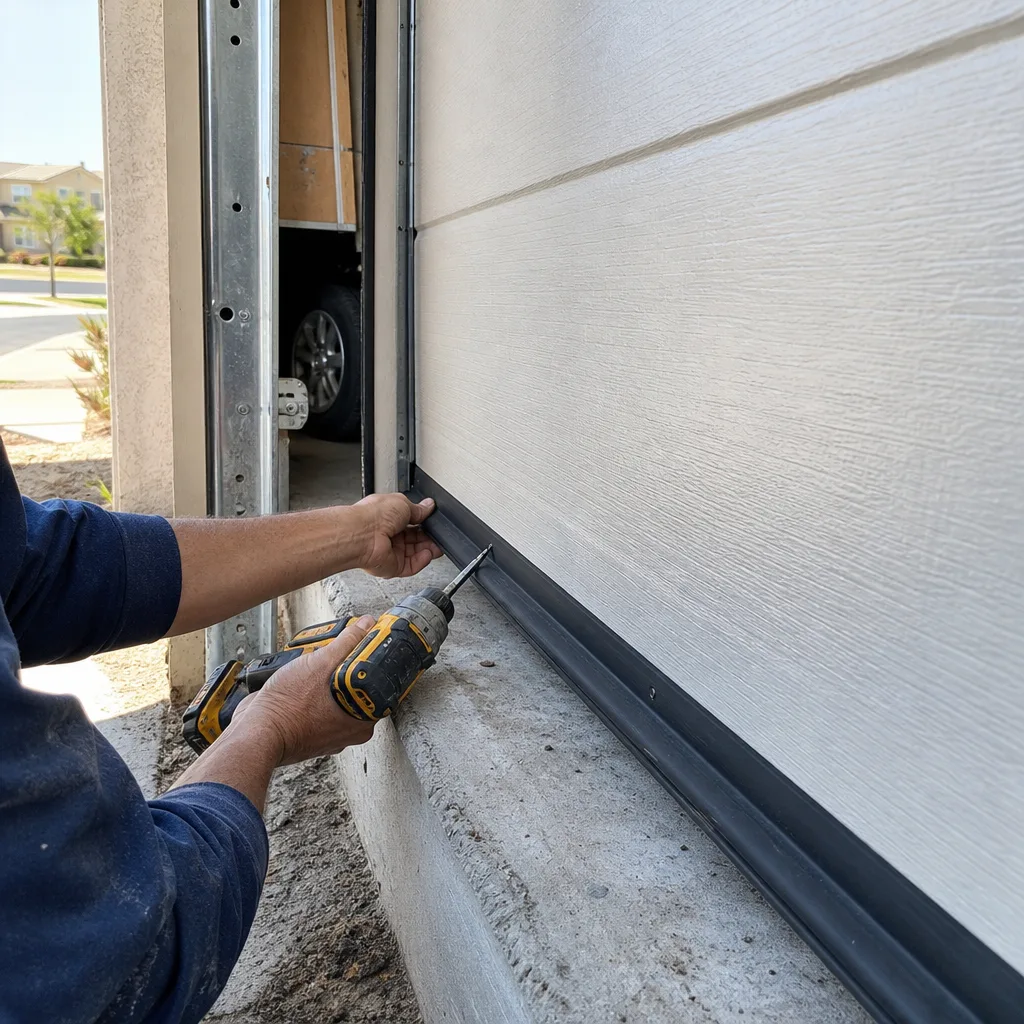
- Judging the installation by the way the door looks from the driveway. A door can look straight and still have a misaligned track or a cable out of tension. The eye test tells you nothing about the parts under load.
- Skipping the hand-lift balance test. If the technician doesn’t check the door balance by hand with the opener disconnected, the spring tension is unconfirmed. That’s a calibration gap that shows up in a few months’ time.
- Accepting lag screws into drywall as normal. In Summerlin’s dry climate and under constant spring load, drywall-anchored brackets pull out faster than most homeowners expect. Every bracket on the track and the spring anchor plate should land in framing.
- Ignoring uneven cable coils because the door still runs. A cable bunching on one side while the other stays flat is a racking problem in waiting. Running the door through it wears hinges and rollers unevenly.
- Not photographing the finished installation. Without a dated record, it’s hard to show that a problem existed early and wasn’t the result of years of use. The photo is your evidence.
- Treating a slightly heavy door as a minor annoyance. A door that needs a real push to lift by hand is a spring calibration warning. That extra load goes into the opener and cables on every cycle.
- Adjusting springs or cables yourself. These parts store enormous energy. A torsion spring under load can injure a wrist or worse in an instant, and there’s no shortcut here that’s worth it.
When to Call a Professional
Call a professional if you find any of the following: lag screws into drywall instead of framing on the track brackets or spring anchor plate, uneven cable coils with one side bunching, a door that feels heavy or slams up when you release it, a track that reads out of plumb against your level, or a door that racks and twists as it travels. Any one of those is a sign the installation needs a hands-on inspection before the door keeps running under load. Springs and cables in particular are not a homeowner job – the stored energy is too high, and a sudden release can cause serious injury.
We offer free estimates in Summerlin, and we’ll photograph the failed component and give you a flat, written price before any work starts. Call (844) 797-3654 for a free estimate, or bring us a written estimate from another company and we’ll give you a free second opinion on it.
Frequently Asked Questions
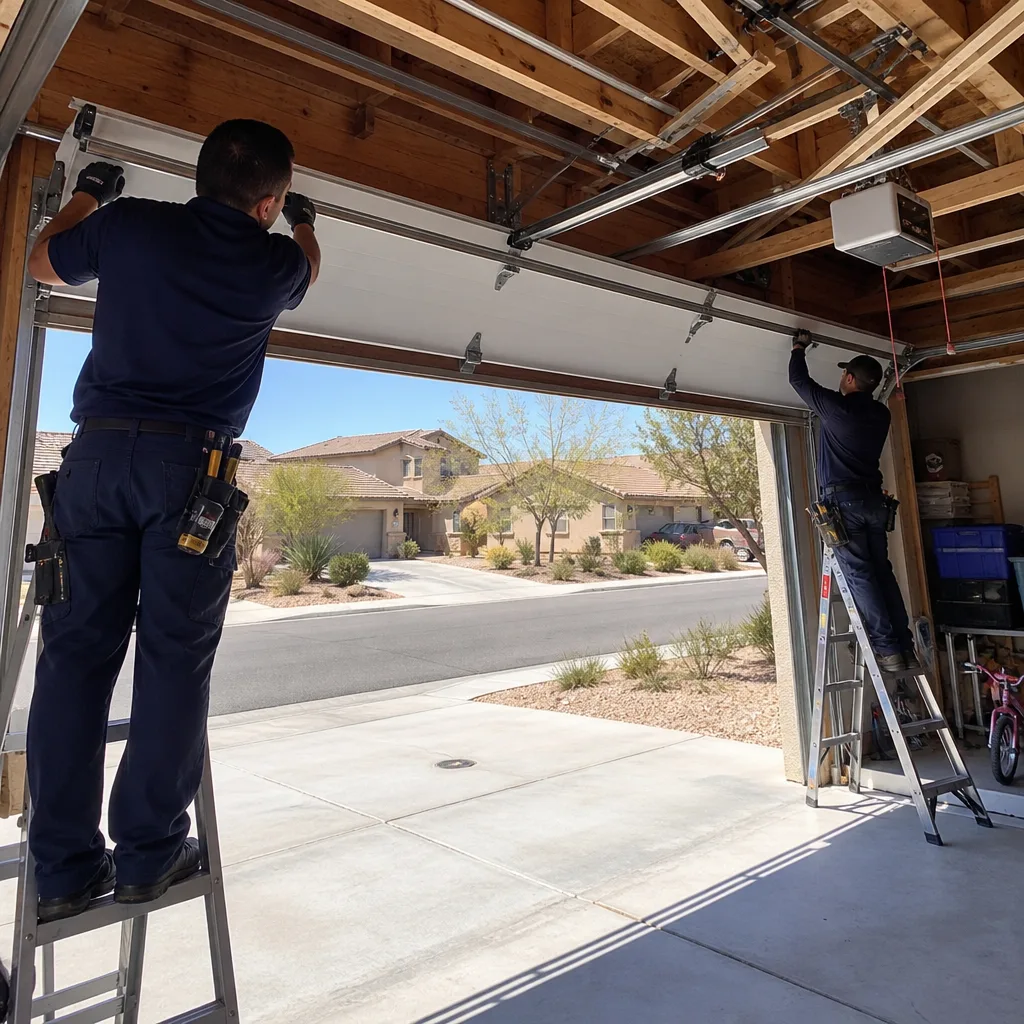
The physical tests are a six-inch level on each vertical track, a look at both cable coils for even spooling, a hand-lift test with the opener released to check whether the door is heavy, and a close look at whether the bracket fasteners are anchored into studs rather than drywall. If any track reads out of plumb, one cable bunches while the other stays flat, or the door feels heavy by hand, the installation needs an inspection. A door that looks fine from the driveway can still fail any of these checks.
Yes. Uneven cable tension means the tighter side of the door lifts before the looser side, which racks the door under load and puts side stress on rollers, hinges, and panel stiles. Uneven cable coils that bunch on one side are a warning sign the installation needs correcting. Don’t try to adjust the cable yourself. Call a trained technician to have it inspected.
A door that feels heavy when you lift it with the opener disconnected is a spring calibration problem, most likely the torsion spring is under-wound or under-sized for the door weight. A correctly balanced door lifts easily with one hand and holds position about halfway up. A heavy door puts extra load on the opener and cables every cycle, and it should be corrected before it causes wear. Call (844) 797-3654 for an inspection and a written quote.
Nevada requires garage door hardware and safety devices to be installed per the manufacturer’s instructions and anchored securely to the structure. Lag screws driven into drywall alone don’t meet that standard because gypsum board has almost no pull-out strength under the spring load. It’s also the leading cause of track pull-out we find on Summerlin installations, and the anchoring should be corrected on any bracket you find it on.
Often months, sometimes a year or more. Misaligned tracks and uneven cables usually don’t cause an immediate failure, which is what makes them easy to miss. The visible signs come later: uneven roller wear, a door that racks, a track that binds, or a pull-out under load. Taking dated photographs of the installation right after it’s finished gives you a reference to compare against if anything changes.
Yes, and it’s worth doing the same day the work is finished. Photograph the full door open and closed, each vertical track with a level in frame, both cable drums, the spring anchor plate and fasteners, and the opener and sensor setup. Keep the photos with the written price and scope. A dated visual record is exactly the kind of evidence that lets you prove a problem existed early if it surfaces later. Our visit document includes the same photographs as a permanent record, in the spirit of Clause 4 of The Haven Standard.
The Bottom Line
The garage door installation mistakes worth worrying about don’t announce themselves on day one. They hide behind a door that looks straight and runs on command, then show up later as a track that binds, a cable that racks the door, or a bracket that pulls out under spring load. The customer who reads the physical evidence – the level on each track, the cable coils, the anchor plate fasteners, the hand-lift balance – catches those problems before they fail. That same evidence-first approach is the standard we work to: a written price before any work starts, photographs of the failed part, and a documented record when the technician leaves. If any of the warning signs in this guide match what you’re seeing, call (844) 797-3654 for a free estimate. We’ve helped homeowners across Summerlin make their doors right, and a documented photo record goes with every job. To learn more about our approach, visit Servo Garage Doors Summerlin home.
Written by the team at Servo Garage Doors Summerlin.
See the difference
BeforeAfter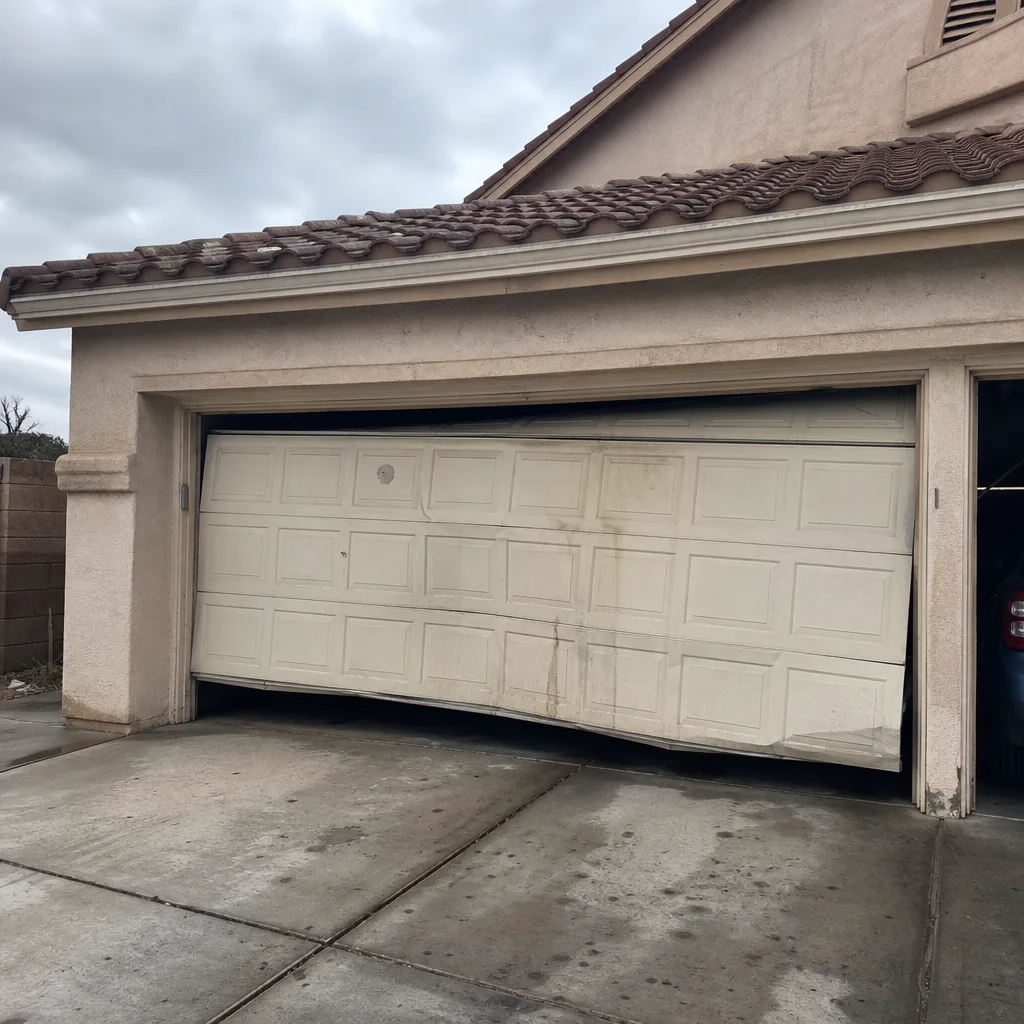 Before
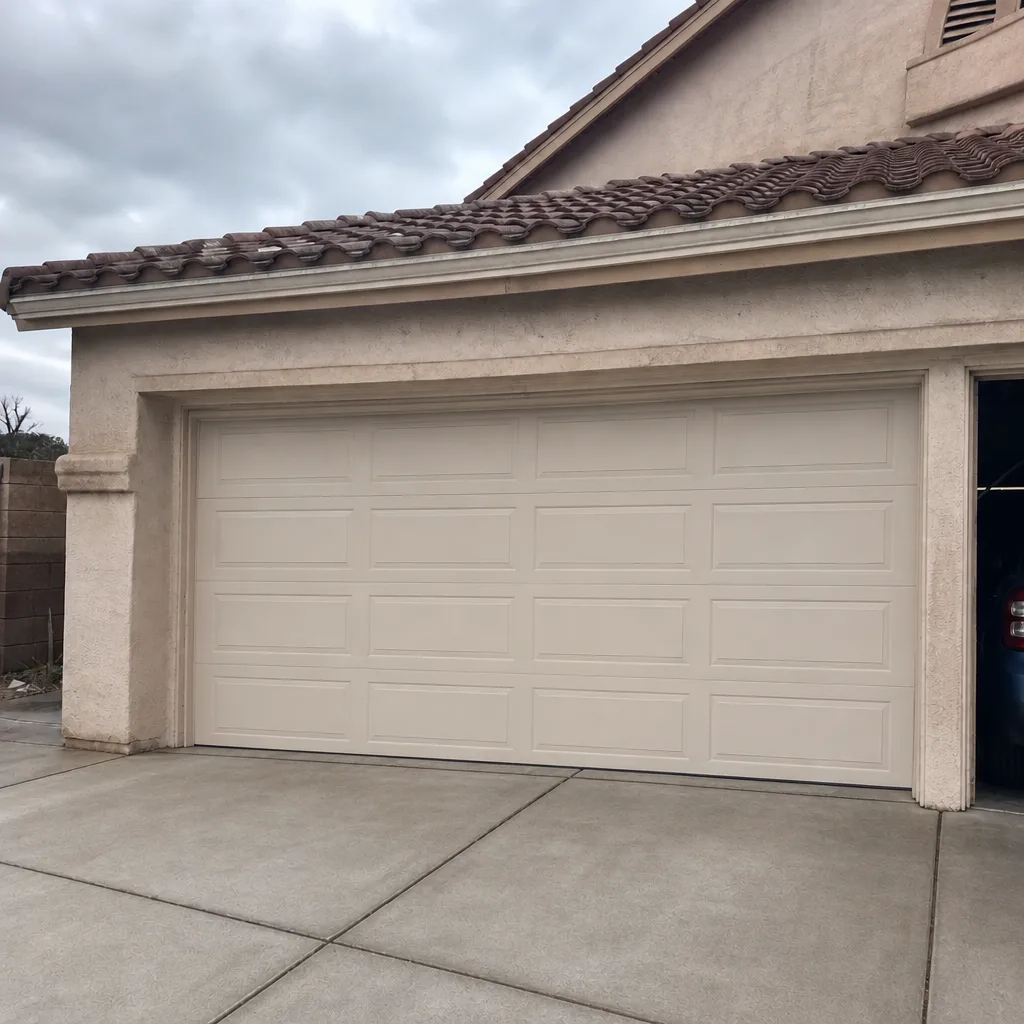 After
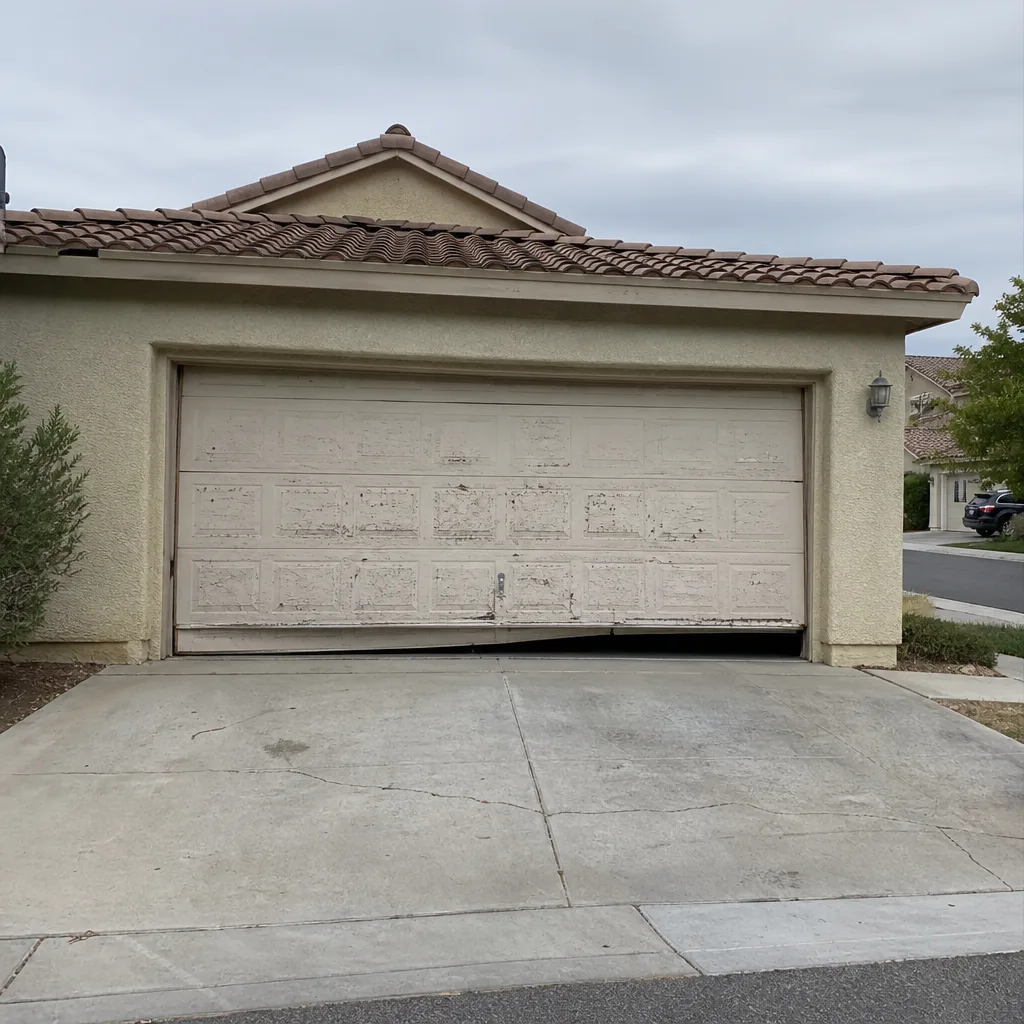 Before
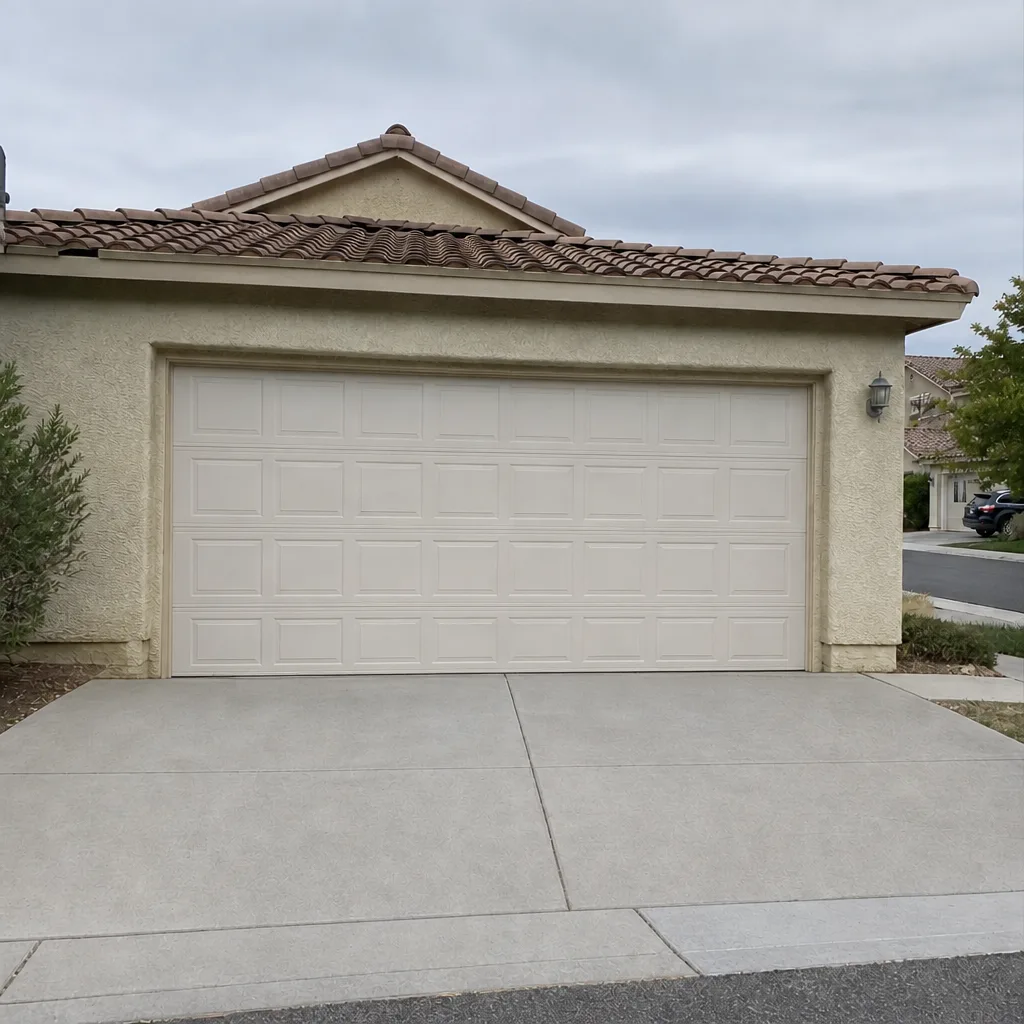 After