
Last updated November 17, 2026
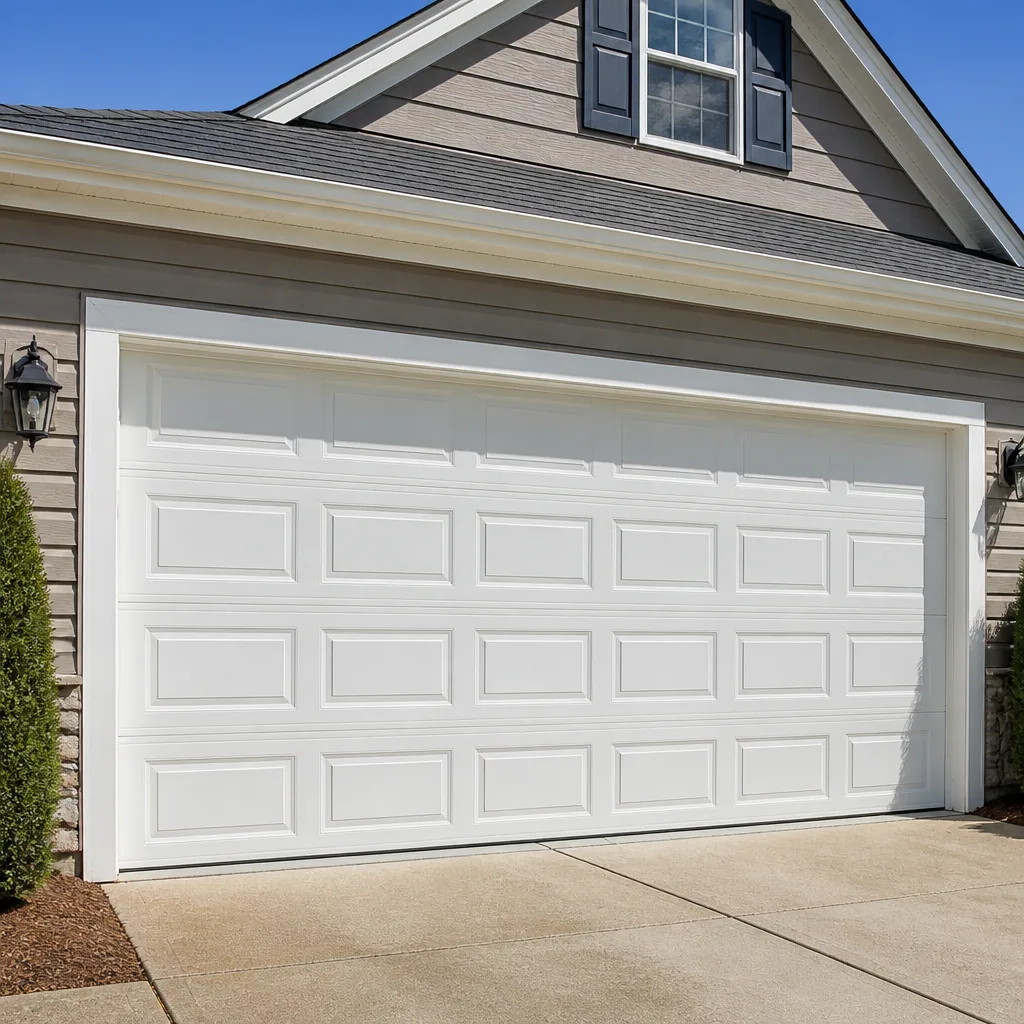 Raised-panel steel
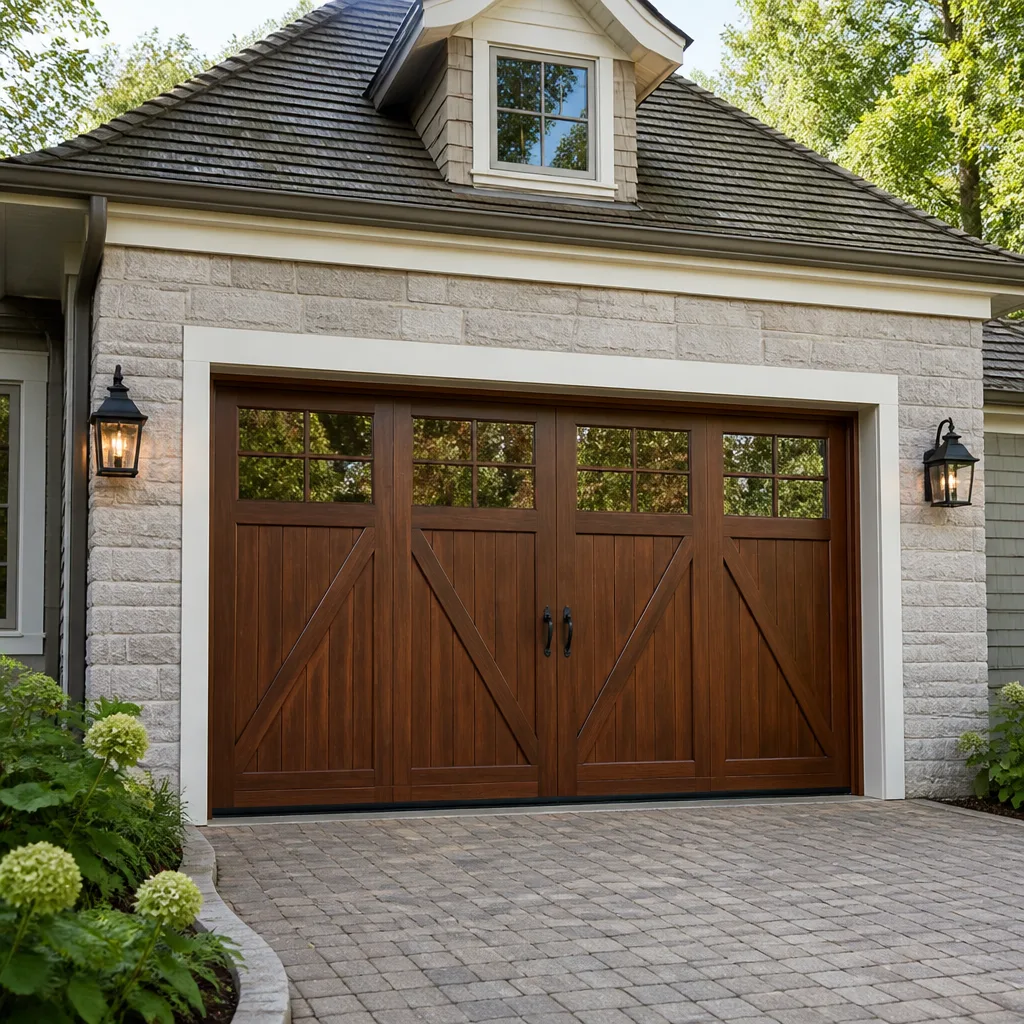 Carriage house
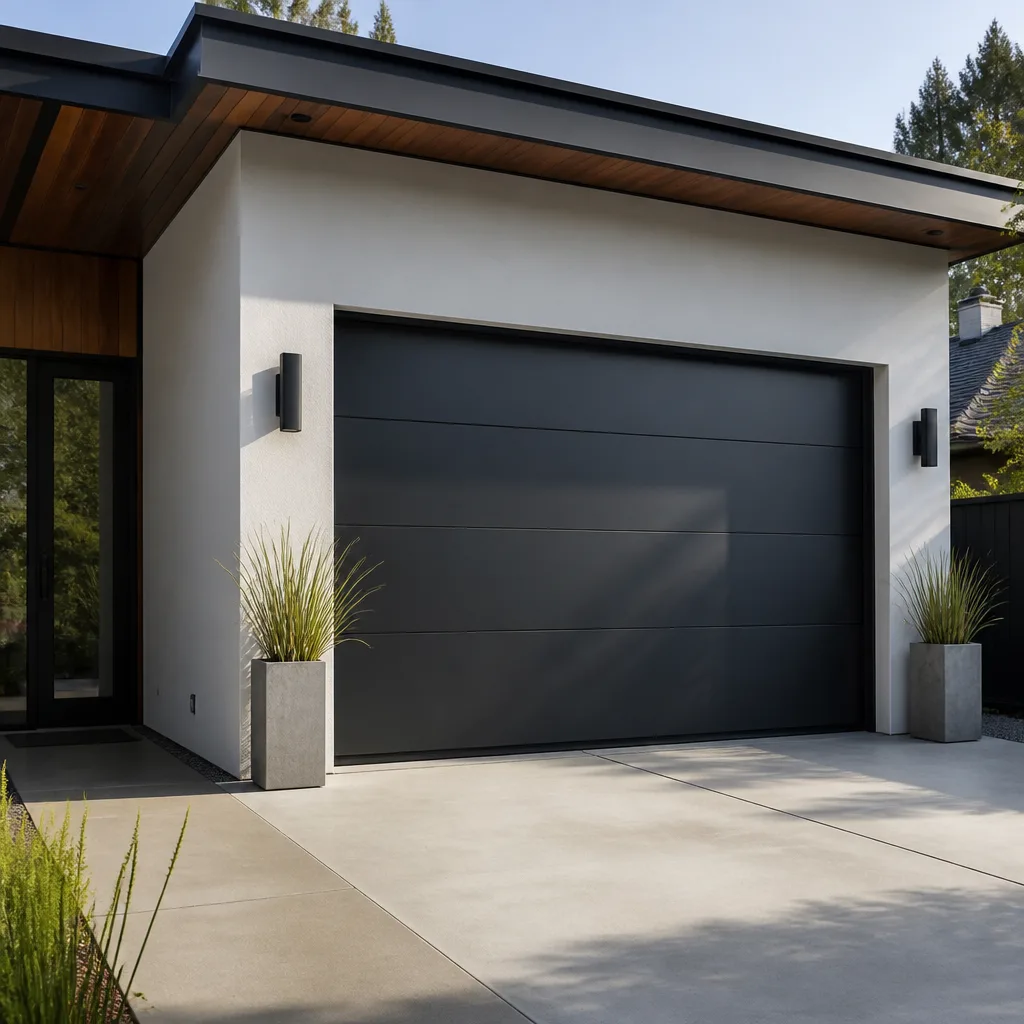 Modern flush
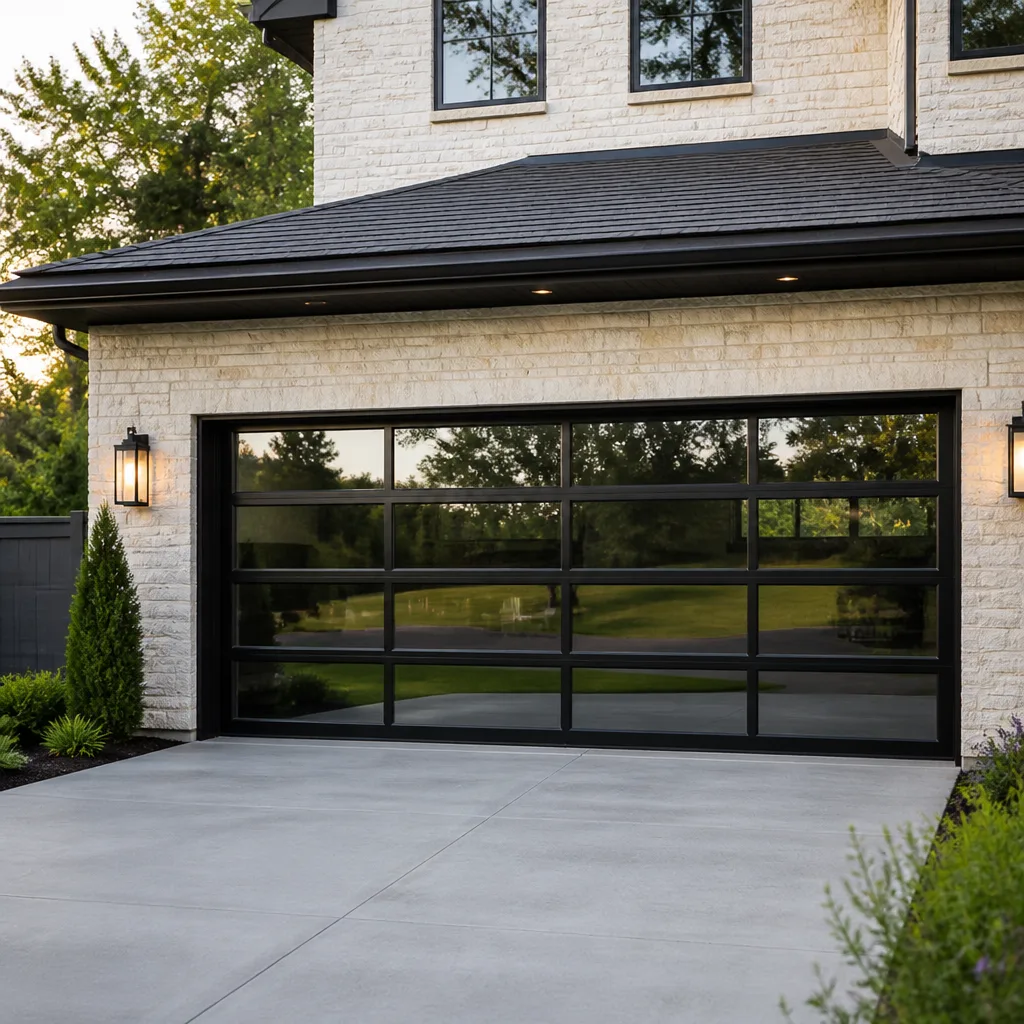 Full-view glass
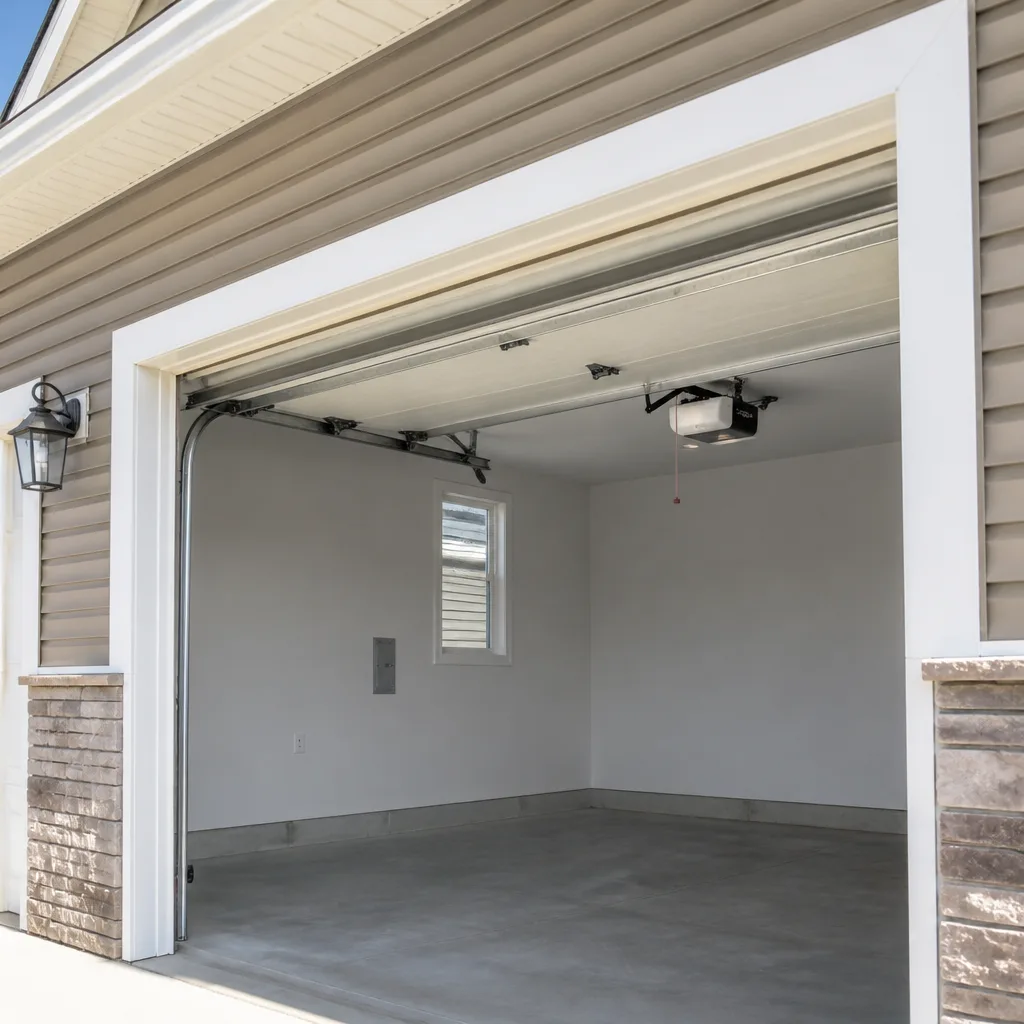 LiftMaster openers
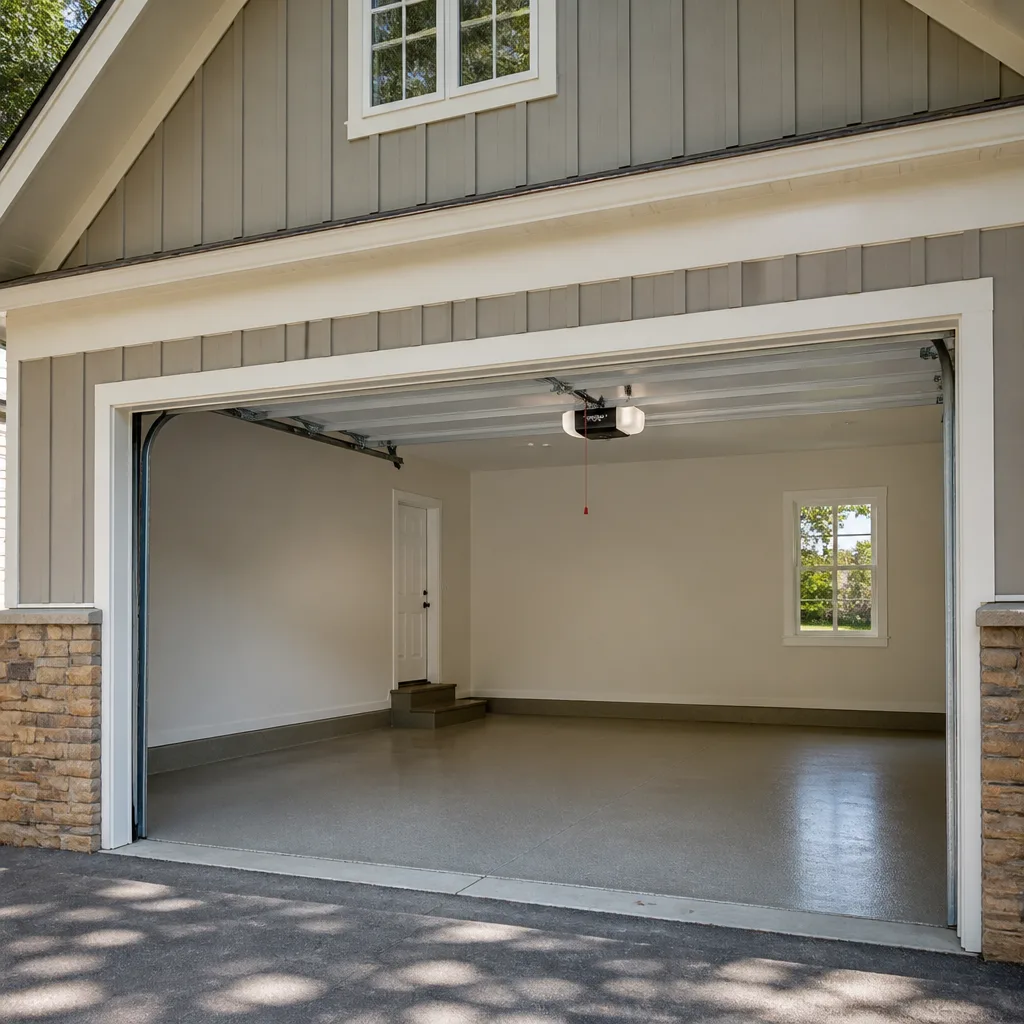 Chamberlain openers
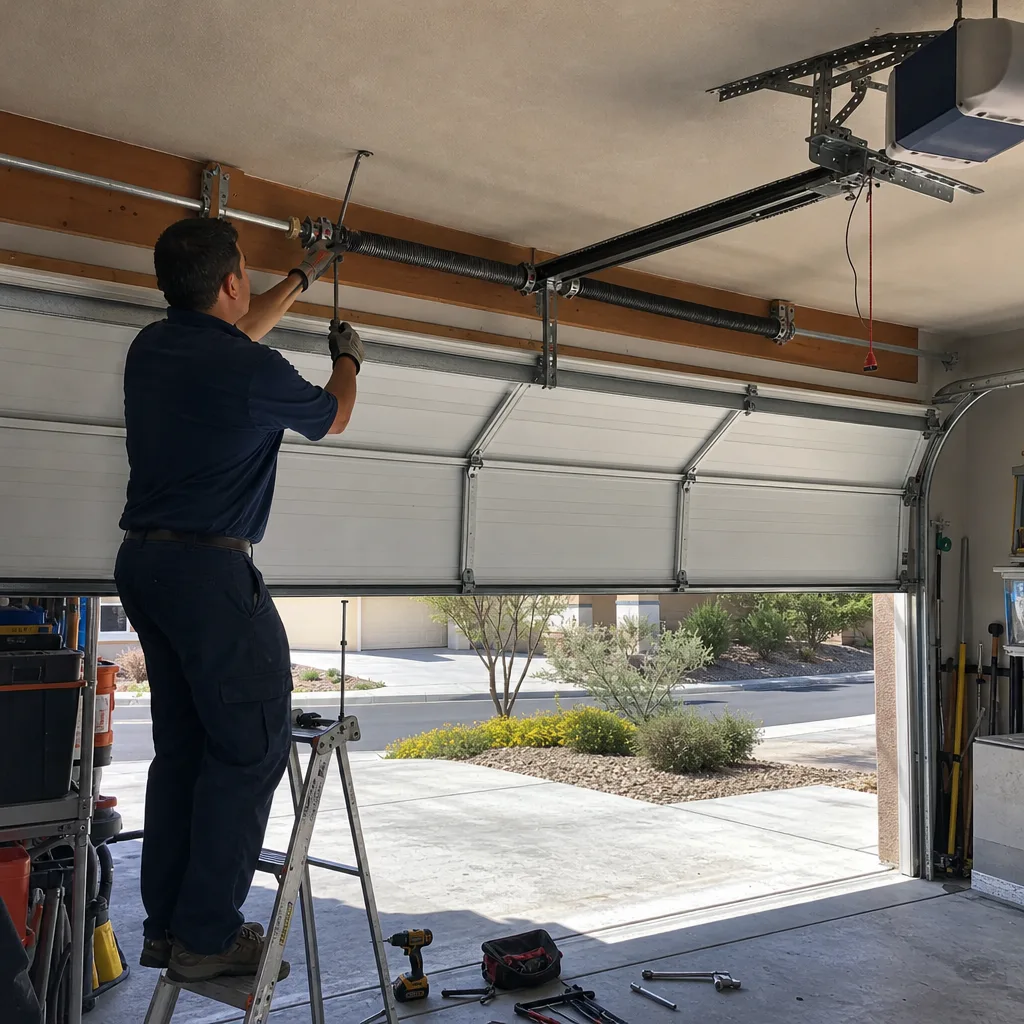
Full 25-point door and opener safety check with every visit - springs, cables, rollers, tracks, and your LiftMaster or Chamberlain opener included
You get a price before we start. It does not change when the pro arrives.
Get your free estimateGarage Door Opener Repair & Installation Maintenance Schedule: What to Do and When
An opener rated for 10,000 cycles will often fail somewhere around 6,000, and the reason is almost never the motor. It’s the drive train nobody re-tensioned. A chain or belt that has never been re-tensioned puts extra load on the gear assembly on every single open, and that load adds up in a hurry. Most homeowners have never heard that a drive chain has a schedule at all, which is exactly why it doesn’t get followed. This guide breaks opener maintenance into four component classes, gives each one a specific interval in months or cycles, and adjusts those intervals for the desert conditions we work in around Summerlin, where grit and heat change the math.
Quick Answer
Garage door opener maintenance runs on four separate schedules, not one annual visit: lubrication every 6 to 12 months depending on drive type, tension and alignment checks every 6 months, electrical and safety-sensor checks every 6 months, and the safety-reverse force test every month. In Summerlin, desert dust and summer heat justify halving the manufacturer’s 12-month intervals on rail wear and filter checks, and logging every test by date is what turns maintenance into a paper trail you can actually use.
Styles & brands we work with
- Raised-panel steel
- Carriage house
- Modern flush
- Full-view glass
- LiftMaster openers
- Chamberlain openers
Table of Contents
- The Four Maintenance Categories (and Why One Annual Check Isn’t Enough)
- Lubrication: What Goes Where, and What Never Goes on a Belt
- Tension and Alignment: The Five-Minute Task Nobody Does
- The Monthly Safety-Reverse Test (UL 325, 20 Pounds, Logged by Date)
- Electrical and Sensor Checks Every Six Months
- Summerlin-Specific Interval Adjustments
- Building a Maintenance Log That Survives a Warranty Claim
- Common Mistakes to Avoid
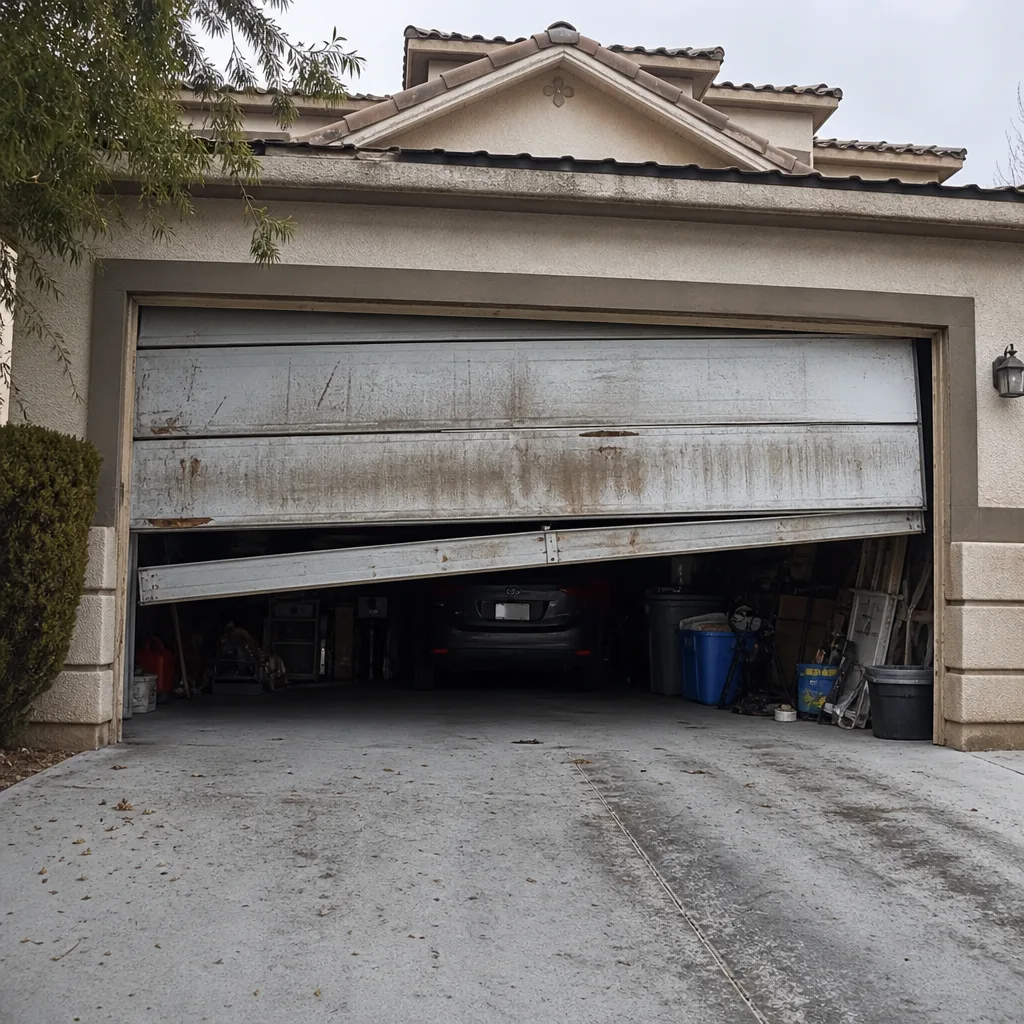 Before
 After
The Four Maintenance Categories (and Why One Annual Check Isn’t Enough)
Manufacturer manuals tend to collapse opener care into a vague “annual inspection,” which tells you nothing about what to actually look at or when. The four component classes below fail for entirely different reasons, so they need separate intervals. Lubrication is about wear rate. Tension and alignment are about mechanical load. Electrical and sensor checks are about continuity and signal integrity. The safety-force test is about whether the opener will reverse on contact, which is a life-safety function, not a performance tweak.
- Lubrication: every 6 to 12 months. Belt-drive rails get none at all; chain and screw drives get a light film, not a coat.
- Tension and alignment: every 6 months. This is the schedule that prevents the 10,000-cycle opener from dying at 6,000.
- Electrical and sensors: every 6 months. Check the photo-eye alignment, the wall control, and the battery backup if the unit has one.
- Safety-force test: every month. A 2×4 on the floor, a reverse check, and a log entry with the date.
If you’re running a LiftMaster, Chamberlain, or Genie unit, the manufacturer documentation gives you a starting point. The interval table in the manual is written for temperate climates and average duty cycles, though, which is why we adjust it for Summerlin conditions further down. If you are still choosing an opener, the team’s guide to Garage Door Opener Repair & Installation in Summerlin covers drive types and what fits which door weight.
Lubrication: What Goes Where, and What Never Goes on a Belt
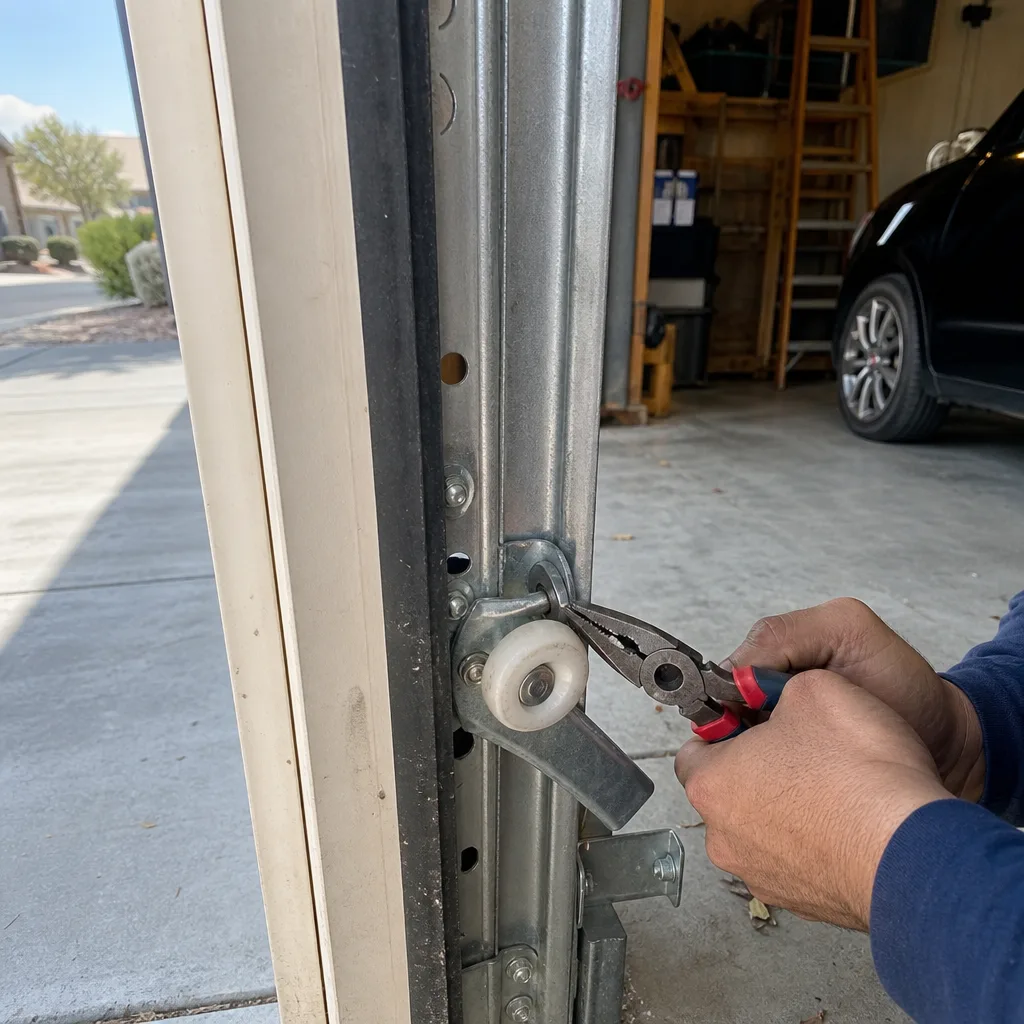
The single most common lubrication mistake is applying the wrong product to the wrong drive type. White lithium grease belongs on the drive chain or the screw drive. Silicone spray belongs on the rail surface. Belt-drive rails get nothing, and this is where people go wrong most often, because a belt looks like it should be lubed. It shouldn’t. Belt rails are designed to run dry, and adding lubricant attracts grit that grinds into the belt and shortens its life.
- Chain drive: Wipe the chain with a dry cloth to remove old grease and dust. Apply white lithium grease in a thin, even film. Excess grease collects dust and turns into an abrasive paste, so wipe off any that beads.
- Screw drive: Clean the screw with a dry cloth. Apply white lithium grease to the threads. Run the door up and down twice to distribute it, then wipe away anything that has pushed off the ends.
- Belt drive: Nothing on the belt or the rail. If a technician tells you to grease a belt rail, ask why, because the manufacturer doesn’t say to.
- Hinges, rollers, and springs: Silicone spray on the hinges and rollers, sparingly. Torsion springs are a different conversation, covered in the safety section below.
In Summerlin, that fine desert particulate finds its way into every open track and rail. Lubricant that would stay clean for a year in a humid climate picks up grit far faster here, which is why we shorten the lubrication interval to six months for any door on the west-facing side of a home, where wind-driven dust accumulates fastest. We’ve seen a belt-drive unit in The Ridges grind through a belt in under four years because somebody greased the rail on a maintenance visit from another company.
Tension and Alignment: The Five-Minute Task Nobody Does
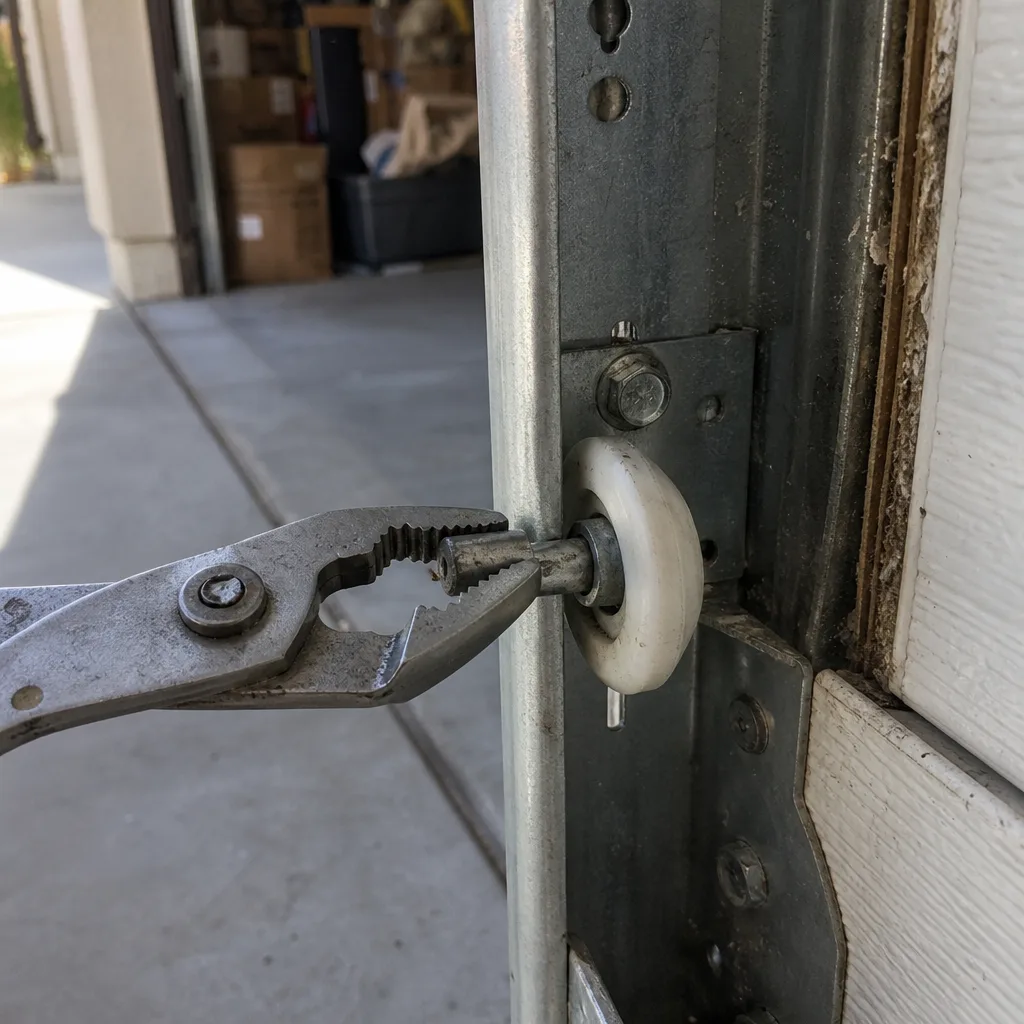
Chain and belt tension is where cycle life actually gets made or lost. A loose chain slaps against the rail on every cycle and adds shock load to the gear assembly. A chain that is too tight puts constant load on the motor bearings and the trolley carriage (the shuttle that rides the rail and pulls the door). Either extreme shortens the unit’s life, and neither is visible from the outside of the housing. This is the five-minute task almost no homeowner performs, because no one ever told them there was a schedule for it.
- Check chain sag: With the door closed, look at the chain along the top of the rail. It should have a small, even amount of slack, not a visible droop and not a tight, guitar-string look.
- Adjust at the trolley: The tension nut sits at the trolley end of the chain. A quarter turn at a time, then cycle the door and recheck. Overtightening is as damaging as leaving it loose.
- Belt drives: Belts self-tension and don’t carry a user-adjustable tension nut. What you’re checking instead is the rail for alignment and the belt for fraying at the edges.
- Rail alignment: The rail should run parallel to the door’s travel. A rail that has drifted will pull the trolley carriage off-center, and the door will start to bind halfway up.
Six months is the right interval for tension and alignment in Summerlin. The thermal swing between a 110-degree afternoon and a cool desert night works on metal and belts differently than a stable coastal climate would. A door that runs fine in October can bind in July after the rail has expanded against a bracket. That’s when a service call comes in.
The Monthly Safety-Reverse Test (UL 325, 20 Pounds, Logged by Date)
UL 325 is the standard that governs how garage door operators must respond to an obstruction, and it’s the reason the safety-reverse test belongs on a monthly schedule rather than an annual one. A door that fails to reverse on contact is a genuine hazard, particularly in a household with kids or pets. Test it the same way every month and write down the result and the date. The log is the part most people skip.
- Place a 2×4 flat on the floor in the center of the door’s travel path, with the door fully open.
- Close the door using the wall control or remote and watch the point of contact.
- Confirm it reverses on contact with the 2×4. The door should stop and return to open. If it just stops, or keeps pushing, that’s a failure.
- Check the force setting. The opener should reverse under roughly 20 pounds of resistance, per UL 325. If the door is crushing through the block, the force limit needs adjustment.
- Log the result: date, pass or fail, and who performed it. A dated log turns a routine check into evidence.
If the door doesn’t reverse, stop using the opener and call for service rather than continuing to test it. The force limit, the travel limit, and the photo-eye circuit all feed into this behavior, and diagnosing which one failed is a job for a technician with a meter. Our Garage Door Repair in Summerlin page covers what a force-limit diagnostic visit looks like when the test fails.
Electrical and Sensor Checks Every Six Months
Sensors and electrical connections fail quietly, which is why they get a scheduled check rather than a wait-and-see. The photo-eye pair at the bottom of the tracks (the two small lenses, one on each side) tells the opener a person or object is in the path. When they drift out of alignment, the door refuses to close and blinks. That’s a customer call every week in Summerlin, and it’s almost always an alignment issue, not a failed sensor.
- Photo-eye alignment: Wipe both lenses, confirm the indicator light on each is solid (not blinking). A solid light means the pair is talking. A blinking light means the beam is broken or misaligned.
- Wall control and remotes: Test every remote and the wall button. A single dead remote usually means a battery; a wall control that’s stopped responding points to the logic board or the wiring.
- Battery backup: If the unit has one, unplug the opener and confirm the door still operates. If the battery is more than a few years old and won’t hold, replace it before the next grid event.
- Motor housing filter and vents: Dust clogs the vents and heat builds up inside the housing. In Summerlin, this check runs every six months rather than the annual interval the manual lists. Blow out the vents with compressed air.
If the sensors are aligned, the remotes work, and the door still won’t close, the logic board may have failed. That’s a replacement decision, and it’s worth bringing a written estimate from another company to compare. Servo offers a free second opinion on any written estimate, no coupon needed.
Summerlin-Specific Interval Adjustments
The maintenance table in your opener’s manual was written for a temperate climate with average dust and average heat. Summerlin is neither. The desert particulate load accelerates rail wear, and the summer heat cycles work on motor components and the logic board differently than a mild climate would. We adjust three intervals downward for homes in Summerlin, and the adjustment is the same whether the door is a Clopay, an Amarr, or a Wayne Dalton unit on a LiftMaster or Chamberlain operator.
- Rail lubrication and rail inspection: 6 months instead of 12. The dust load on an exposed rail on the west side of a Summerlin home is heavy enough that lubricant film turns gritty in about half the manufacturer’s interval.
- Motor filter and vent clearing: 6 months instead of 12. Heat and dust together are the two biggest causes of premature motor failure we see.
- Safety-reverse test: Monthly, no adjustment. That’s the schedule everywhere, and it’s the one that matters most.
- Tension adjustment: 6 months, checked at the same visit as lubrication. The thermal swing here makes it non-optional.
Neighborhoods on the west side of the valley, including The Ridges and Red Rock Country Club, see the most wind-driven dust and are the ones most likely to need the accelerated six-month schedule. Homes deeper into Summerlin, like those in The Trails, tend to see less of the worst of it but still benefit from the same calendar. If you’re in one of the older Summerlin villages and the opener has been in place a long time, an inspection often reveals what the last few years of undocumented maintenance has built up.
Building a Maintenance Log That Survives a Warranty Claim
A maintenance log is not a hobby. It’s documentation, and it’s what turns “I think the door was looked after” into “here’s the proof.” When a warranty claim comes up, or when you sell the house and the buyer’s inspector asks about the opener, a dated log with lubricant type, part condition, and test results does the convincing. Servo builds this into every visit as a documented photo record of what was found and what was done, included rather than optional. Clause 4 of The Haven Standard is why the technician photographs the failed component before quoting a replacement, and the same logic is why the maintenance log records condition, not just “serviced.”
The format doesn’t have to be fancy. A single page per year with four columns is enough:
- Date of the service or check
- Component inspected (chain, rail, photo-eye, safety-reverse, force limit)
- Condition found in plain language: “chain sag measured 3/16 inch, adjusted to 1/8 inch,” not “chain looked fine”
- Action taken and lubricant used by name and type (white lithium grease, silicone spray, nothing on belt)
- Test result for the safety-reverse check: pass or fail, with the date logged
Every job Servo closes with a documented record because the paper trail matters more than a verbal assurance. That’s part of the reason we’ve made 18,000+ garage doors right, each one with a written price before work started and a documented record when the technician left. If you want a file like that for your own home, a maintenance visit is where it starts.
Common Mistakes to Avoid
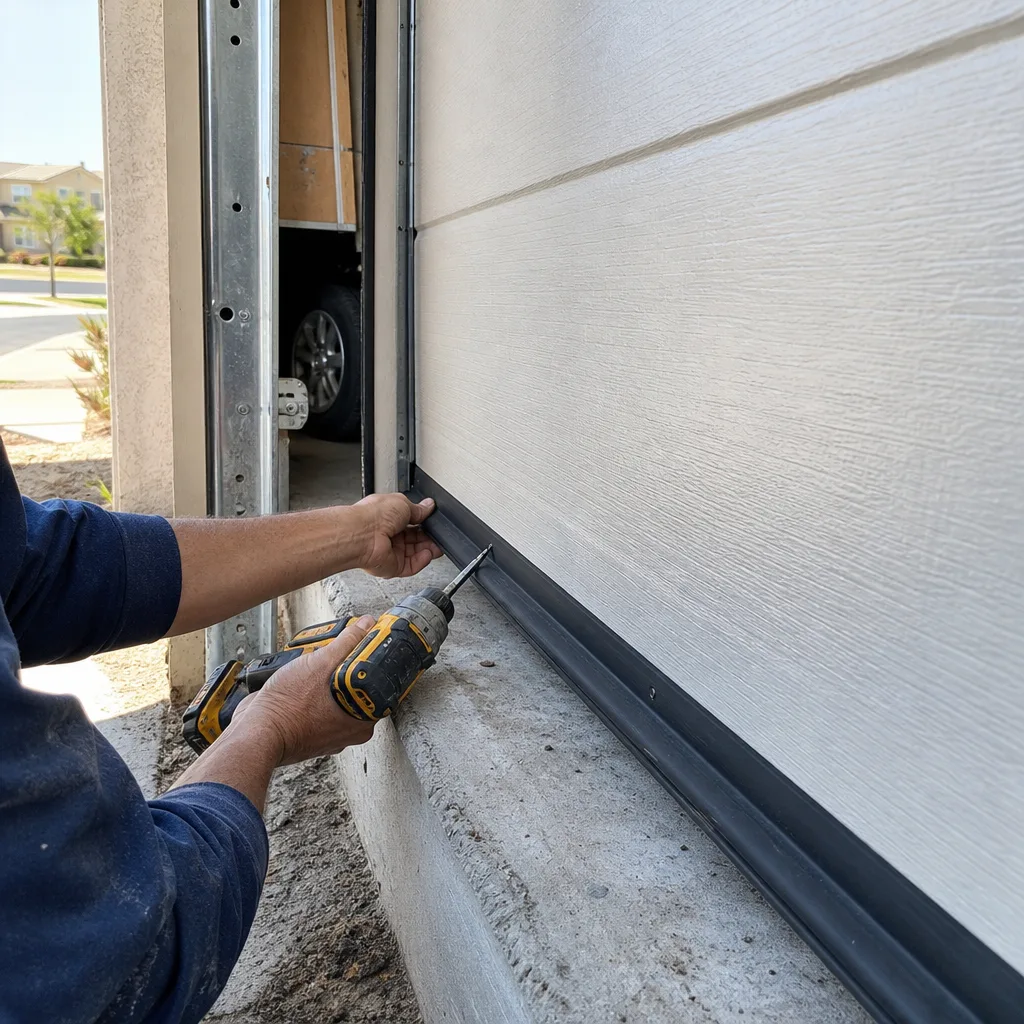
- Greasing a belt-drive rail. Belt rails run dry by design. Lubricant attracts grit and grinds the belt down. If you’ve been greasing yours, stop and have the belt inspected.
- Skipping the tension check because the door “seems fine.” A loose chain doesn’t announce itself until the gear assembly fails. The five-minute check every six months is what prevents the call.
- Running the safety-reverse test once when the opener was installed and never again. Force limits drift. Test monthly and log the date; otherwise you have no record when it matters.
- Using WD-40 as a rail lubricant. It’s a water-displacer, not a lubricant, and on a Summerlin rail it attracts dust and evaporates. Use white lithium grease for the chain or screw and silicone spray elsewhere.
- Overtightening a chain to stop a rattle. A tight chain loads the motor bearings and the trolley carriage. Set tension by the sag measurement, not by ear.
- Ignoring motor vent dust because it’s not a “moving part.” In Summerlin heat, a clogged motor vent is one of the fastest paths to a failed logic board. Clear the vents every six months.
- Testing the safety reverse and not writing down the result. The date is the point of the log. A memory isn’t documentation.
See the difference
BeforeAfter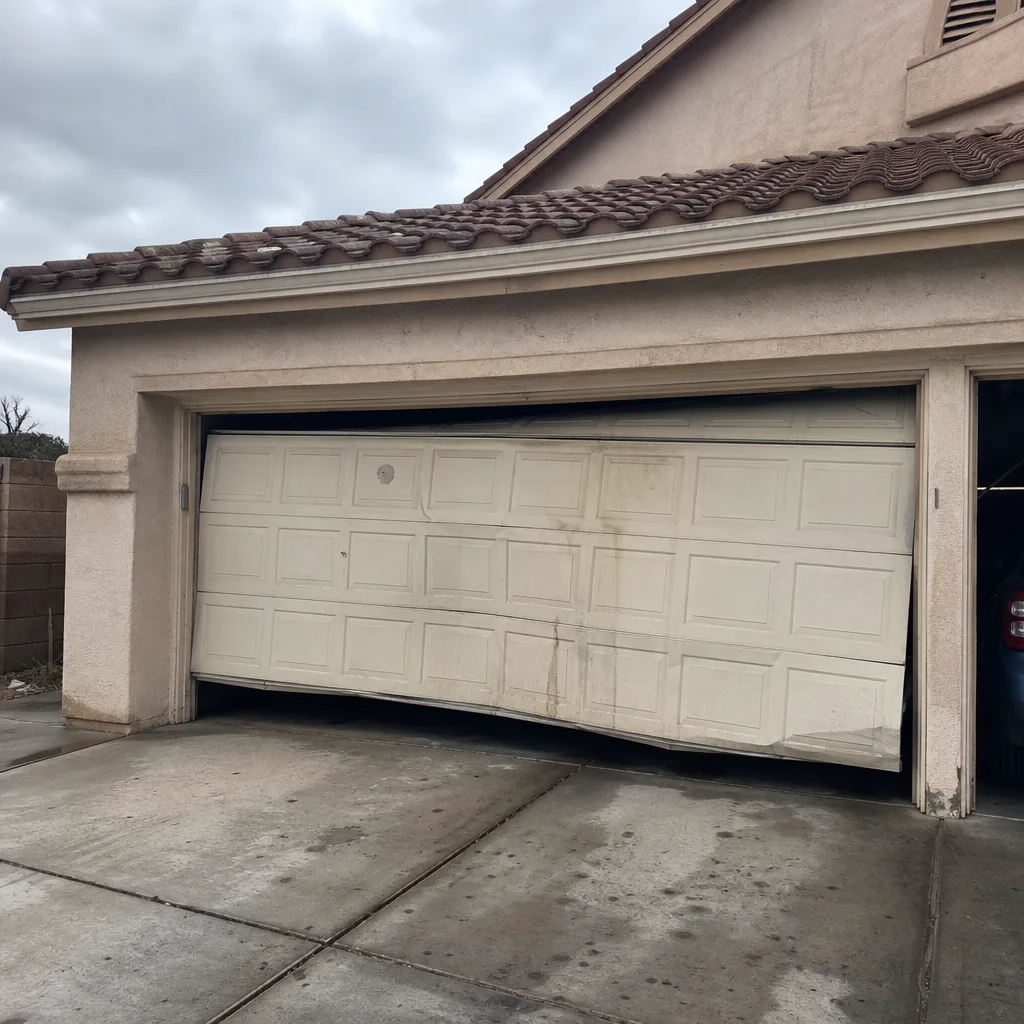 Before
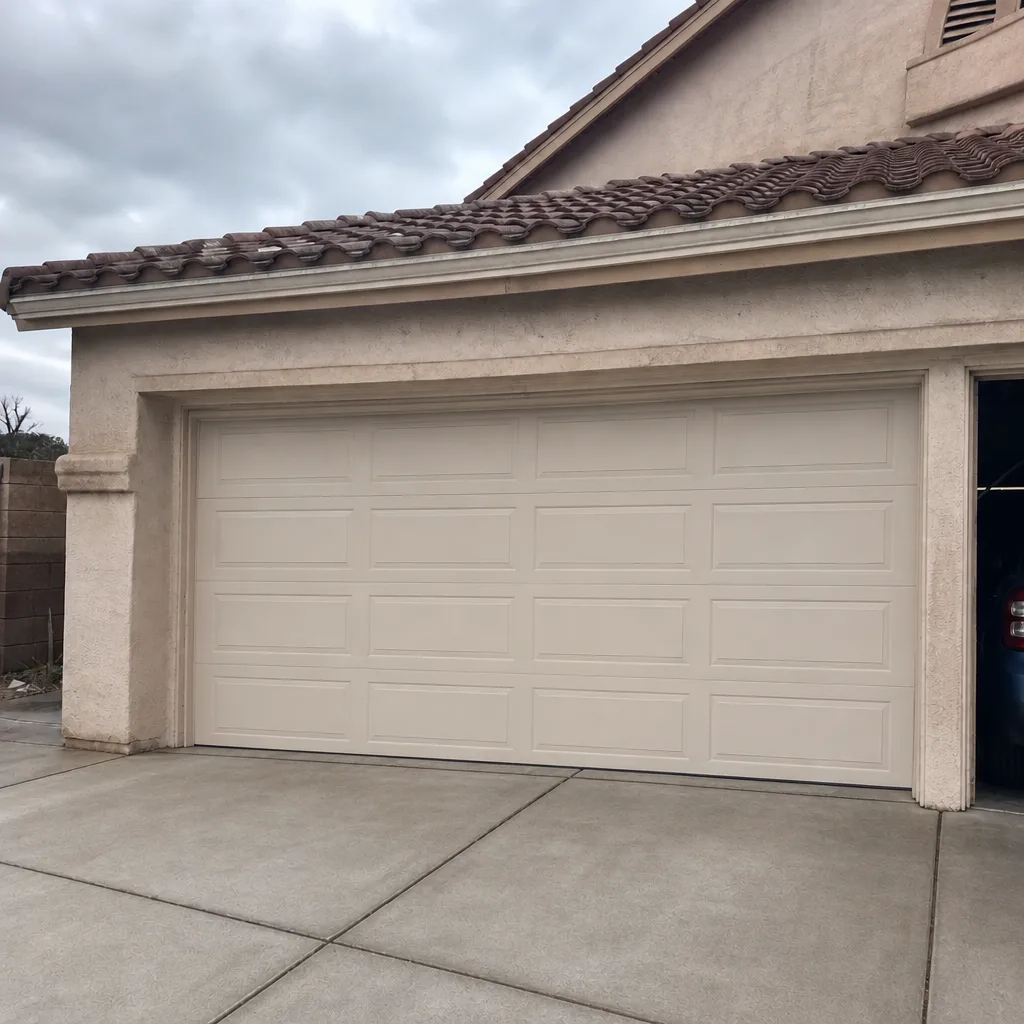 After
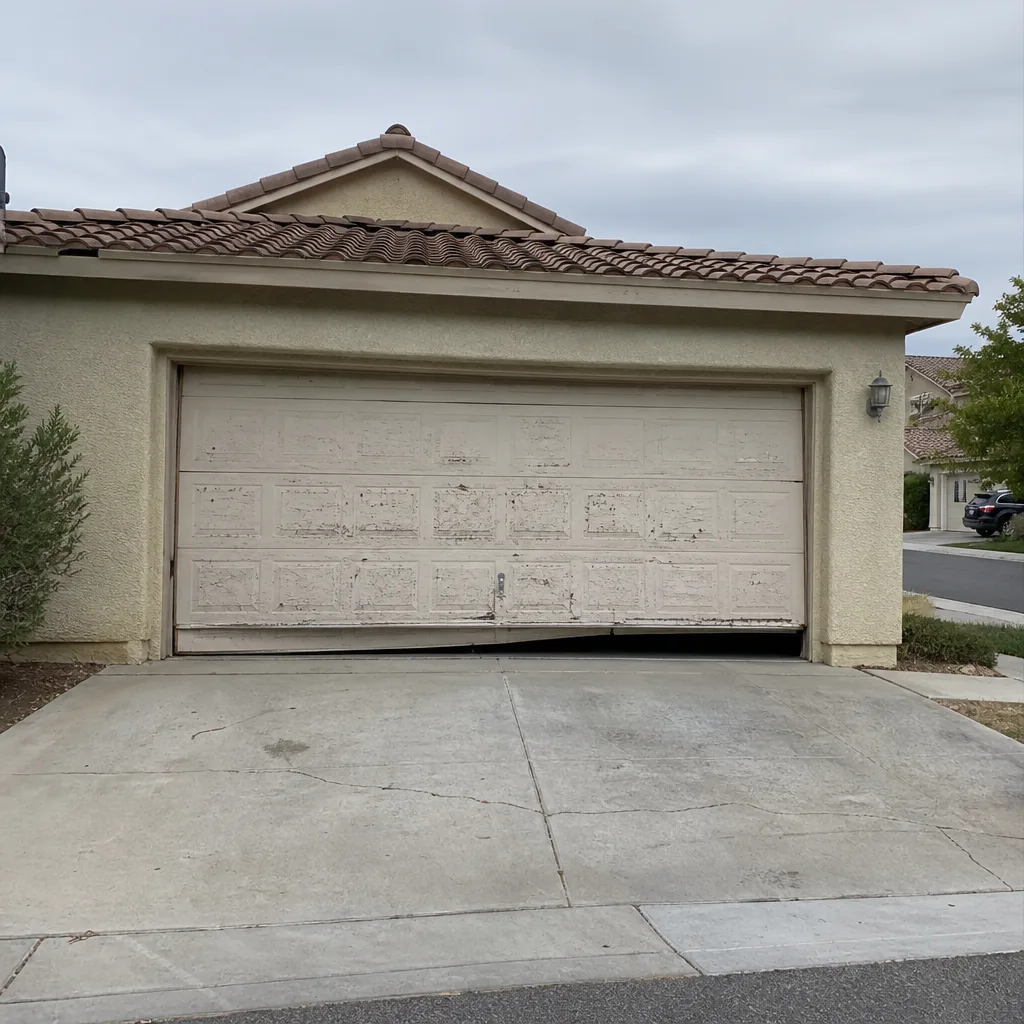 Before
 After
When to Call a Professional
Some checks are homeowner-level. Lubrication, photo-eye wiping, and the monthly safety-reverse test are all tasks we’d expect any homeowner to handle. Others aren’t. Call a professional if the safety-reverse test fails and doesn’t reset after a force-limit adjustment; if the opener sounds like it’s straining, grinding, or clicking on every cycle; if the rail is misaligned or the door binds halfway up; if the logic board or travel limits have failed; or if a torsion spring has broken, because spring and cable work is genuinely dangerous and belongs to a trained technician with proper winding bars, not a homeowner with a wrench. Servo Garage Doors Summerlin offers free estimates in Summerlin, and we’ll quote a flat, written price before any work starts. Call (844) 797-3654.
Frequently Asked Questions
Every six months for lubrication, tension, and sensor checks, plus a monthly safety-reverse test. In Summerlin we shorten the manufacturer’s 12-month intervals to six months because desert dust and heat wear the rail and clog motor vents faster than a temperate climate would.
No. Belt-drive rails are designed to run dry, and adding lubricant is a common mistake that attracts grit and shortens the belt’s life. Grease the chain or screw on chain and screw drives only; leave the belt rail alone.
UL 325 requires the opener to reverse under roughly 20 pounds of resistance, and you test it with a 2×4 flat on the floor in the door’s path. Close the door and confirm it reverses on contact. Log the date and result, because a failed test means the door shouldn’t be operated until it’s fixed.
Lubrication, rail cleaning, photo-eye checks, and the monthly safety-reverse test are reasonable homeowner tasks. Tension adjustment on a chain drive, force-limit diagnostics, logic board repair, and anything involving torsion springs or cables should go to a technician, because the spring system stores enough energy to cause serious injury.
Yes. A dated log that records component condition, lubricant type, and test results is the documentation a warranty claim or a pre-sale inspection needs. It converts routine care into a paper trail, which is why Servo delivers a documented photo record on every visit, included rather than optional.
We quote a flat, written price before any work starts, per Clause 1 of The Haven Standard, and we don’t quote over the phone without a written scope. Call (844) 797-3654 for an exact quote; estimates are free, and a written estimate from another company gets a free second opinion from us, no coupon required.
The Bottom Line
Opener maintenance is four schedules, not one annual visit. Lubricate every six to twelve months by drive type (and never on a belt rail), check tension and alignment every six months, test the safety reverse monthly against the 20-pound UL 325 threshold, and inspect sensors and vents every six months. In Summerlin, shorten the rail and motor-vent intervals to six months for dust and heat, and log every result with the date. That log is what prevents the 10,000-cycle opener from dying at 6,000, and it’s the paper trail that holds up when you need it. If a check fails, or a spring looks suspect, that’s the point to call.
Contact
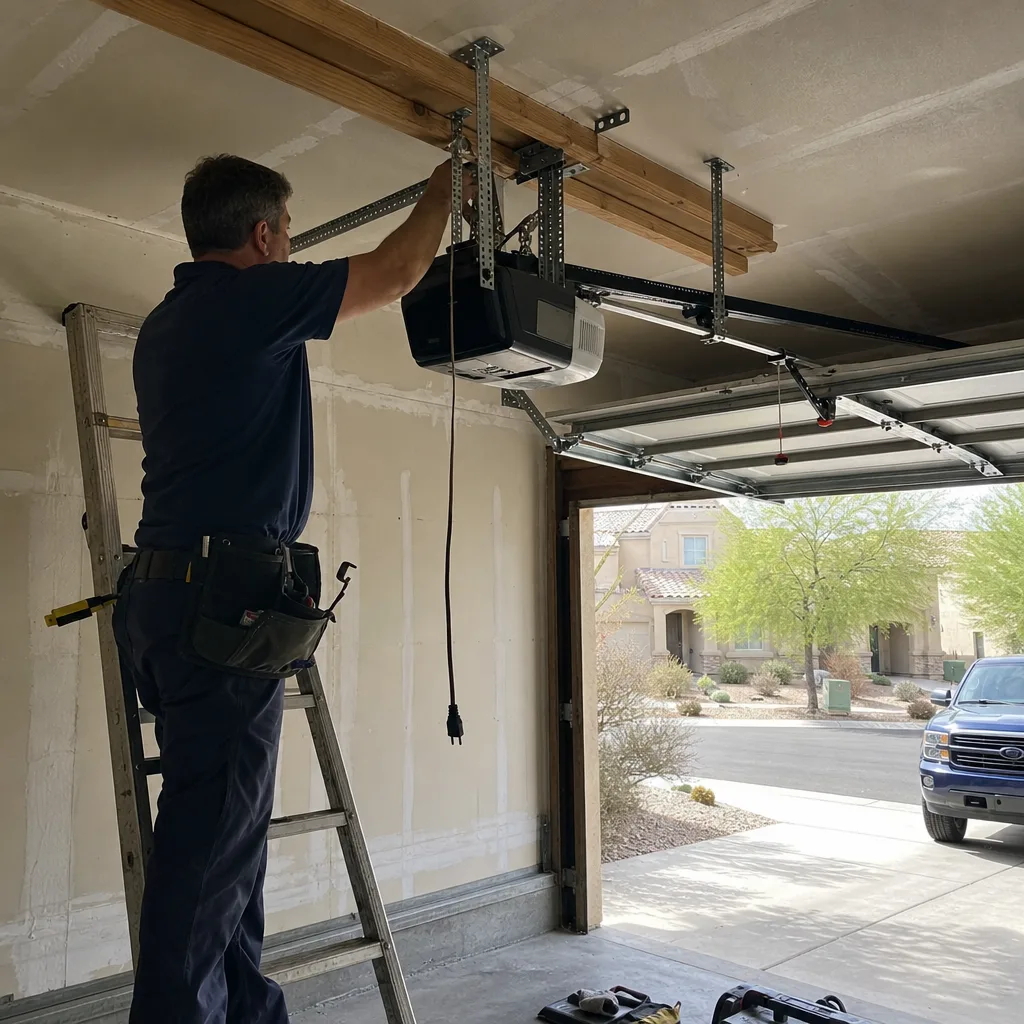
If you’d rather have the schedule run for you, or you’ve found something on the checklist that needs a technician, call Servo Garage Doors Summerlin at (844) 797-3654 for a free estimate. We’ll quote a flat, written price with a written scope before any work begins, send a background-checked technician with up to 11 years of experience, and leave a documented photo record of what was found and what was done. The 365-Day Done Right Promise backs the work. If you’re ready to replace rather than repair, our Garage Door Installation in Summerlin page covers measure, order, and install timelines. Start at the Servo Garage Doors Summerlin home page if you want the full picture of what we do.
Written by the team at Servo Garage Doors Summerlin.