
Last updated November 17, 2026
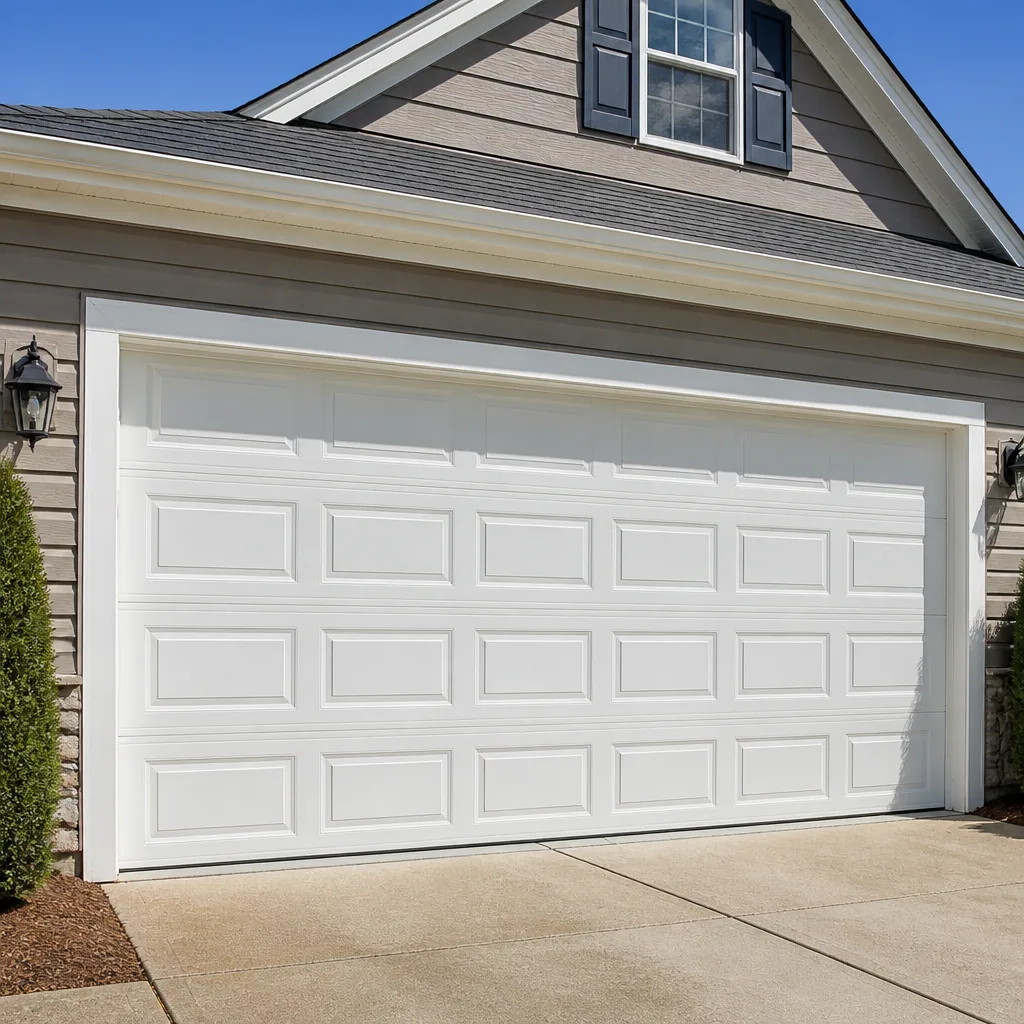 Raised-panel steel
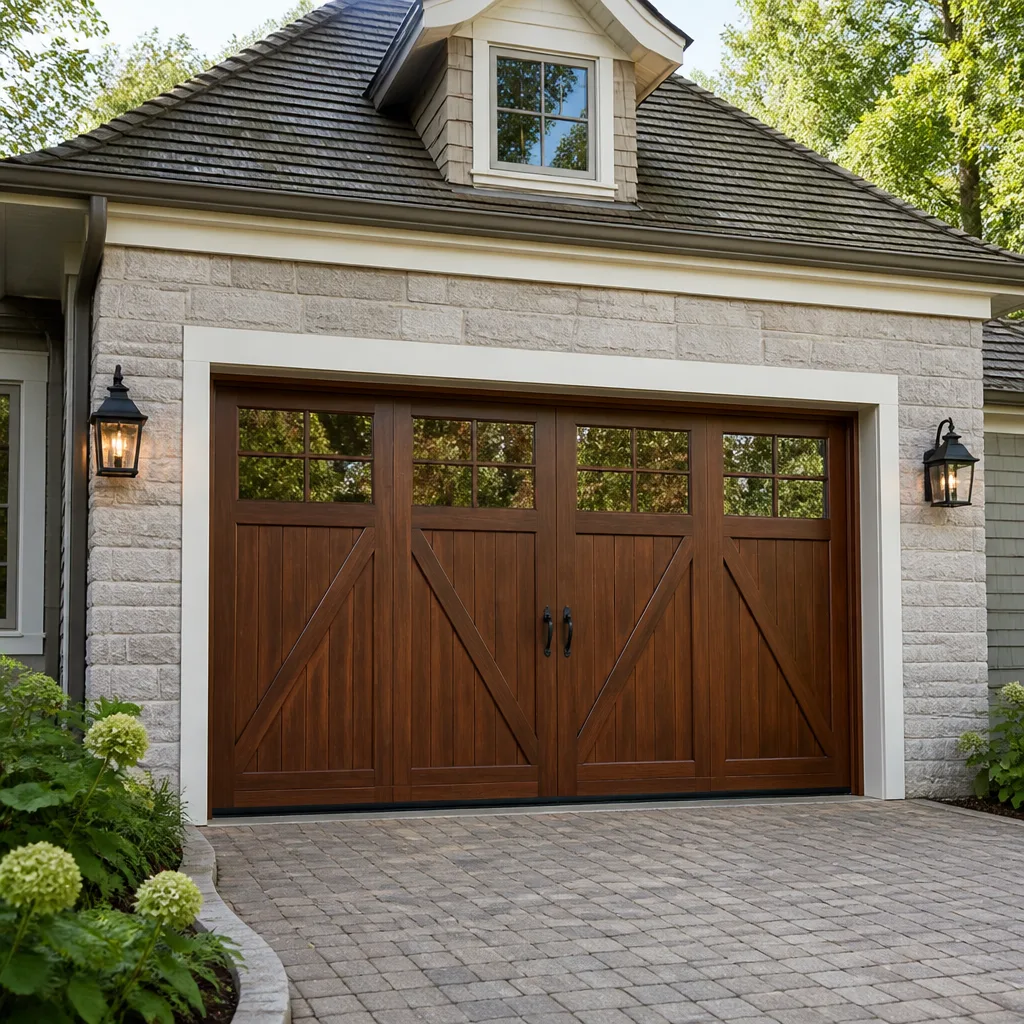 Carriage house
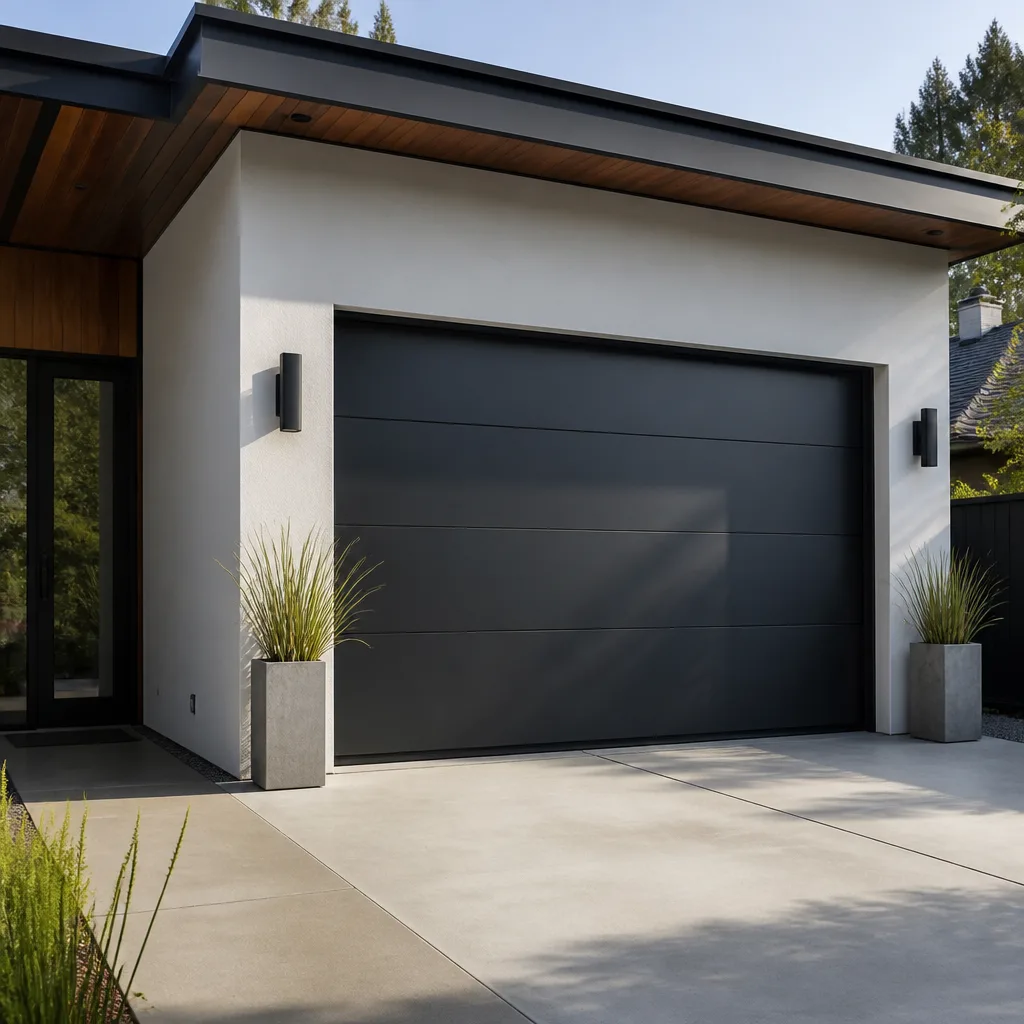 Modern flush
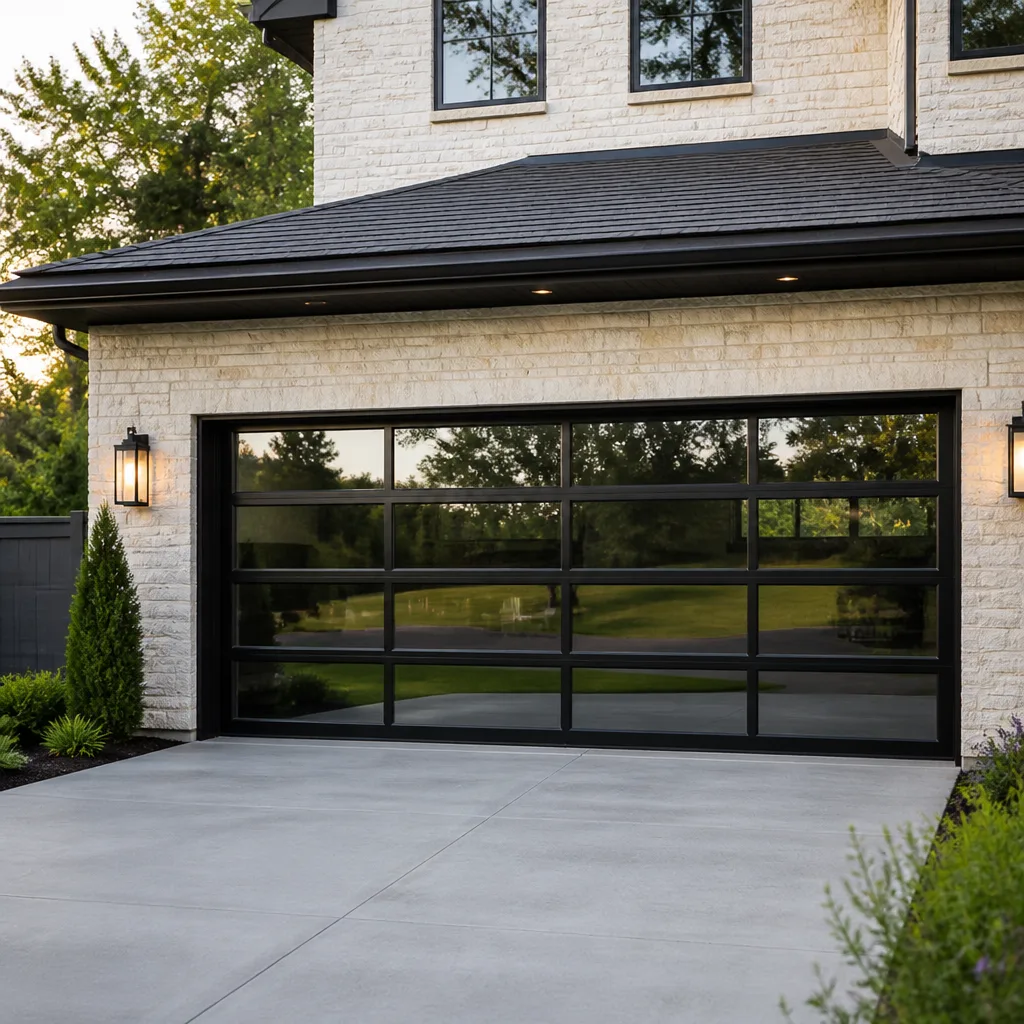 Full-view glass
 LiftMaster openers
 Chamberlain openers
Full 25-point door and opener safety check with every visit - springs, cables, rollers, tracks, and your LiftMaster or Chamberlain opener included
You get a price before we start. It does not change when the pro arrives.
Get your free estimateGarage Door Installation Troubleshooting: Common Problems and How to Fix Them
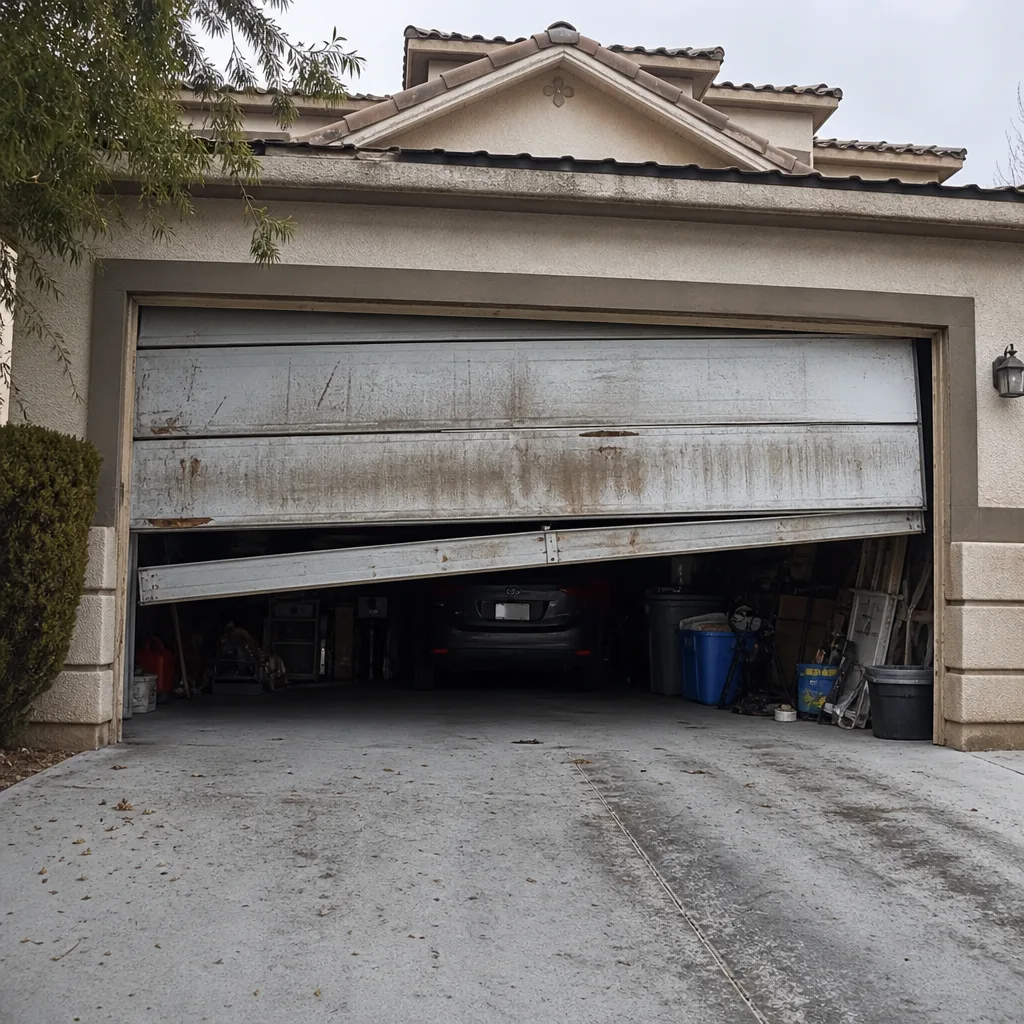
A door that binds on one side within the first week of installation is not a defective door. It is a rough opening that was out of plumb by more than a quarter inch, and shimming the track to hide it buys you a few months before the door starts to chew through its own hinges. We’ve seen this exact sequence play out in Summerlin more times than we can count, usually in newer builds where the opening was framed fast and never checked again. This guide works backward from the symptoms to the measurement error that caused them, so the fix lands at the source instead of on top of it.
Quick Answer
Most post-installation garage door problems trace back to the rough opening, not the door: an opening that is out of plumb, out of square, or the wrong height by more than a quarter inch will cause binding, uneven gaps, opener strain, and premature spring wear no matter how carefully the panels were hung. The fix is to verify the opening with a 4-foot level and a diagonal measurement before hardware arrives, and to correct framing errors at that stage. Shimmed tracks and adjusted openers treat the symptom; they don’t fix the geometry.
Styles & brands we work with
- Raised-panel steel
- Carriage house
- Modern flush
- Full-view glass
- LiftMaster openers
- Chamberlain openers
Table of Contents
- The Five Post-Installation Symptoms and the Measurement Error Behind Each One
- How to Check Rough Opening Plumb and Square Before Hardware Arrives
- Track Alignment: The Clearances That Separate a Correct Install from One That Fails Within a Year
- What a Balanced Door Should Feel Like During the Manual Lift Test
- Documenting the Installation in Progress: The Baseline Photo Record
- Nevada-Specific Installation Considerations
- Common Mistakes to Avoid
- When to Call a Professional
 Before
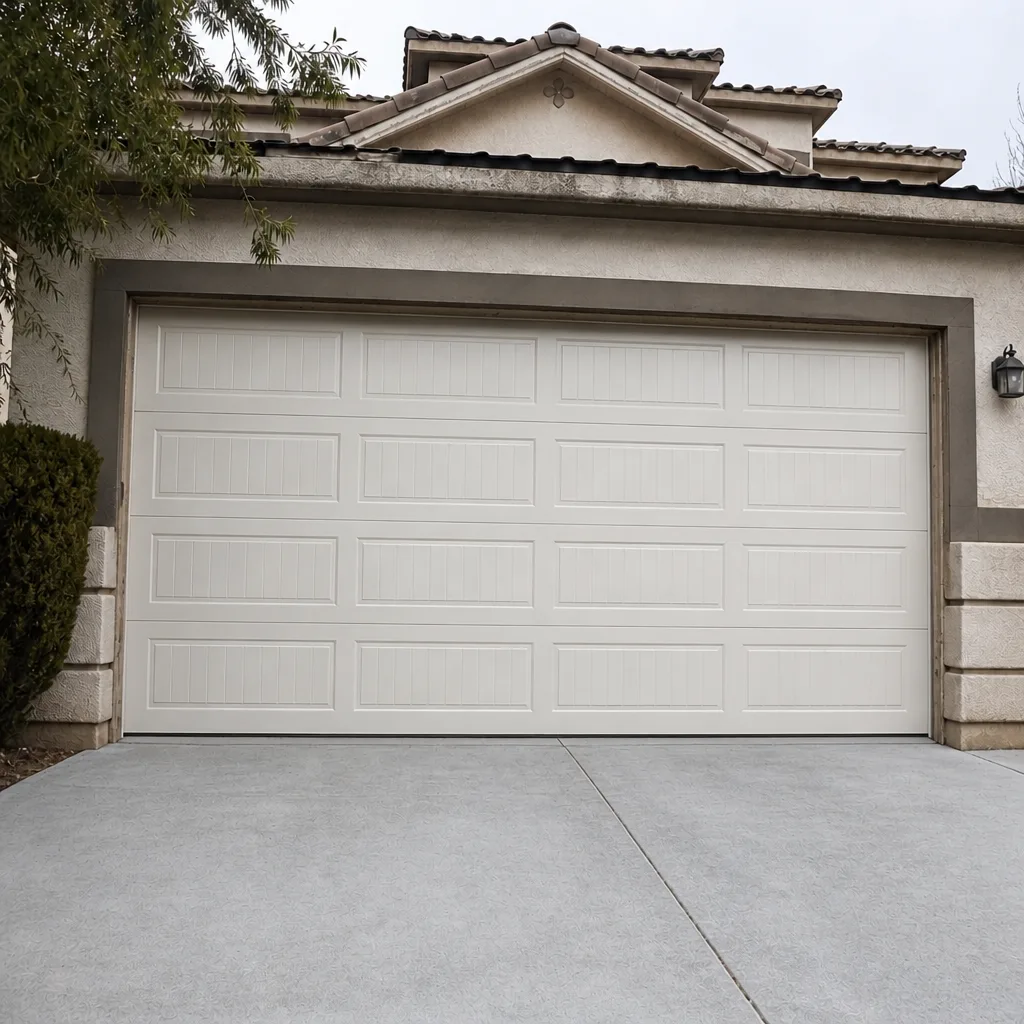 After
The Five Post-Installation Symptoms and the Measurement Error Behind Each One
Every callback we make on a recently installed door falls into one of five categories. Each one has a measurable cause, and in almost every case that cause predates the day the technician showed up with panels. Here’s the map from symptom to source.
- Binding on one side. The rough opening is out of plumb. When the left jamb sits a quarter inch forward of the right, the door rides the track at an angle and the rollers load unevenly. You’ll hear it before you see it: a rhythmic scrape once per panel pass.
- Uneven gaps at the floor or jambs. The header is out of level, or the opening is out of square. A door hung in an opening 3/8-inch taller on one side will show it as a wedge-shaped gap along the bottom seal, and no amount of seal replacement closes it.
- Opener strain. The door is binding or out of balance, and the opener is compensating. If a LiftMaster or Chamberlain unit is running hot or the trolley carriage is chattering, the door is fighting itself and the opener is paying for it.
- Weather seal gaps. Either the opening height was measured to the finished floor rather than the framed floor (common on new construction where flooring goes in after the door), or the bottom section wasn’t seated correctly during the hang.
- Spring imbalance. The springs were sized for the door weight on paper, but the as-built door came in heavier than spec due to glass options or insulation upgrades. A door that drops hard on the lift test or needs a shoulder to close has springs that are undersized for what’s actually hanging.
Notice the pattern: four of the five trace to the opening or the weight, and only one (the seal) can be fixed by adjusting the door directly. That’s why we start with measurements before anything else. It’s also why the photo record we keep starts at the opening, not at the finished door.
How to Check Rough Opening Plumb and Square Before Hardware Arrives
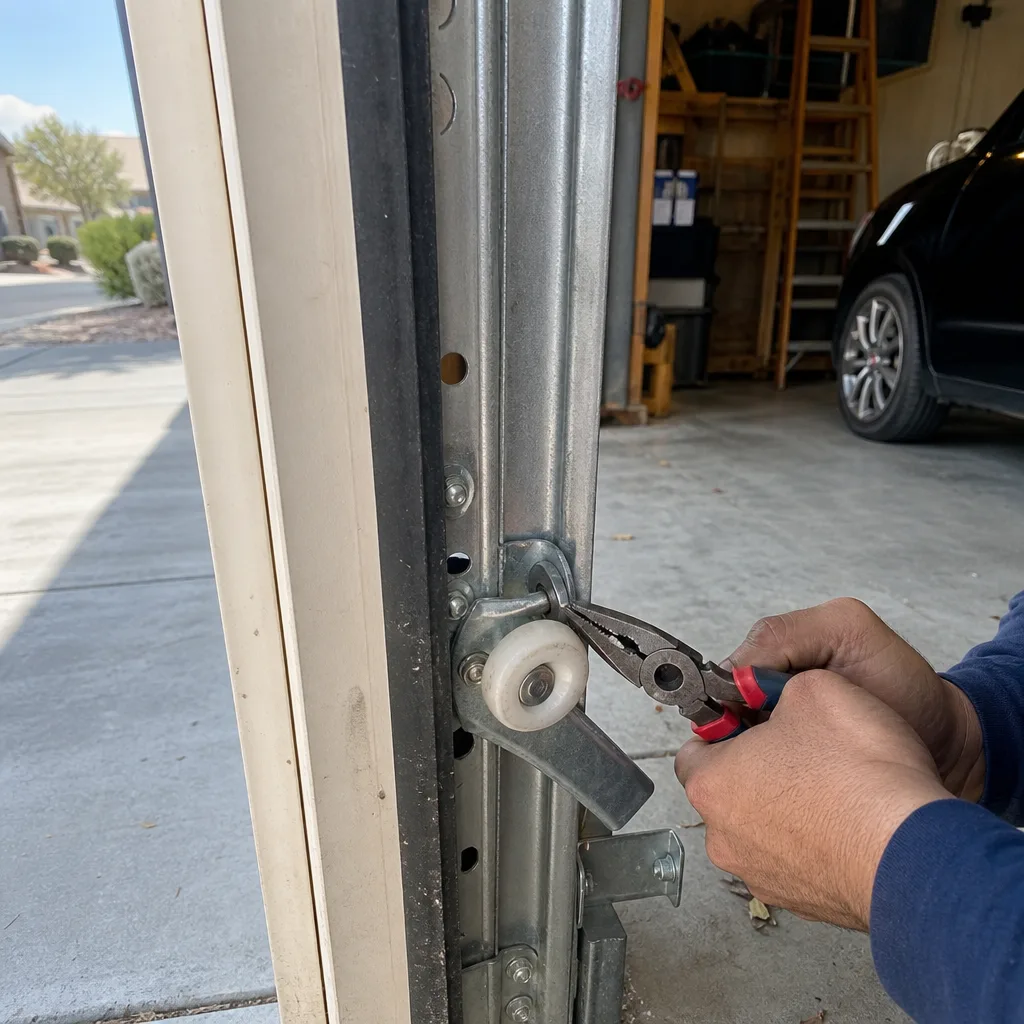
This is the measurement that prevents most callbacks, and it takes about ten minutes. You need a 4-foot level, a tape measure, and a pencil. Do this before the panels are unloaded. If the opening fails any step, fixing it now costs a fraction of what fixing the door will cost later.
- Check plumb on both jambs. Hold the 4-foot level against the left jamb, inside face, top to bottom. Note the gap at the top or bottom of the bubble. Repeat on the right jamb. Anything more than 1/4 inch of deviation on either jamb is out of tolerance and will cause binding. Write the number down.
- Check level across the header. Lay the level horizontally across the top of the opening, inside face. A header that’s out of level by more than 1/8 inch across the width will produce a visible gap at one bottom corner.
- Measure the diagonals. Measure corner to corner, top left to bottom right, then top right to bottom left. The two numbers should match within 1/4 inch. If they don’t, the opening is out of square, and you’ll see it as a door that binds unevenly top to bottom.
- Measure the height in three places. Center and both sides, floor to header. Note the finished floor height versus the framed floor height, because the door seals to whatever’s actually there. On Summerlin new builds where flooring goes in after framing, this is the step people skip.
- Confirm the headroom and side room. The door needs enough headroom above the header for the horizontal track and the opener rail. For a standard 7-foot door with a belt-drive opener, that’s 12 inches minimum. For an 8-foot door or a Clopay with a high-lift track, it’s more.
Write all five measurements down and photograph the tape against the framing. That paper trail is the baseline. Every problem that shows up six months later gets compared against those numbers, and the conversation stops being about opinion.
Track Alignment: The Clearances That Separate a Correct Install from One That Fails Within a Year
Once the door is hung, the tracks are the second place installation errors hide. A track that looks straight to the eye can be off by 3/16 inch in the wrong direction, and that’s enough to eat a roller within a year. The clearances we check on every install are specific, and they’re the difference between a door that lasts and one that comes back.
- Vertical track to jamb gap. Should be consistent top to bottom within 1/8 inch on each side. An inconsistent gap means the track is bowed, which loads the rollers unevenly.
- Horizontal track fall. The horizontal track should have a slight backward slope (about 1/8 inch per foot) so the door tends to stay open. A horizontal track that’s dead level or pitched forward lets the door creep down on its own.
- Roller to track clearance. The roller stem should sit centered in the track groove with roughly equal clearance on both sides. Rollers that ride one wall of the track wear twice as fast and get noisy.
- Track distance from the door face. The vertical track should sit about 5/8 inch behind the door panel plane so the roller doesn’t bottom out. Too close and the rollers bind; too far and the door flops forward on opening.
- Track splice alignment. On double-track setups or doors that need extended vertical track, the joint between the two track sections must be flush within 1/16 inch. Any step at the splice will catch a roller and cause a hard knock on every pass.
We check these with a tape and a straightedge on every install, and the numbers go into the photo record. If a Genie or LiftMaster opener starts straining on a newly installed door, the first place we look is the track clearances, not the opener itself.
What a Balanced Door Should Feel Like During the Manual Lift Test
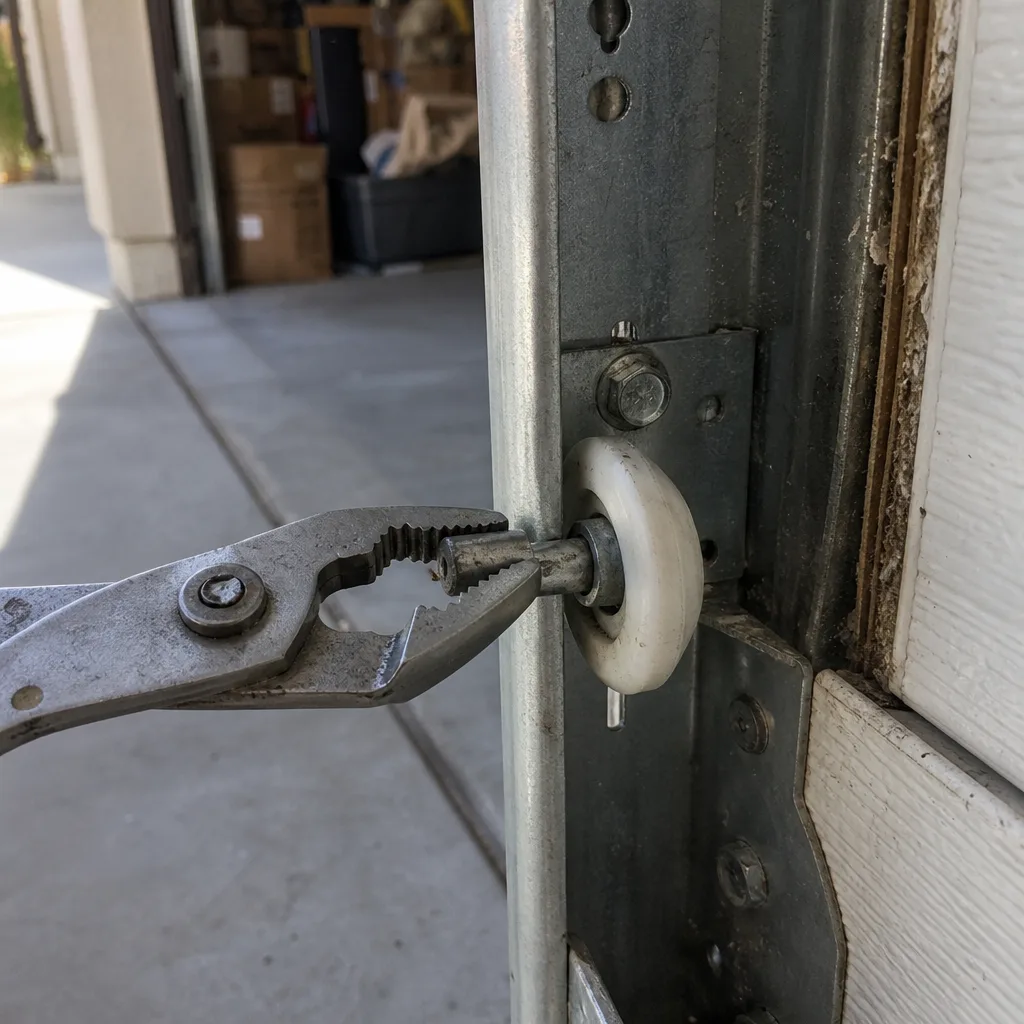
Spring balance is the single most misunderstood part of a garage door installation, and it’s also the part where a bad call causes the most damage downstream. A door that isn’t balanced forces the opener to lift weight it was never sized for, and the opener either wears out early or trips its force limit and reverses at random. The manual lift test tells you which one you have.
How to run the manual lift test
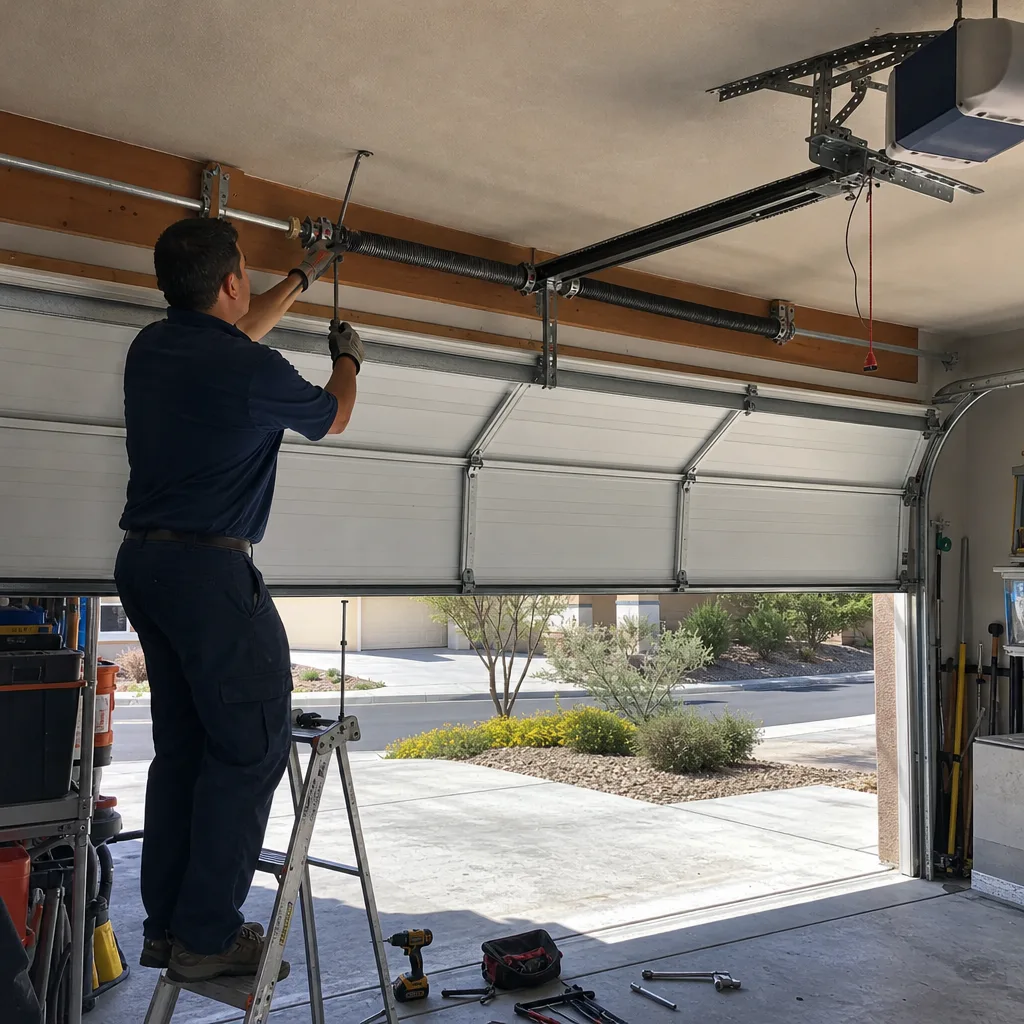
- Disconnect the opener. Pull the emergency release cord so the door is free of the trolley. On a LiftMaster or Chamberlain, the trolley carriage stays put and the door slides free.
- Lift the door to waist height and let go. A correctly balanced door should hold position within a few inches of where you released it. It should not drop to the floor and it should not run up.
- Lift to chest height and let go. Same test. Hold position or drift only slightly.
- Lift to fully open and let go. The door should stay open without creeping down. If it creeps down more than a few inches in a minute, the springs are undersized.
The tolerance we work to is roughly 10 pounds of lift force on the way up and a similar amount of hold force on the way down. In practice, a balanced door feels light and neutral at every position in its travel. If you feel it get heavier at one point, the springs or the torsion balance is off. If you feel it get heavier across the whole travel, the springs are sized wrong for the door weight.
Spring safety caveat
Torsion springs on a standard residential door are under hundreds of pounds of stored tension, and a spring under load can cause serious injury if the wrong tool slips. We do not recommend homeowners adjust, wind, or replace torsion springs themselves. The lift test is safe to run because there’s no load on the opener and you’re not touching the springs. Anything past that is a call to a licensed technician. If the door won’t hold position or feels heavy, that’s the trigger for the call, not the start of a DIY session.
Documenting the Installation in Progress: The Baseline Photo Record
If a problem shows up six months after installation, the only way to know whether it was caused by the install or by something that happened later is to have a photo of what the opening looked like the day the door went up. This is the record we keep on every job, and it’s the part of the process homeowners most underrate until they need it. Clause 4 of The Haven Standard is why the failed component gets photographed before anyone quotes a replacement, and the same rule applies to installation: the opening condition gets documented before the panels come out of the box.
Here’s what the baseline record should contain, in order:
- All four corners of the rough opening, with the 4-foot level in frame so plumb and level are visible.
- The diagonal measurement tape against the framing, showing the corner-to-corner numbers.
- Height measurements in three places with the tape against the floor-to-header distance.
- Headroom and side room with the tape visible.
- The hung door after panel assembly, before the opener is mounted.
- The track clearances (the 5/8 inch, the 1/8 inch per foot fall, the roller centering) with the tape visible.
- The balance test at three positions (waist, chest, full open) with a note of the observed hold position.
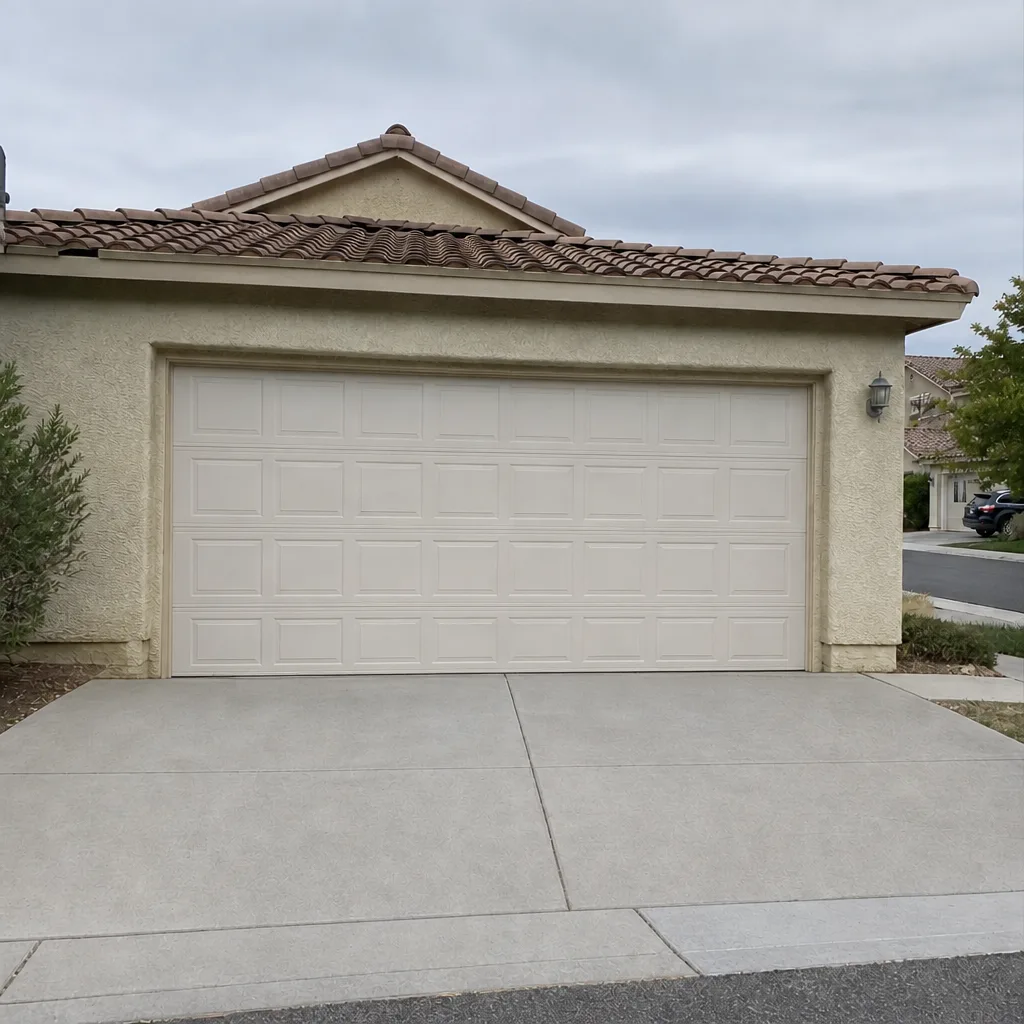
- The finished door from the driveway, closed and open.
That record goes to the customer at the end of the visit, and it’s the reason a two-year-old callback conversation in Summerlin is about the numbers and not about who said what. If the door starts binding at month eight, we compare the current state to the record. If the opening was within tolerance at install and the door was balanced, the cause is downstream; if the record shows a 3/8-inch diagonal variance that got shimmed over, the conversation is a different one. Either way, the evidence is on the page.
Nevada-Specific Installation Considerations
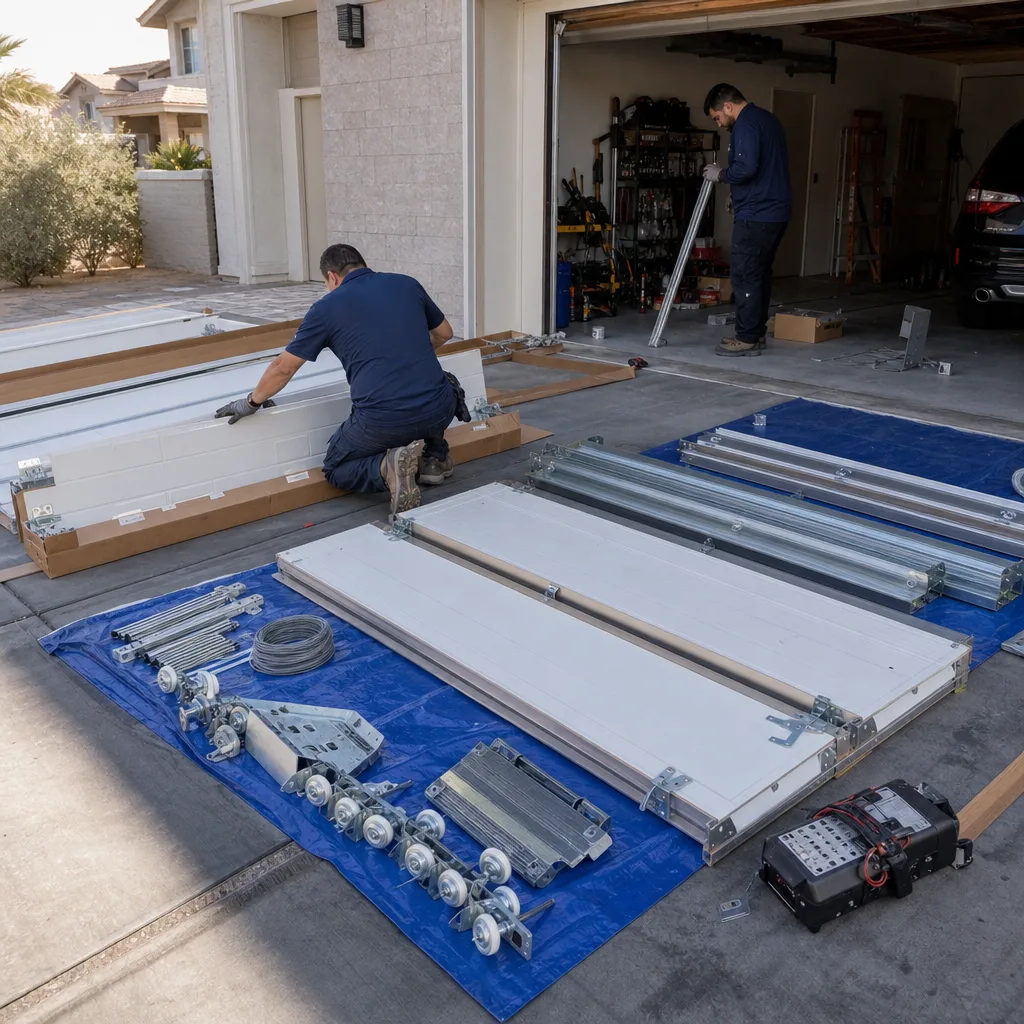
Summerlin sits in the Mojave, and that changes a few things about installation compared to the climate a lot of manufacturer specs assume. Three factors come up repeatedly on Summerlin installs and rarely get mentioned in generic installation guides.
Thermal expansion and door cycles
Summerlin exterior temperatures swing from high-30s in winter to well over 110°F in summer, and a northeast-facing garage door can still sit at 140°F on the panel surface. Steel and aluminum doors expand and contract across that range, and the seals, hinges, and springs all feel it. On low-slope driveways with a lot of afternoon sun, roller wear runs faster than it does on shaded doors, and the bottom seal takes more load. We size springs and specify seals for that swing, and we check the balance test in the afternoon rather than the morning on a warm day, because the door tells a different story when the metal is hot.
Dust, wind, and roller wear
The spring dust storms off the Red Rock range push a fine grit through garage doors that never gets mentioned in an installation guide written for a wetter climate. Nylon rollers wear slower in it than steel rollers, and roller stems need to sit centered to keep grit from packing against one wall of the track. Neighborhoods near the western edge of Summerlin, closer to the open desert, see more of this than the inner core. If a door is going in on a home with a west- or north-facing exposure and a long driveway, roller spec matters more than the panel style.
Local permit and inspection basics
Summerlin falls under Clark County or City of Las Vegas jurisdiction depending on the specific parcel, and a garage door replacement on an existing home generally doesn’t pull a separate permit unless the door is part of a larger structural change or the opening is being modified. That said, HOA rules in Summerlin’s master-planned villages do govern visible door color, panel style, and glass inserts, and they need to be confirmed before the door is ordered. A door ordered in a color the HOA rejects is an expensive mistake, and it happens enough that we ask about HOA approval before we quote the install. If you’re working from a written estimate from another company and want a second opinion on the scope, that’s free.
For a closer look at how installation scope and scheduling work from our side, see Garage Door Installation in Summerlin. If the problem you’re chasing is on an existing door rather than a new install, Garage Door Repair in Summerlin covers the repair side in the same level of detail.
Common Mistakes to Avoid
- Shimming the track to hide an out-of-plumb opening. A shim makes the door run smoothly today; it doesn’t fix the geometry that loaded the hinge. Within six months the door is chewing through the top section again.
- Measuring height to the finished floor. Common in Summerlin new construction where flooring goes in after framing. The door gets cut for a floor that’s 1/4 inch lower than the frame, and the bottom seal never sits right.
- Skipping the diagonal measurement. Plumb looks fine to the eye and square still fails. The diagonal is the only check that catches an out-of-square opening before the panels go up.
- Assuming the opener is sized for the door. A 1/2-HP opener on a heavy insulated door with glass is under-spec and will trip its force limit after a few months of use. Spec the opener after the door weight is confirmed, not before.
- Ordering the door before confirming HOA approval. Summerlin’s master-planned villages have rules about door color and panel style, and a rejected order is an expensive delay. Confirm the HOA before the order goes in.
- Not keeping the photo record. Without a baseline, every problem a year later becomes a conversation about memory rather than evidence. Photograph the opening before the panels arrive.
- Running the manual lift test with the opener still connected. The test only reads the door’s balance if the trolley is released. Connected, you’re measuring the opener, not the door.
When to Call a Professional
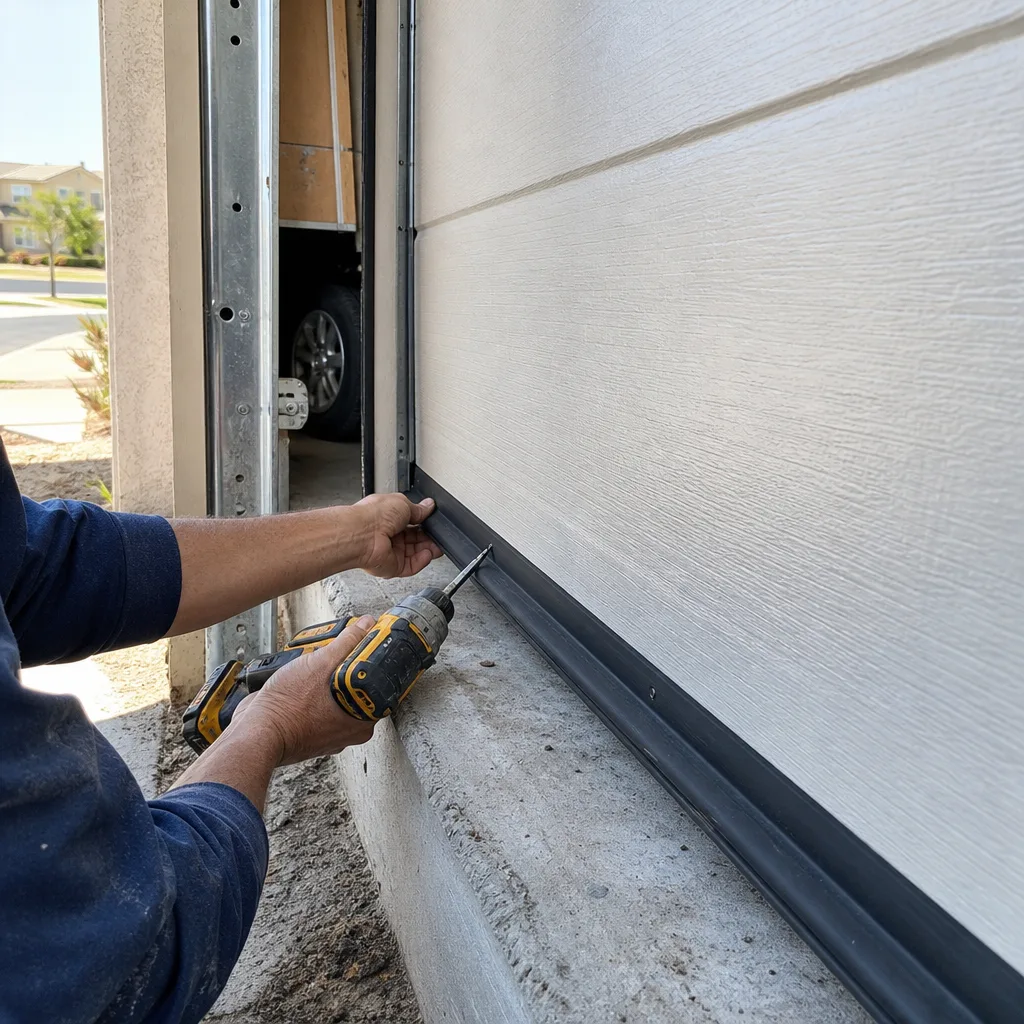
Some of this work is safe for a homeowner with a level and a tape, and some of it is not. The line is at the springs and the framing. Checking the rough opening with a 4-foot level is safe. Confirming the diagonal measurement is safe. Running the manual lift test with the opener released is safe. Adjusting torsion springs, re-winding a broken spring, modifying framing, or re-hanging a door that’s out of plumb is not, and a mistake there can hurt someone or cost more to correct than the original install. If the door binds after installation, if the lift test shows the door won’t hold position, if the opener is straining and the track clearances look correct, or if the opening fails the plumb or diagonal check, that’s the call point.
Servo Garage Doors Summerlin offers free estimates in Summerlin. Our technicians have up to 11 years of experience, they’re background-checked and uniformed, and every job comes with a flat, written price and written scope before any work starts, per Clause 1 of The Haven Standard. Call (844) 797-3654 to schedule. If you’re bringing a written estimate from another company, we’ll do a free second opinion on it, no coupon required.
For the opener side of the equation, including sizing and force-limit diagnostics, see Garage Door Opener Repair & Installation in Summerlin. For everything else we do across the valley, the Servo Garage Doors Summerlin home page is the starting point.
See the difference
BeforeAfter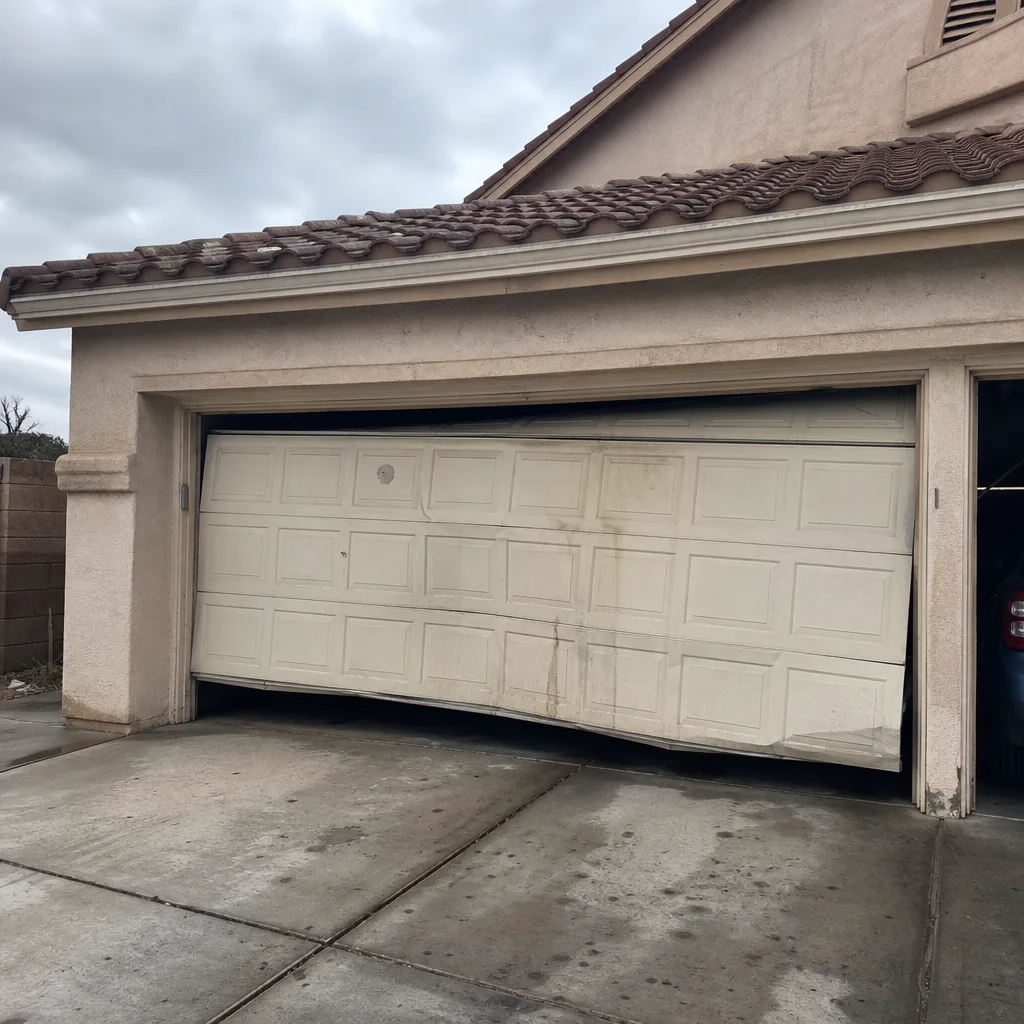 Before
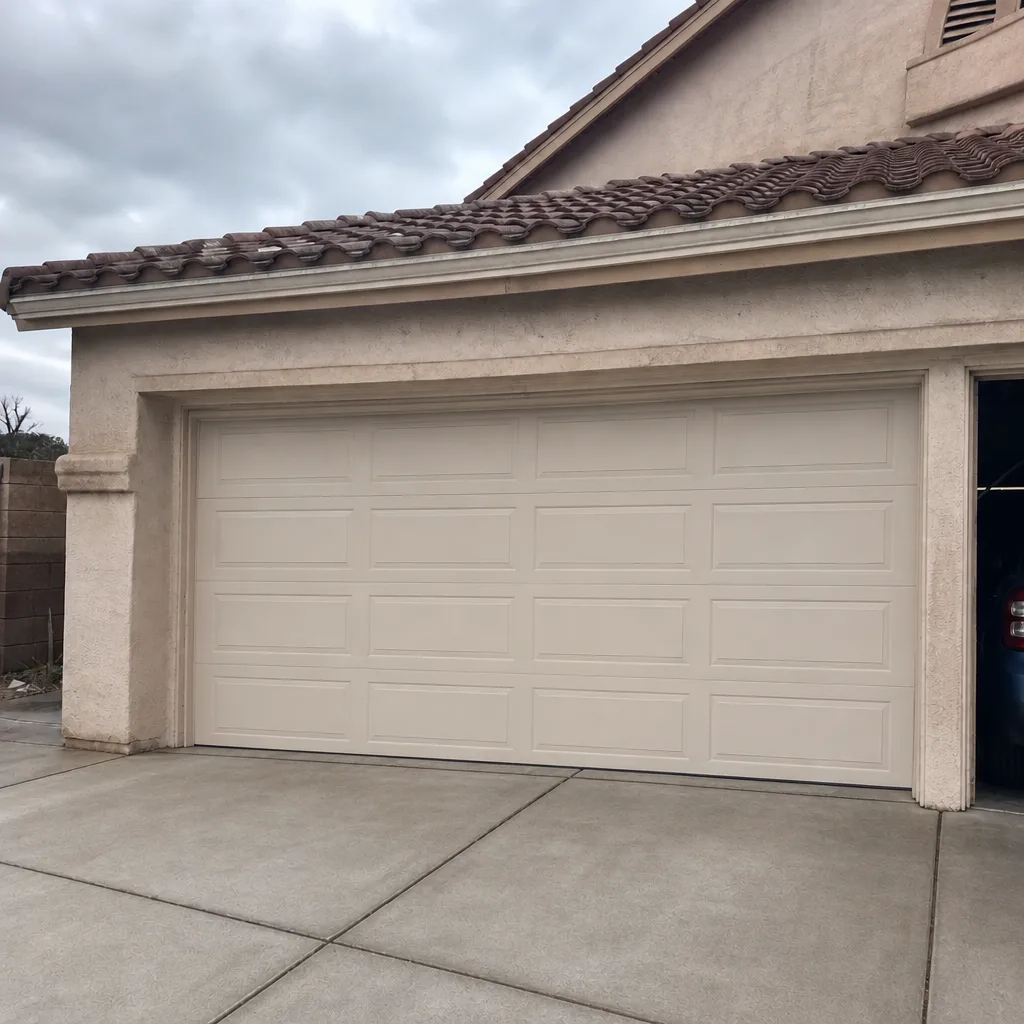 After
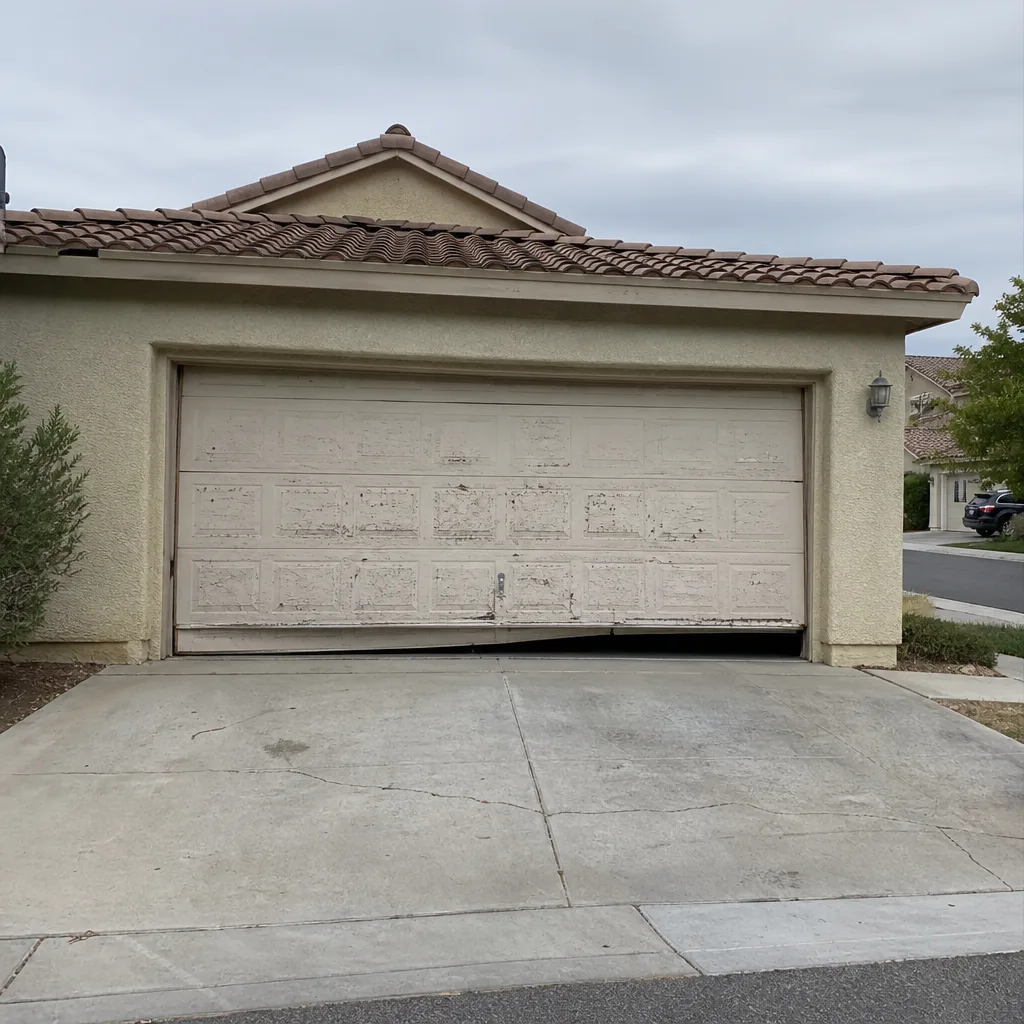 Before
 After
Frequently Asked Questions
Binding within the first week is almost always a rough opening that’s out of plumb by more than a quarter inch, which causes the door to ride the track at an angle. The door isn’t defective; the opening is. Check the jamb plumb with a 4-foot level and the diagonal measurements corner to corner. If either fails tolerance, correcting the opening is the fix, not adjusting the track. Call (844) 797-3654 for a free estimate on correcting it.
Correcting a rough opening that failed plumb or square typically runs $250 to $600 depending on how much reframing is required, and re-hanging a door that was installed out of tolerance runs $180 to $350. Full reinstallation from scratch, when the original install can’t be salvaged, runs closer to the original install cost. We quote a flat, written price before any work starts, so you know the number before the technician touches a tool. Call (844) 797-3654 for an exact quote.
Yes, but only if the opening is corrected first. A door hung in an out-of-square opening will bind, wear its hinges unevenly, and put load on the opener it wasn’t designed for. The diagonal measurement should match within 1/4 inch before hardware goes up. If it doesn’t, the framing gets corrected at that stage; shimming the track to hide the variance doesn’t fix the geometry and the door fails again within a year.
A balanced door holds position within a few inches at waist, chest, and full-open positions when the opener is released, and it feels light and neutral across the whole travel. If it drops to the floor, runs up on its own, or feels noticeably heavier at one point, the springs are out of balance or undersized for the door weight. Don’t adjust the springs yourself; torsion springs are under high tension and need a licensed technician.
No. We quote a flat, written price and written scope before any work starts, and the number doesn’t move after the fact unless you approve additional work in writing. Clause 1 of The Haven Standard is the reason for that, and it’s the same on every job. If a competitor quoted you a number and you want a second look, bring the paperwork and we’ll do a free second opinion on it. Call (844) 797-3654.
The rough opening should be photographed at all four corners with a level in frame, plus the diagonal measurement, the height measurements in three places, the headroom and side room, the hung door before the opener goes on, the track clearances, the balance test at three positions, and the finished door open and closed. That record becomes the baseline if a problem shows up later. Every Servo install includes a documented photo record delivered to the customer at the end of the visit, tracing back to Clause 4 of The Haven Standard.
The Bottom Line
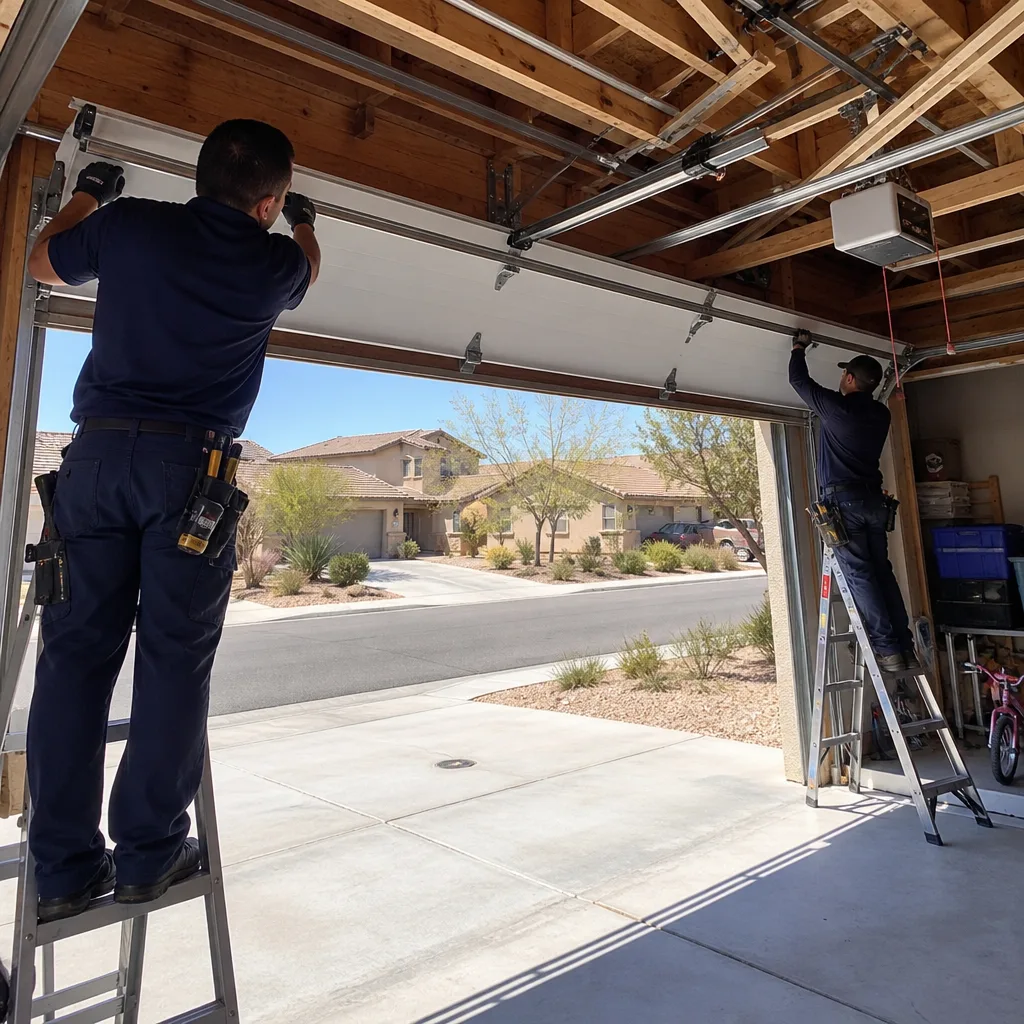
Nearly every installation problem that shows up after the door goes in traces back to a measurement taken before the panels arrived. Plumb, square, height, headroom, and door weight are the five numbers that determine whether the install holds or fails, and all five are checkable in about ten minutes with a 4-foot level and a tape measure. Correct the opening before the door goes up, verify the track clearances and the balance test after, and photograph the whole sequence so the evidence is on record. Skipped measurements get paid for later, usually at the hinge and the opener’s expense. A door that binds in week one is telling you where the error was.
If you’re chasing a problem on a recent install in Summerlin and want an evidence-first read on it, call Servo Garage Doors Summerlin at (844) 797-3654 for a free estimate. Our technicians have up to 11 years of experience, they’re background-checked and uniformed, calls are answered by a live person 24 hours a day including holidays, and every visit closes with a documented photo record of what was found and what was done. The 365-Day Done Right Promise means that if a repair isn’t right, we make it right. The written price comes before the work, always.
Written by the team at Servo Garage Doors Summerlin.